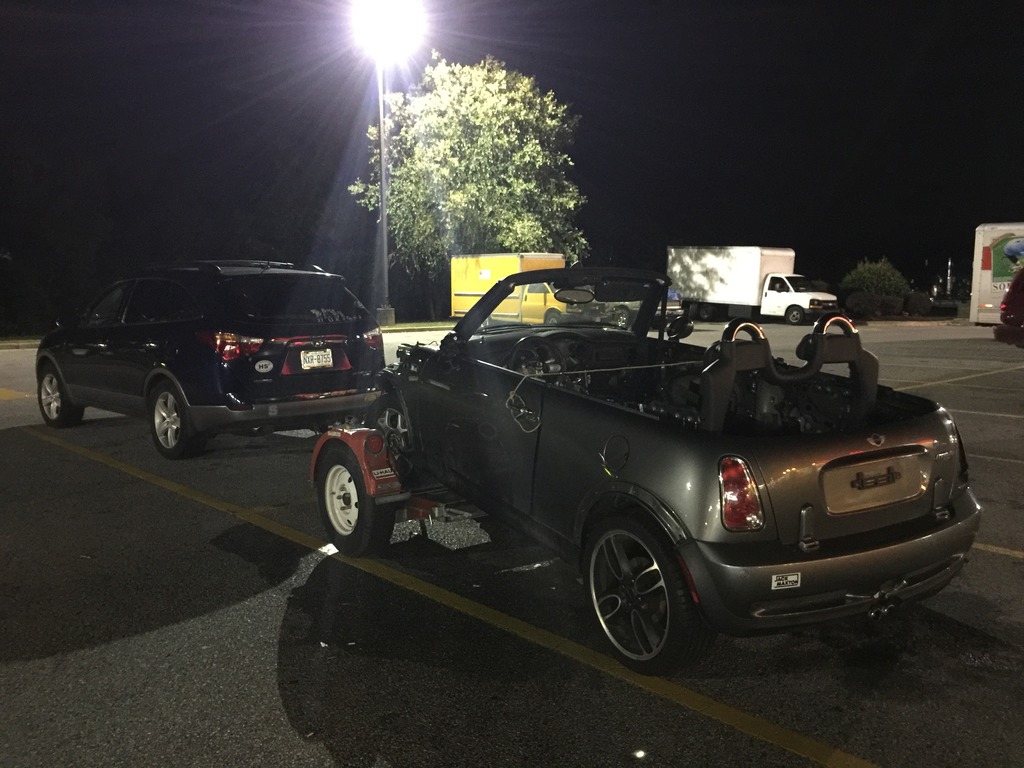
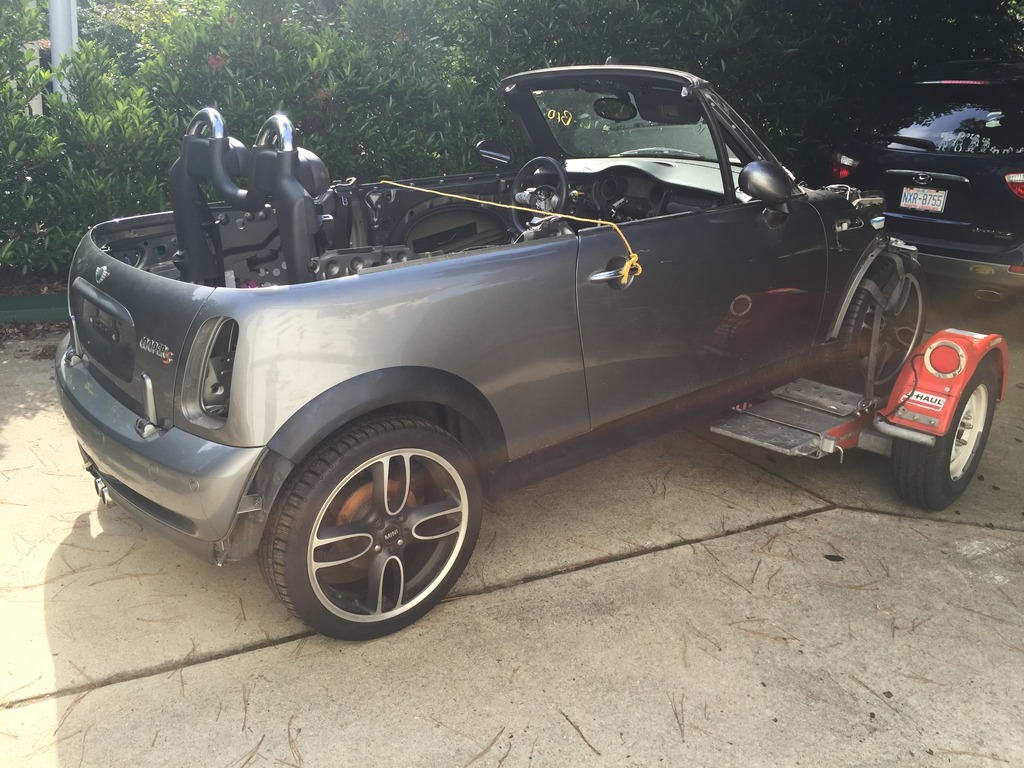
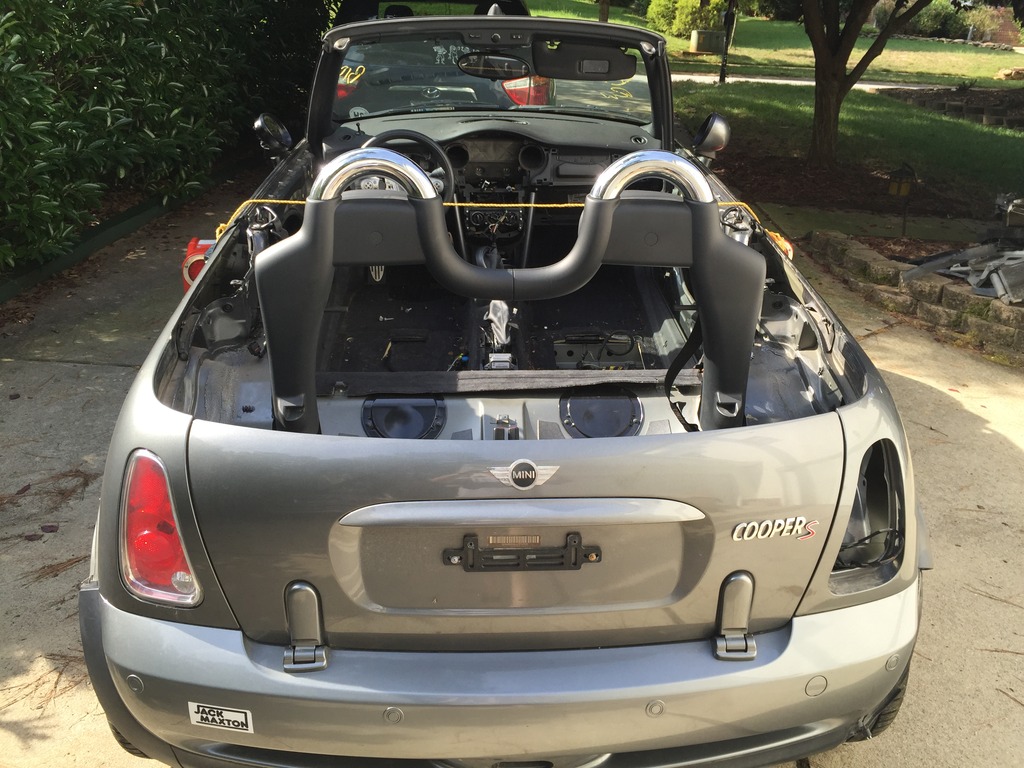
Picking up the new shell…

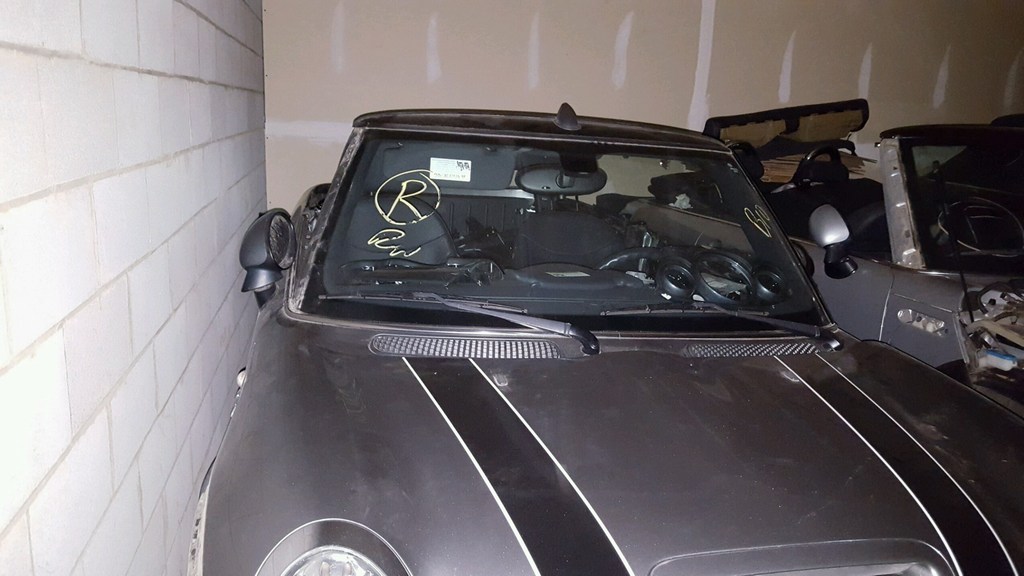
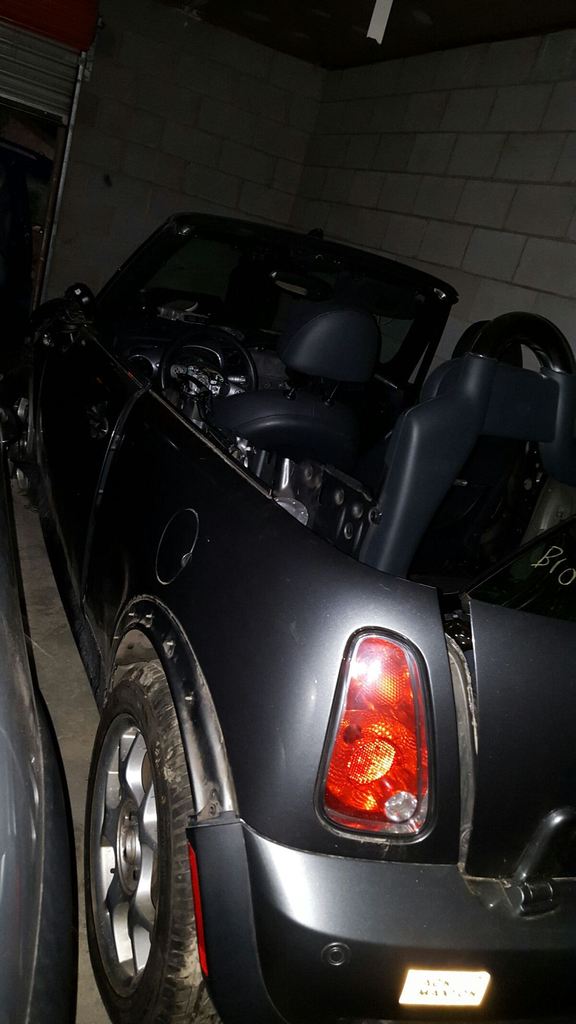
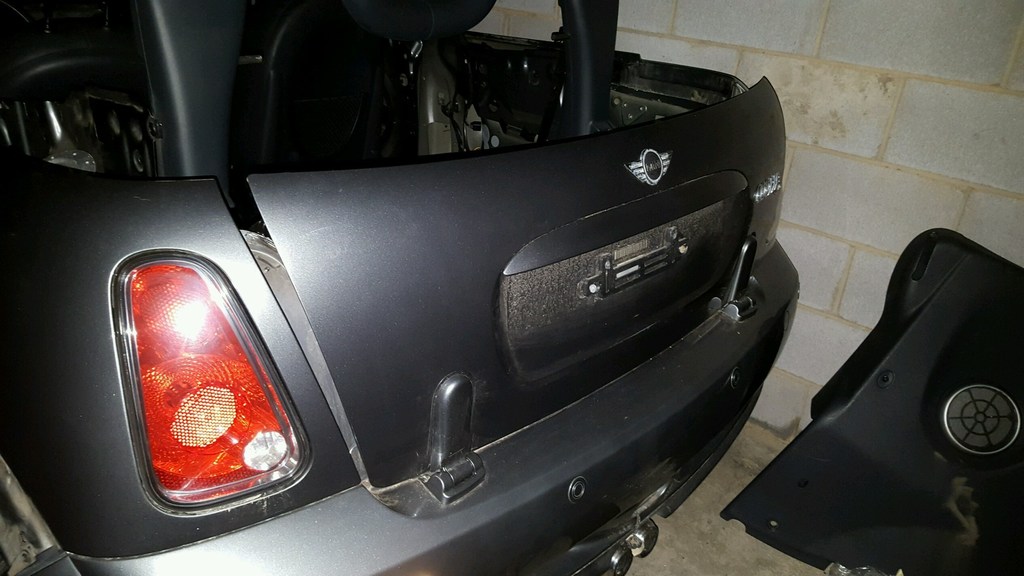
Dead MINI #3… 2006 Dark Silver cabrio, full toggle panel of options, HK audio, DSC, manual transmission, manual climate control. The PERFECT shell for Locutus Mk2.

Click the image to open in full size.

Have a bit more stuff to strip today or tomorrow, to ready for the cage fab.

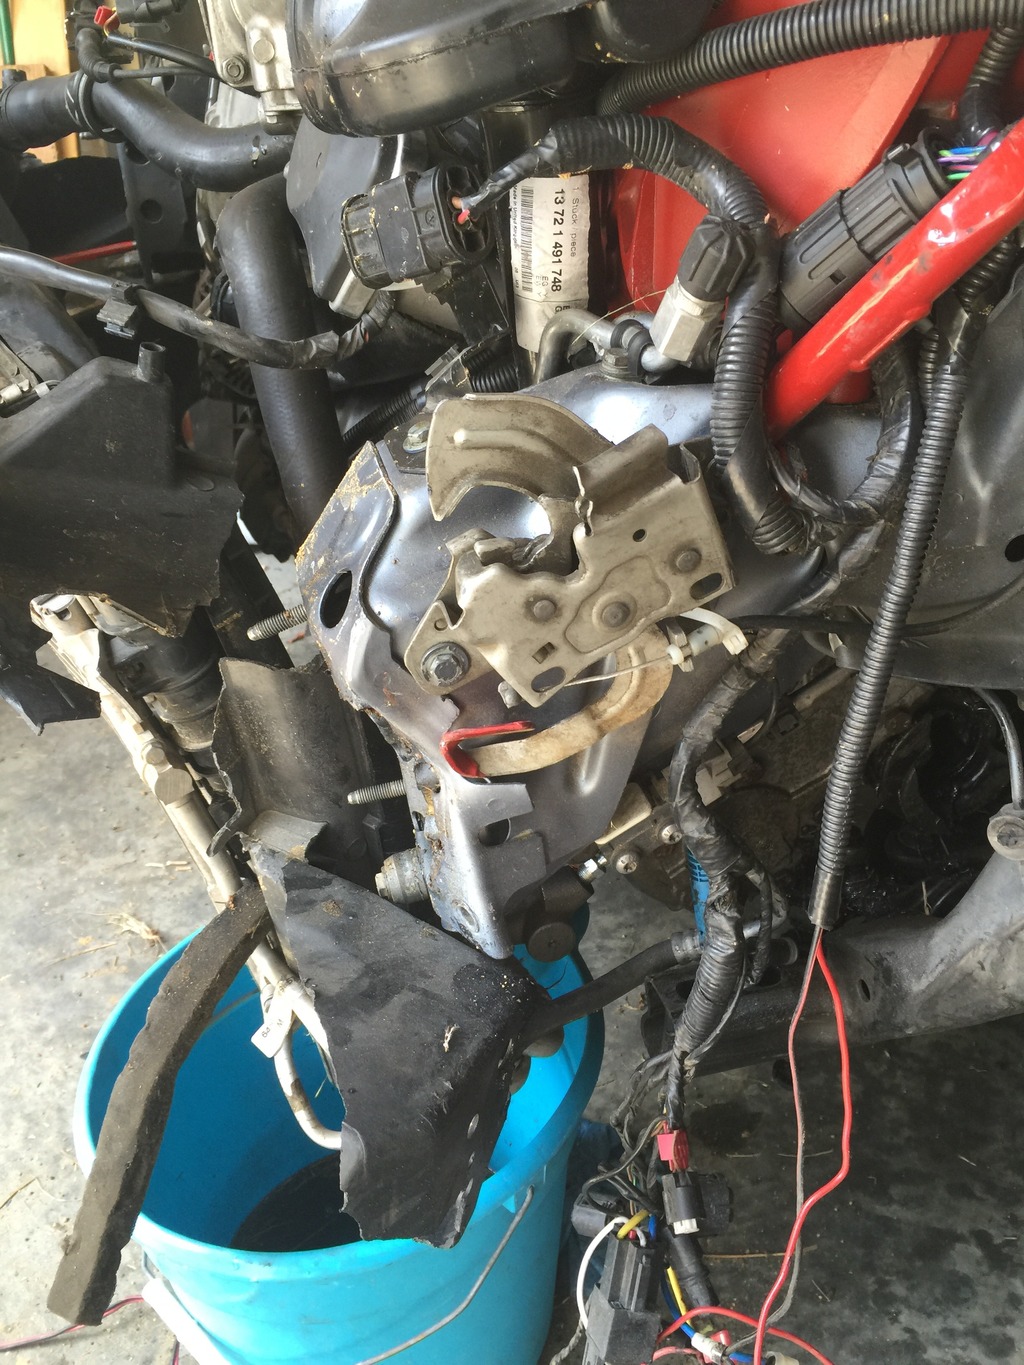
Hauled my gear to SC, to help the previous owner pull the engine.
Click the image to open in full size.

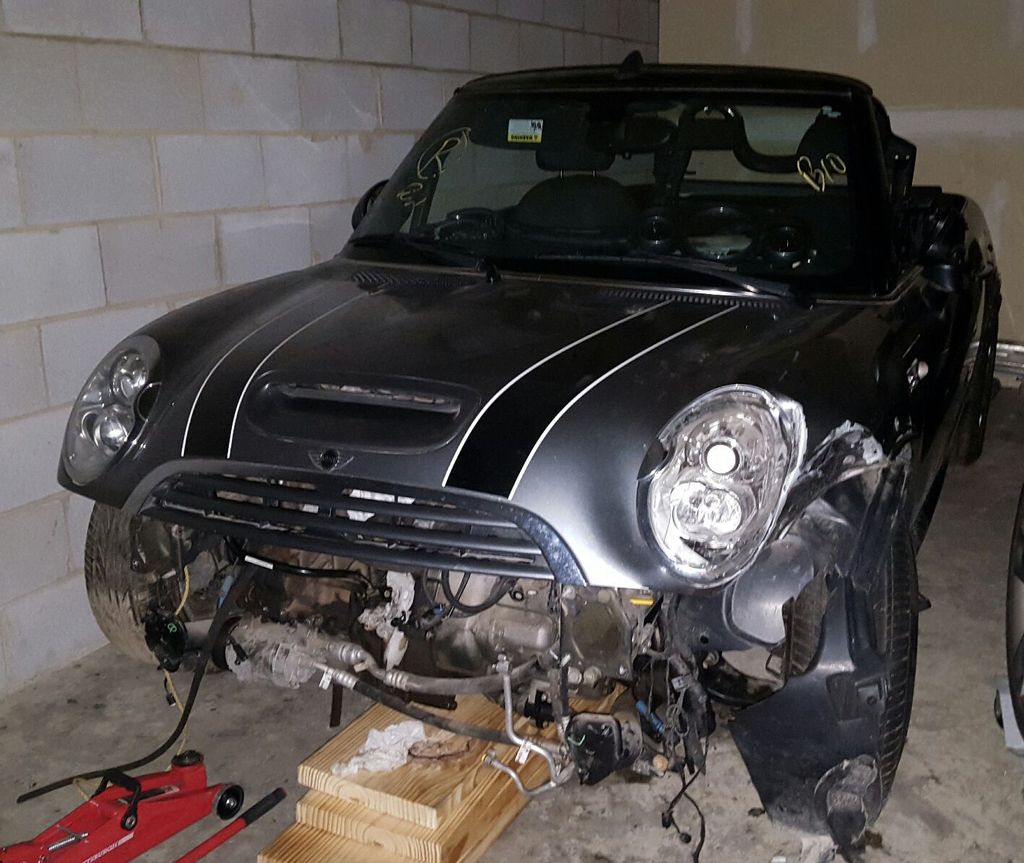
While there, also moved his latest salvage MINI from his apartment, to his storage unit. Lovely 2005 Purple Haze cabrio, that was well-loved by someone, before it hit something. Salvage MINIs make me sad.
Click the image to open in full size.

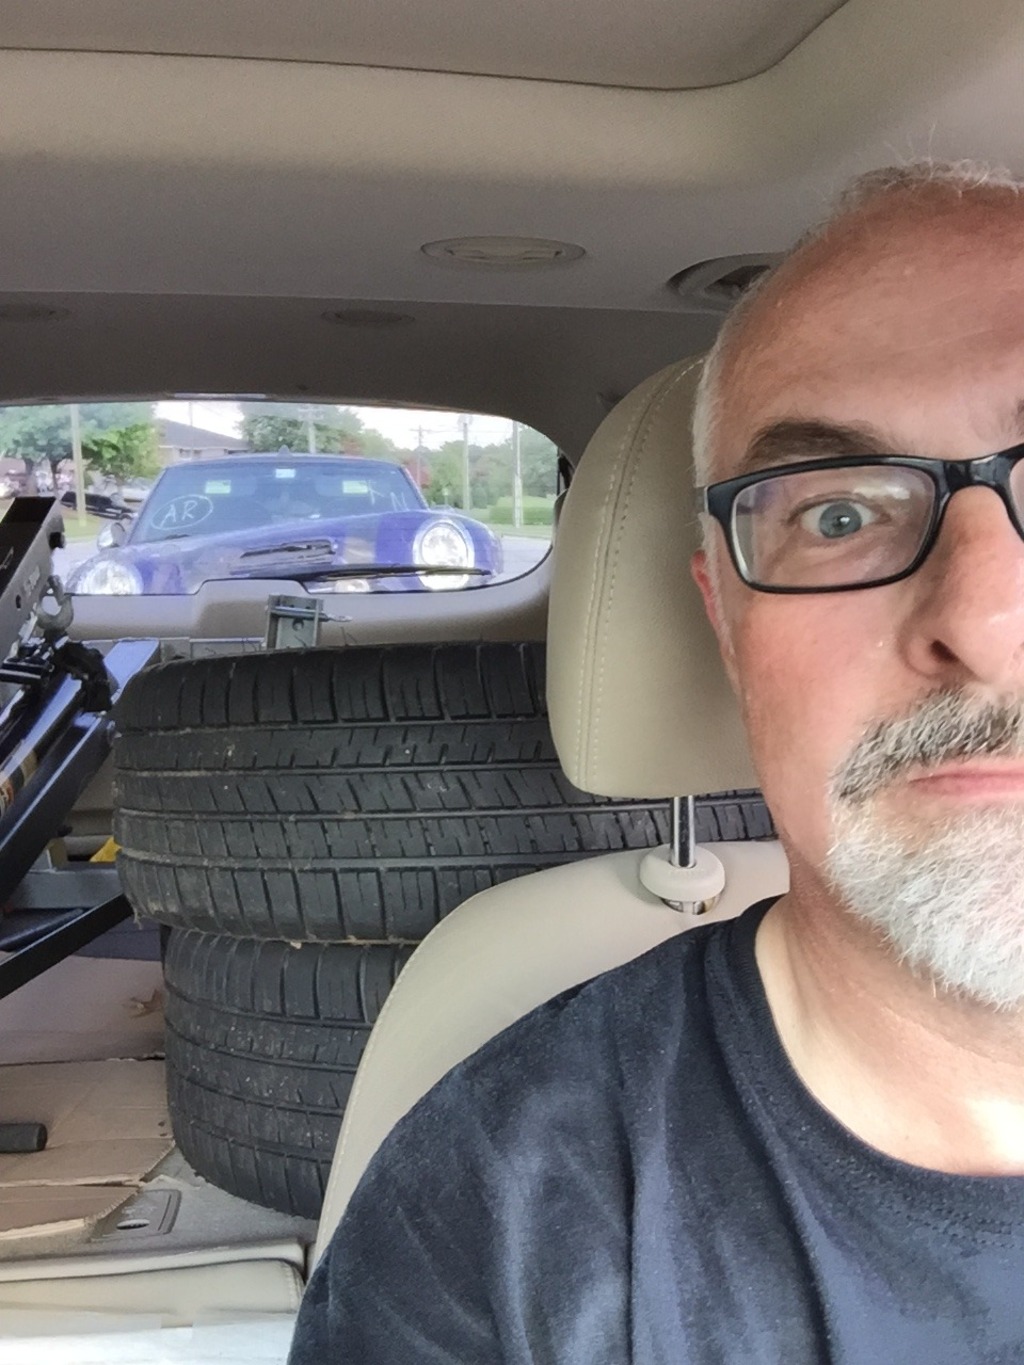
The car pulled well on the UHaul dolly… but those things do NOT back up worth a crap, with the bed pivot built into them…

Pulled it home between 11PM and 5AM, with a nap in the middle. Heard most of Coast-to-Coast AM…
Click the image to open in full size.

Heavy tear down commences

Got a ton done today.

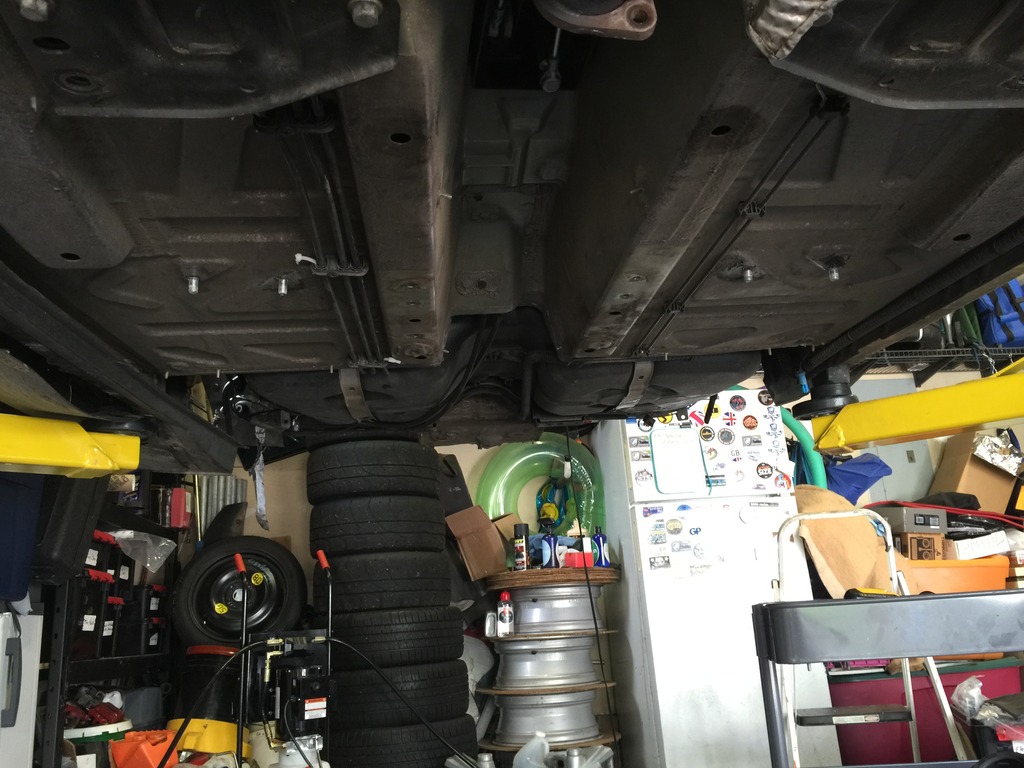
Spent most of the day under the car. Which isn’t so bad, with the car on a 4′ lift and me on a padded TailBone seat. I’m soooooo happy I have the lift, to do all this stuff. It would REALLY suck on jack stands and a creeper.

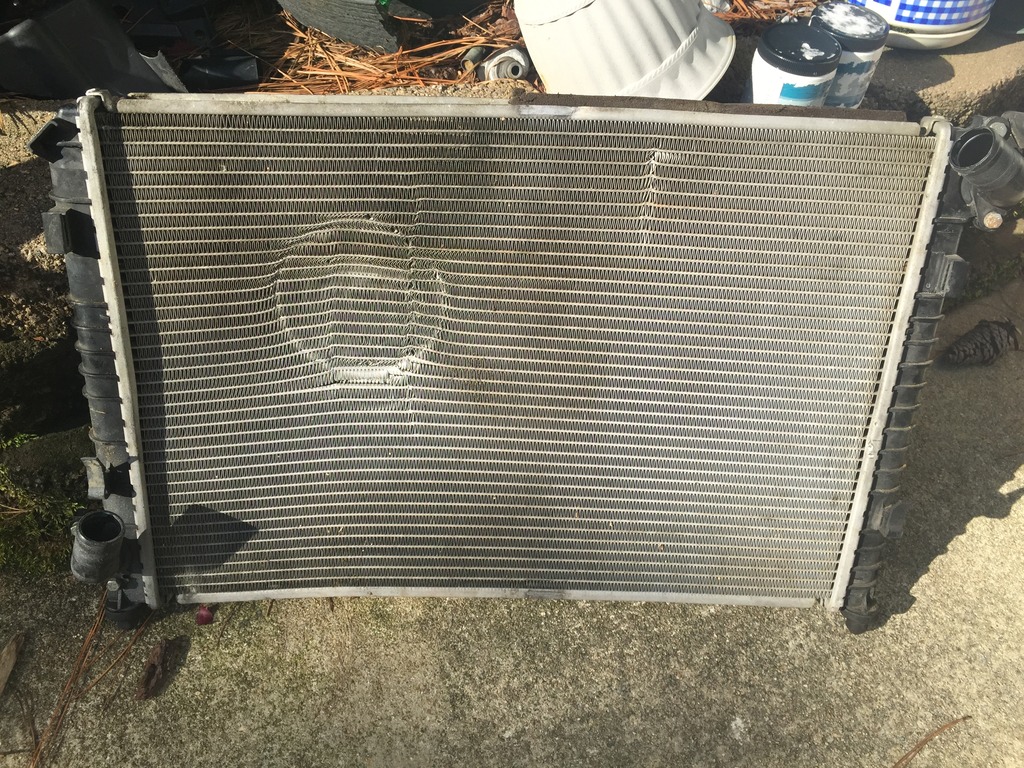
I never met a fan I didn’t like. But this radiator did.
Click the image to open in full size.

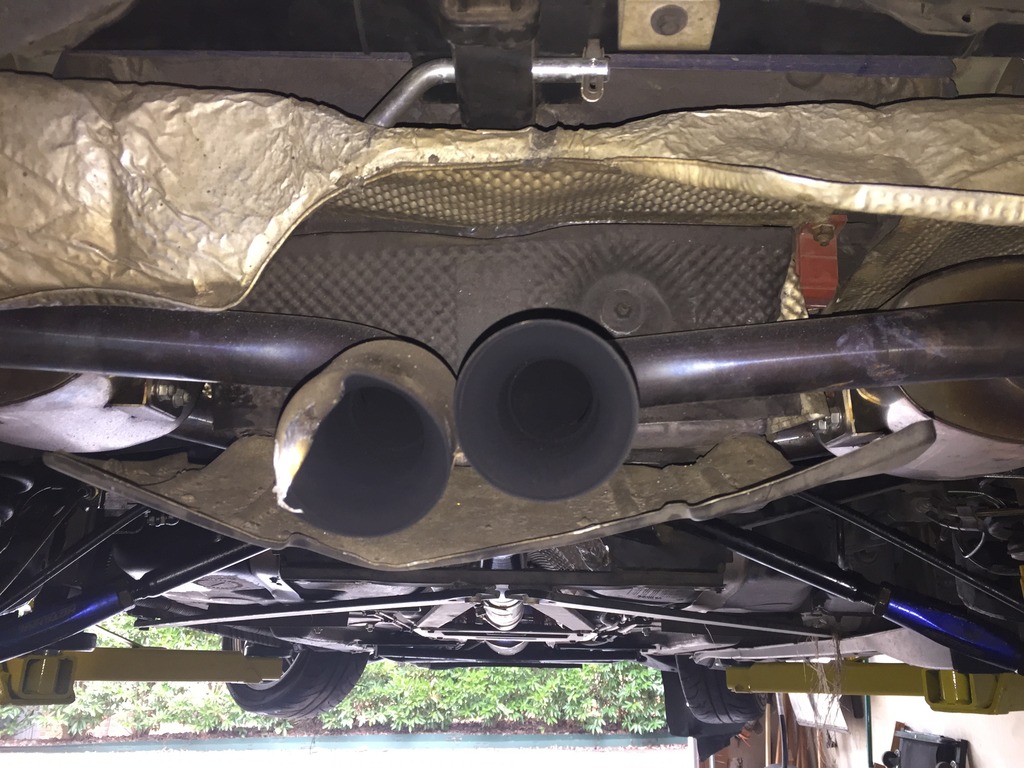
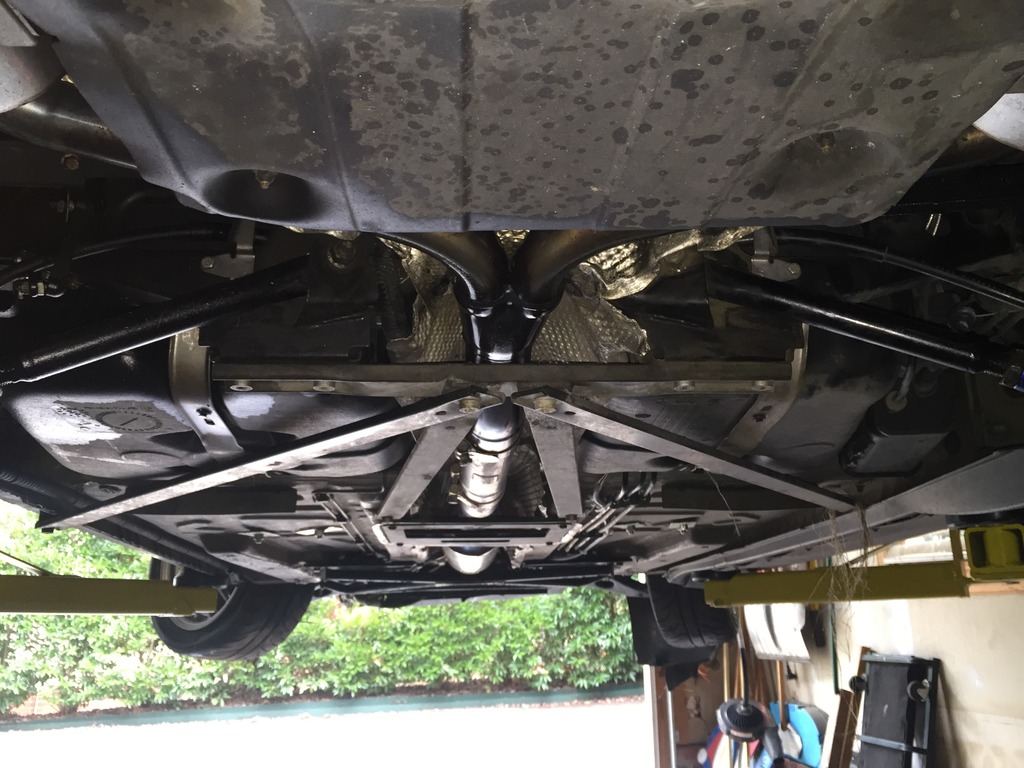
Anyway, removed the remaining side skirt, all the rear suspension / brakes stuff, under-body braces, exhaust, heat shields, EVAP system… lots of stuff.
Click the image to open in full size.

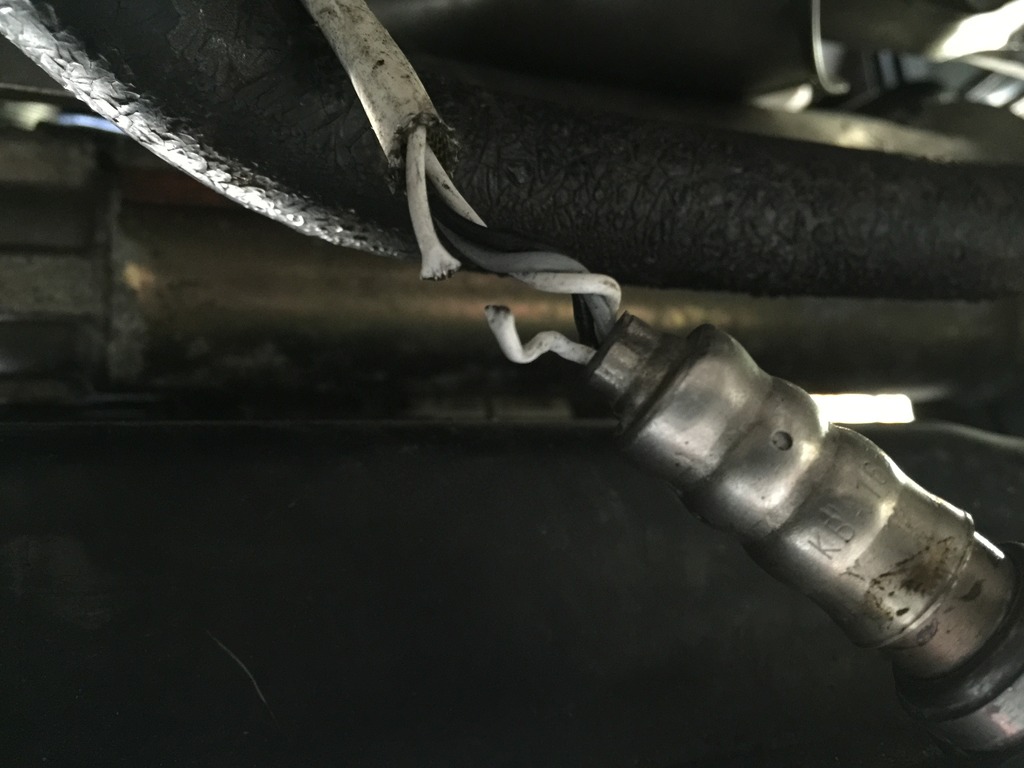
Not many surprises, but a few. One was… the front swaybar moved enough to pinch off a wire on a nearly-new O2 sensor. Drat. Might try to repair it.
Click the image to open in full size.

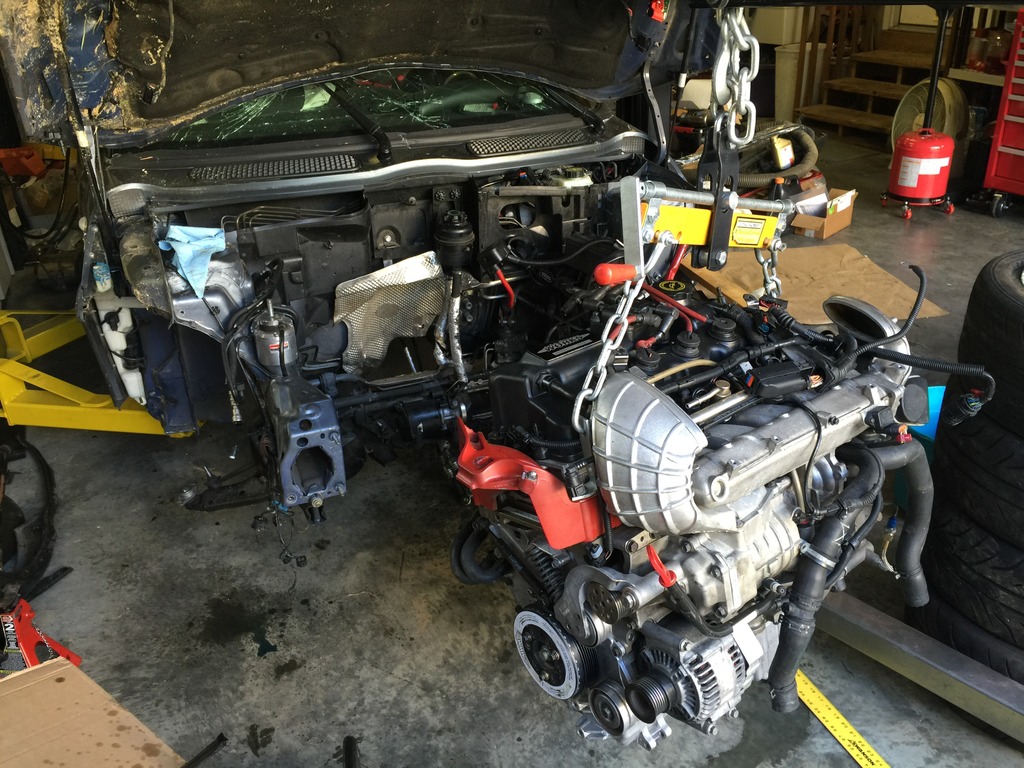
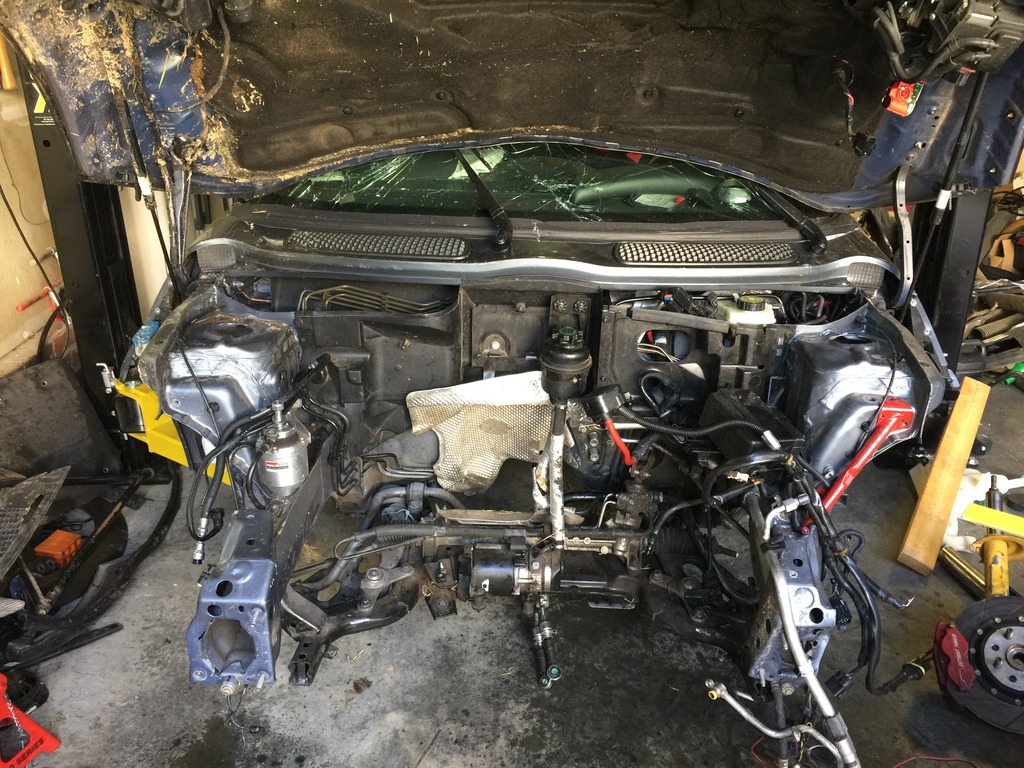
While I was under there, I did all the under-the-car engine removal stuff. Then, was like, “no big deal to go ahead and pull the engine”… so I did.
Click the image to open in full size.

Healthy heart harvested from the corpse, ready to transplant into a healthy body.

Sad…. this old friend of mine will never carry a motor or passenger again. Headed to the shredder very soon.
Click the image to open in full size.

Only about a day’s work left to finish stripping it. That will probably happen sometime next week, after the new body goes to the fabricator.

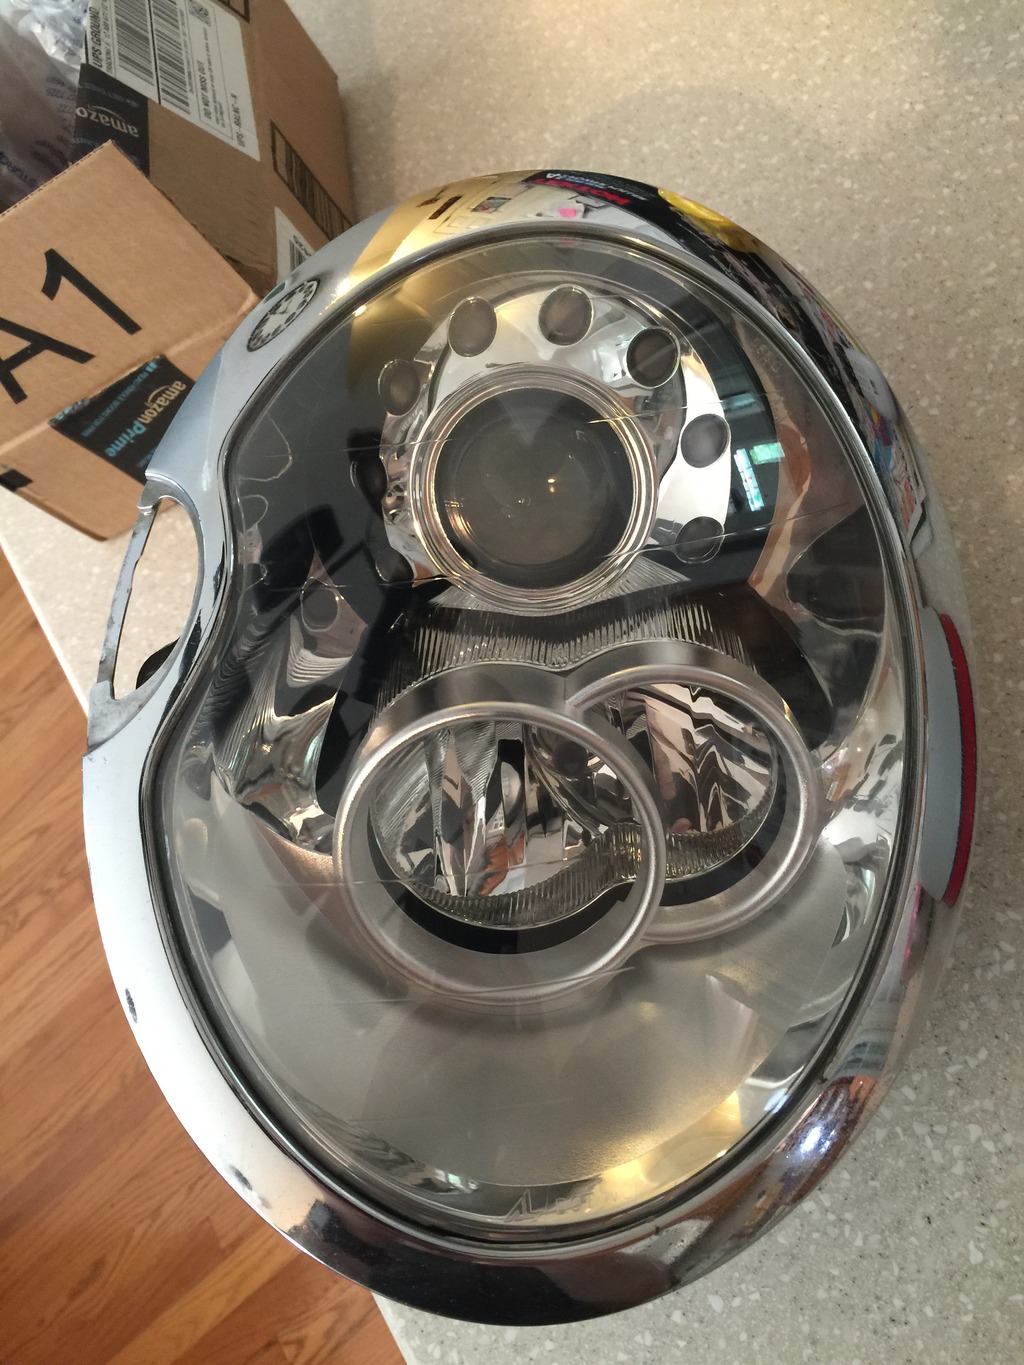
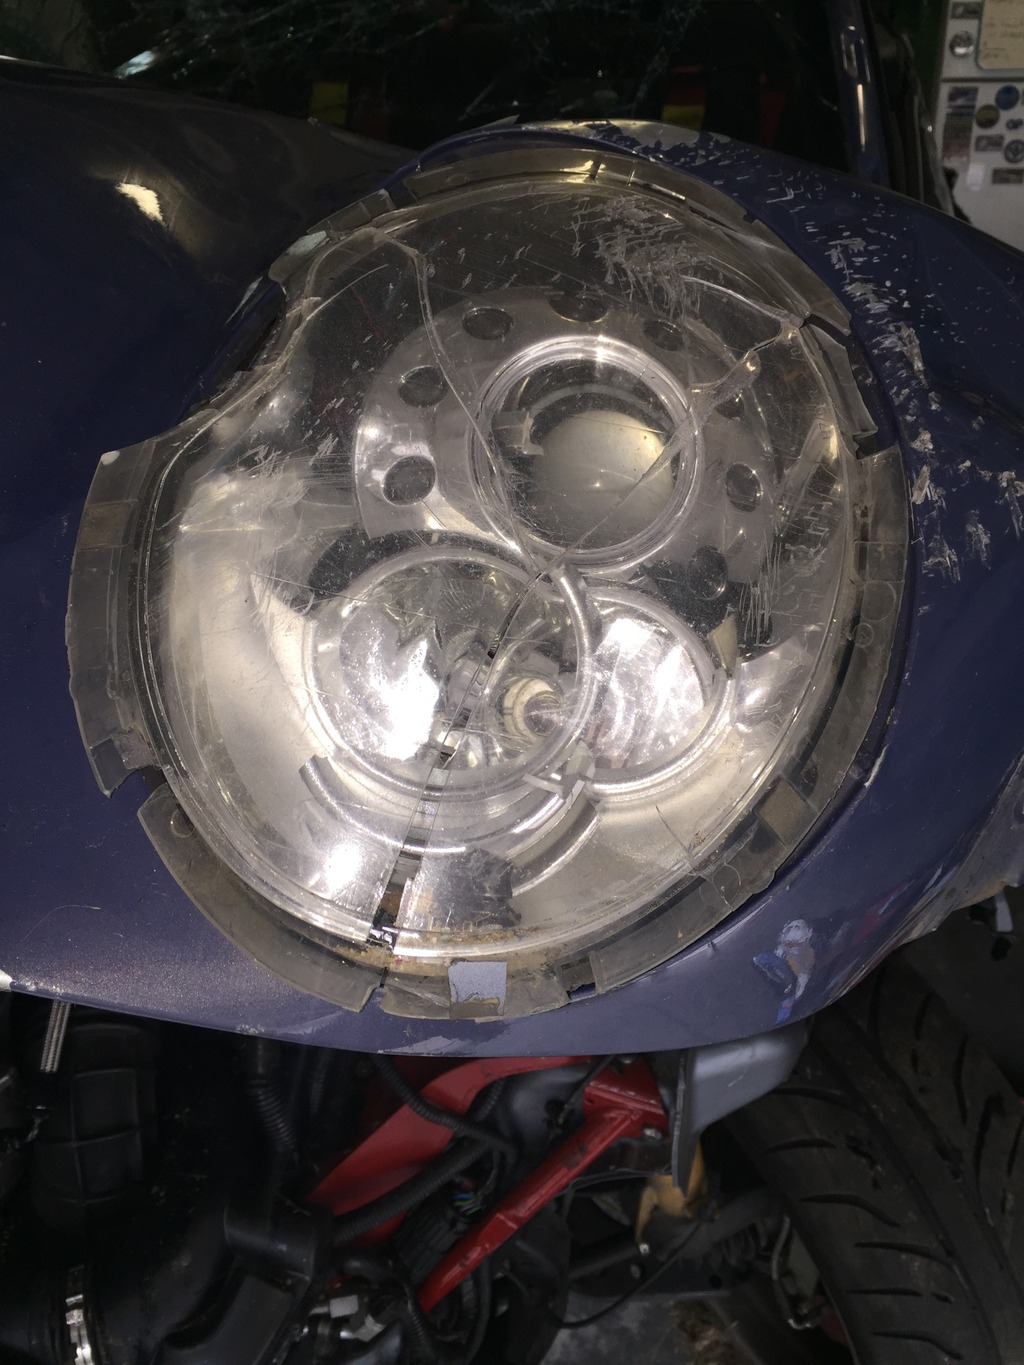
Parts continue to arrive. Excellent, clean used left Xenon…
Click the image to open in full size.

Also received the tapless adapter for my oil pressure sensor.

Tomorrow… trip to SC to pickup the new shell! Probably no updates until Sunday.

Starting to spend money for stuff

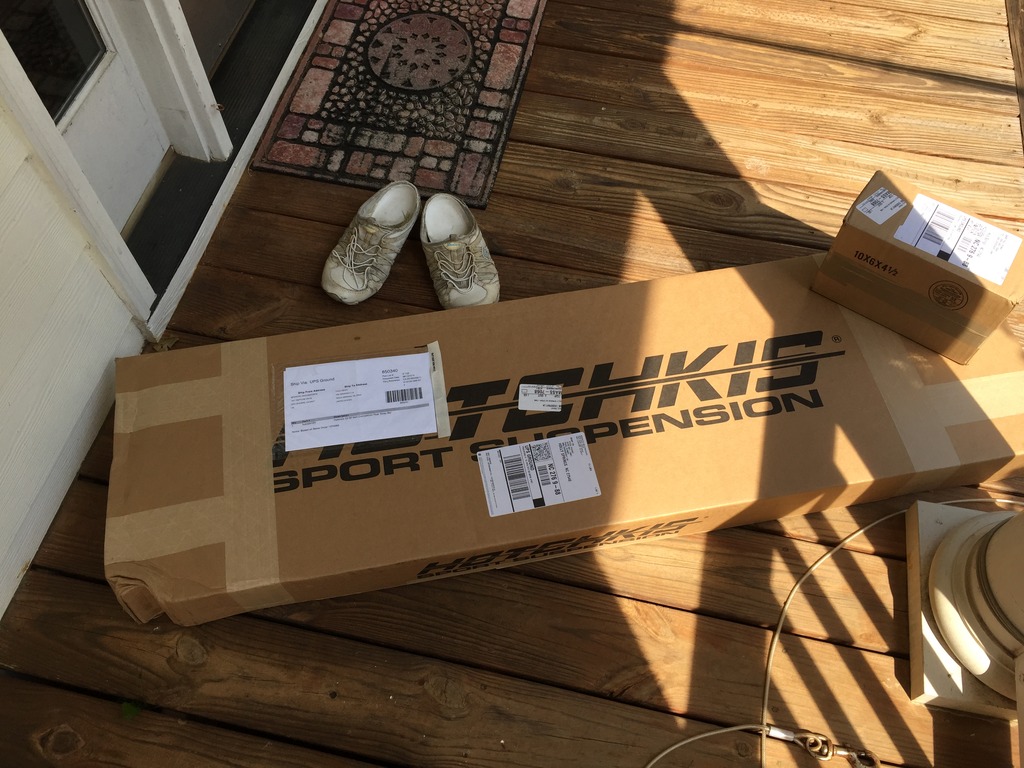
Replacement tow hook shafts ordered.
Also ordered a very good looking used left Xenon headlight.

It occurred to me today, I should have my cage welded in before the repaint. Since the cage work is as likely to mar the paint as anything. Plus then I could get the cage painted with the body, if I want.

Called my cage fab guy, told him his last half-cage saved my bacon, and lined him up to put a 6 point in the new build. When I get the rolling shell, I’ll strip it, then drag it to my fab guy’s shop. Should be minimal to no lead time, so that’s good. If I schedule it right, I can drag it straight from the cage guy, to the paint guy. Then home to get started on my part of the build.

Also, I put another big check in the mail to RMW today, for the TVS kit and other related stuff. 2015 is the Year of Full Retard.

Locutus Mk2 is gonna be EPIC.

Rennline to the rescue

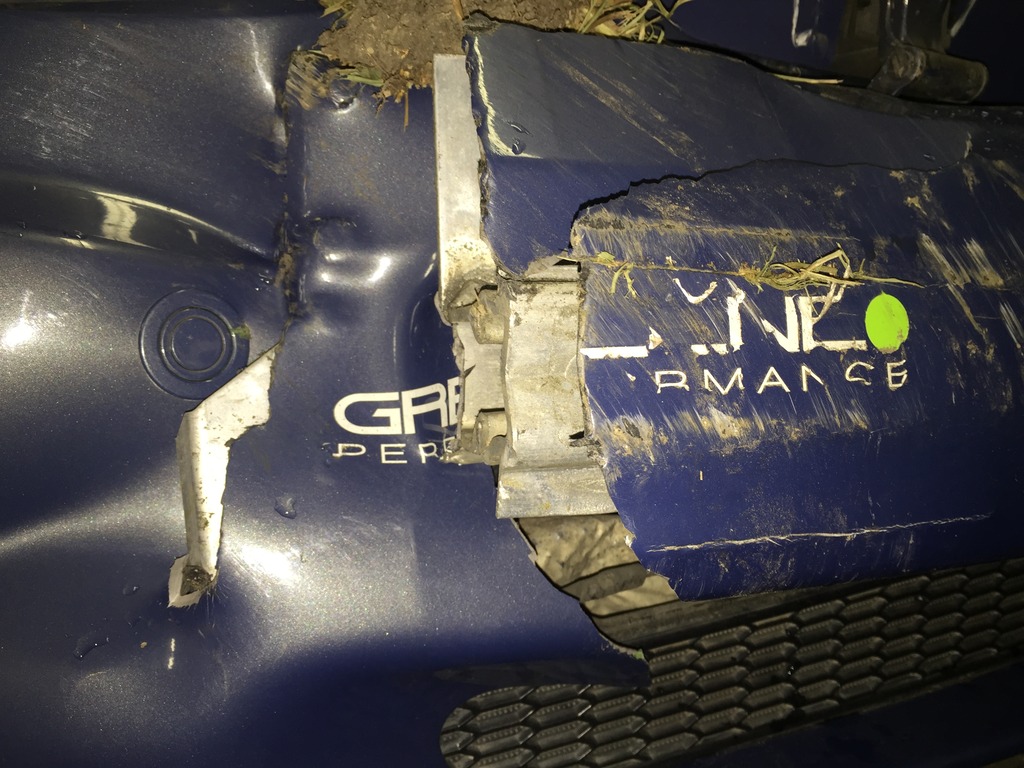
In the crash, I broke BOTH my fine, expensive Rennline tow hooks. Sheared them off where they screw into the bumper.

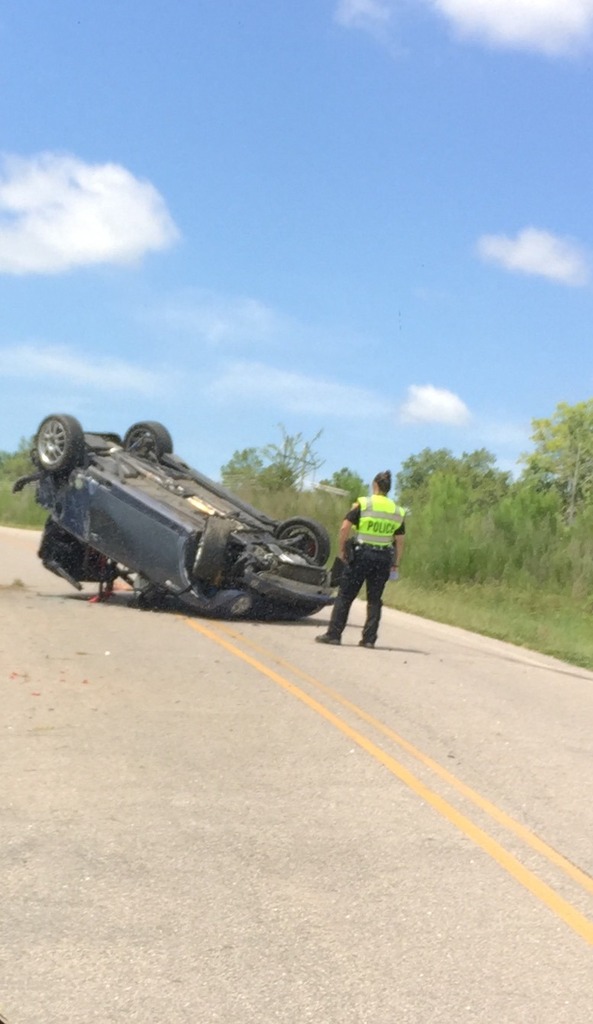
I emailed Rennline, asking if they could sell me just the posts, since the rest of them are fine and I’m trying so save money on the rebuild wherever I can. I included a pic of a tow hook, as well as a pic of the wreck, with the car upside down, and description of what I did. Here’s their reply.

Quote:
Hi Paul,

That is quite a wreck! You will need a pair of the E10 posts in the 96mm length. We still have your customer profile on file so if you want to give me a call tomorrow between 7AM and 5:30PM we can get that set up. They will be $x/ea so $y for the pair, they’re generally a bit more expensive but since you’re doing so much rebuilding and broke them in the most spectacular fashion I’ve seen yet I took a chunk off for you. Hopefully I will talk to you tomorrow!

Best regards,
Shawn Christianson
______________________________
Sales, Support and Marketing
Rennline Inc.

“broke them in the most spectacular fashion I’ve seen yet”

I win!!!

Great customer service.

Disassembly begins… and parts start to arrive

Got started on some disassembly today…

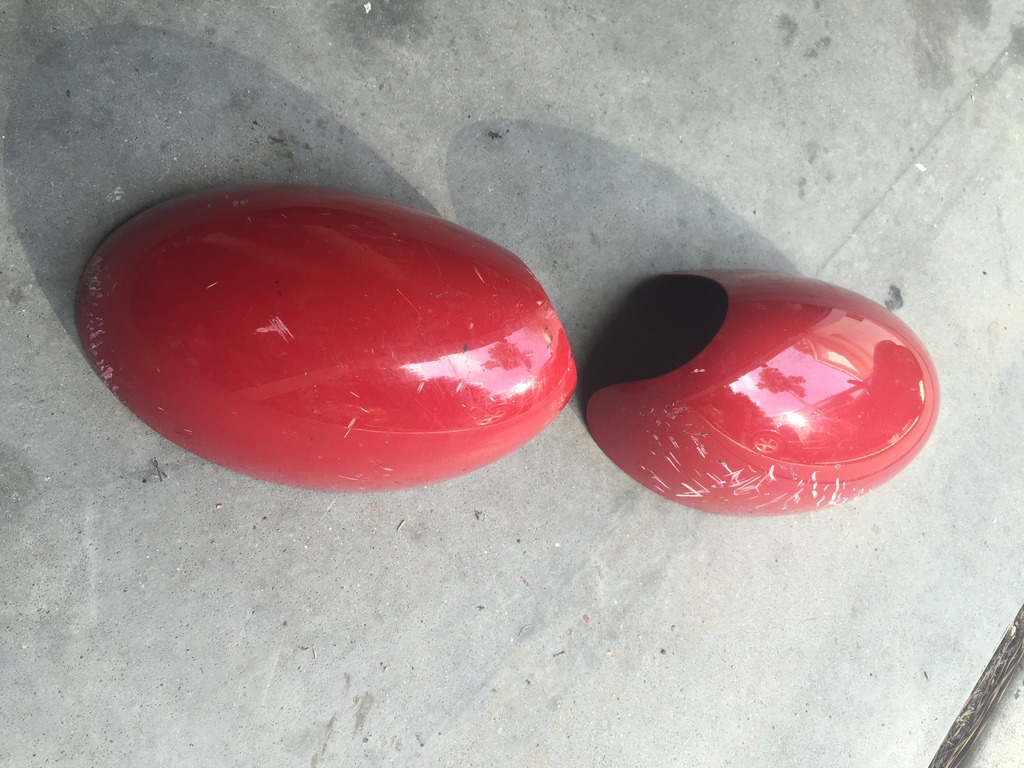
Came across my GP mirror caps. When you manage to get asphalt scrapes on BOTH your side mirrors… you’re doing it wrong.
Click the image to open in full size.

Started pulling out the left interior bits, in hopes that I could get the door open once I got that out of the way…

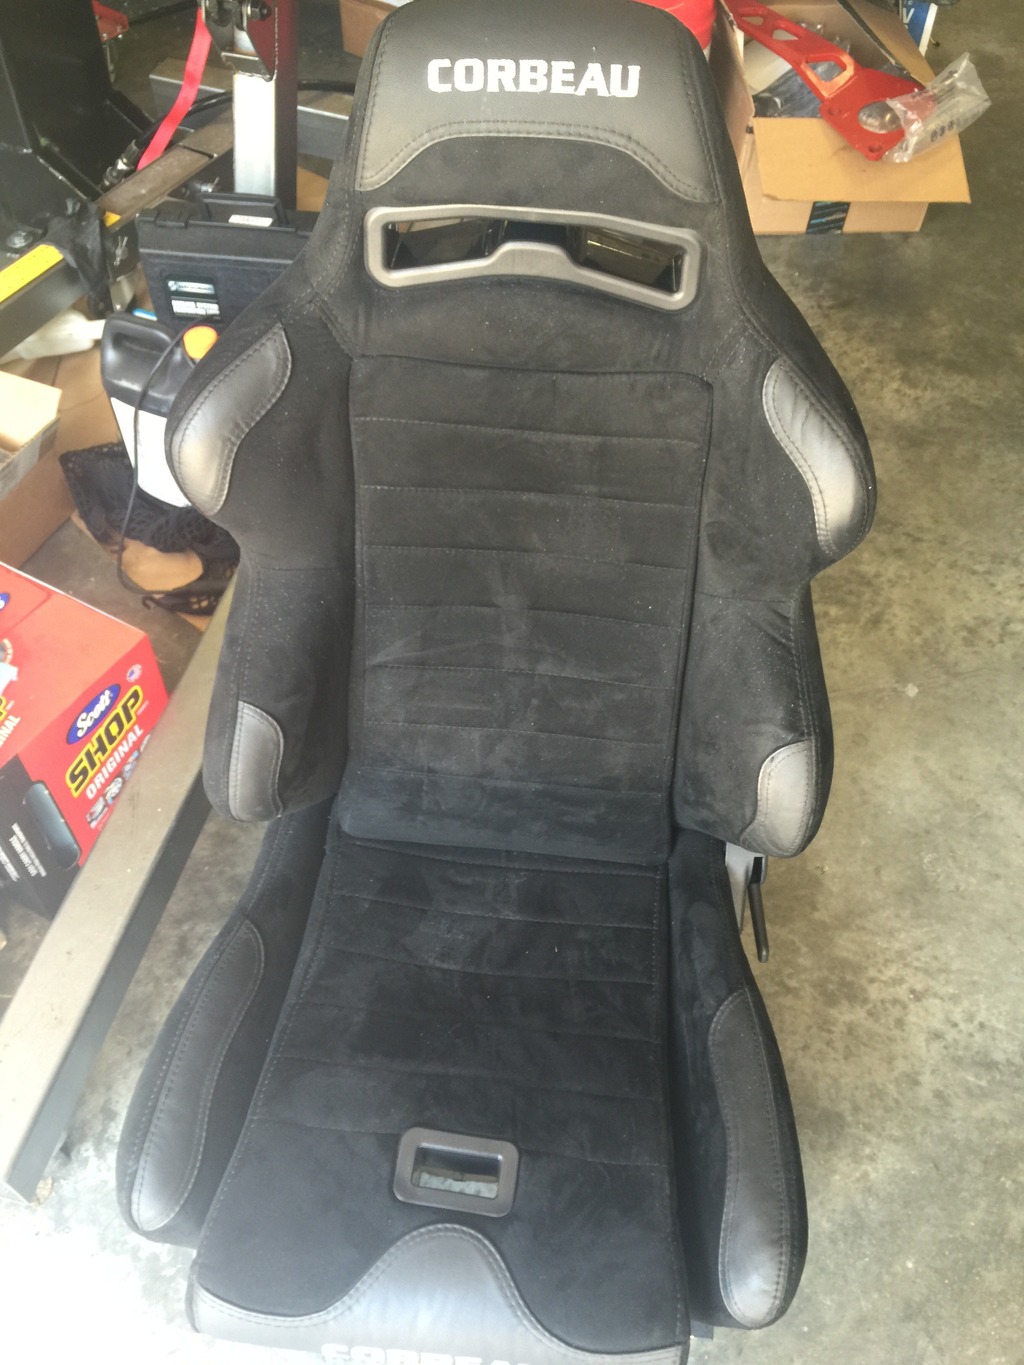
Corbeau LG1 driver’s seat is in good shape, mechanism works just like it did before the crash…
Click the image to open in full size.
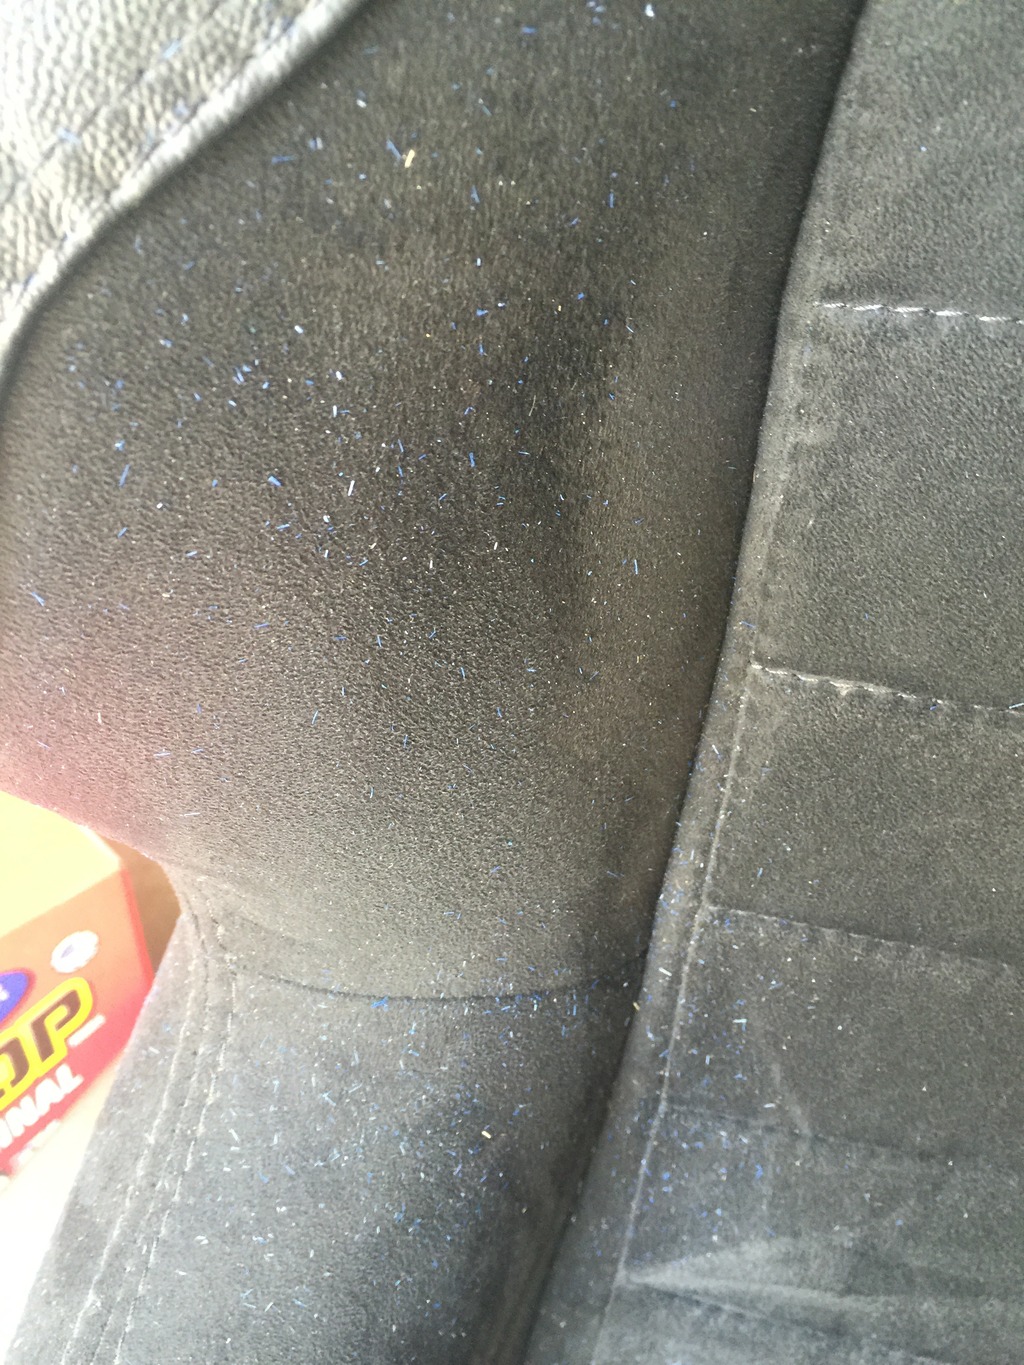
But note that the side bolster on the left side (right in the photo) is bent outward. Must have happened when I landed the car on the right rear corner, and all my mass hit that HARD. I wasn’t sore or bruised there, but I must have done that. There’s a steel frame inside there, I can’t bend it back by hand. I’ll probably disassemble the seat and inspect the frame, if it looks sound I may try to massage it back into shape.

Lots of Cool Blue paint flecks everywhere…
Click the image to open in full size.

It’s really starting to sink in, just how much punishment this car took for me.

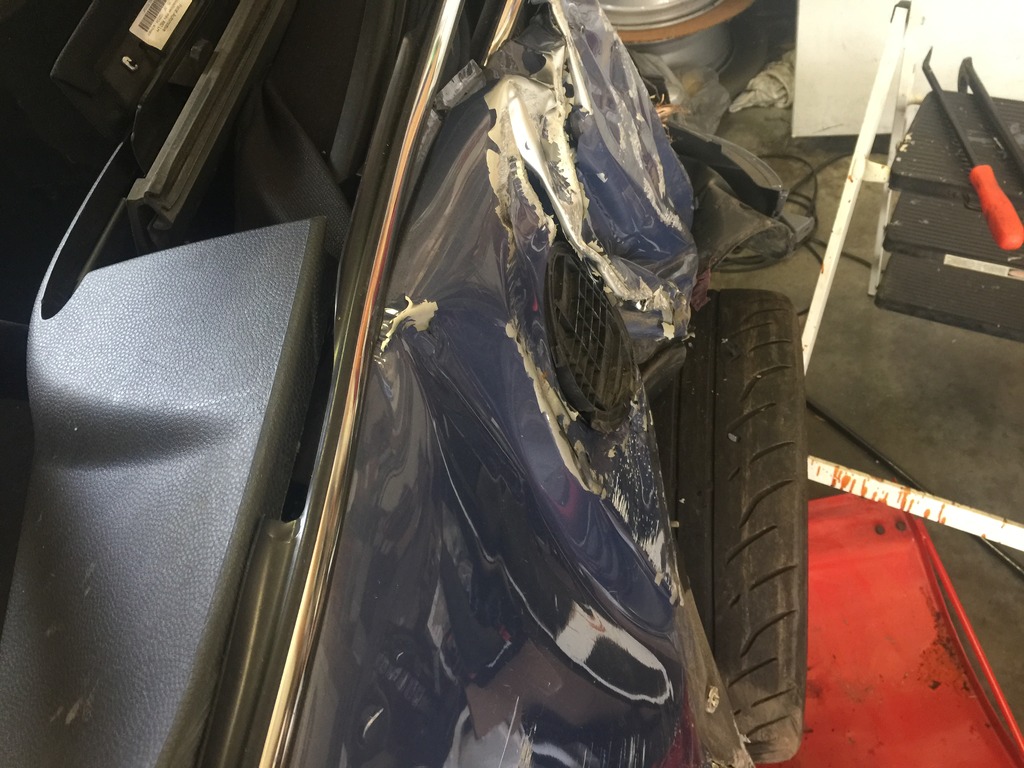
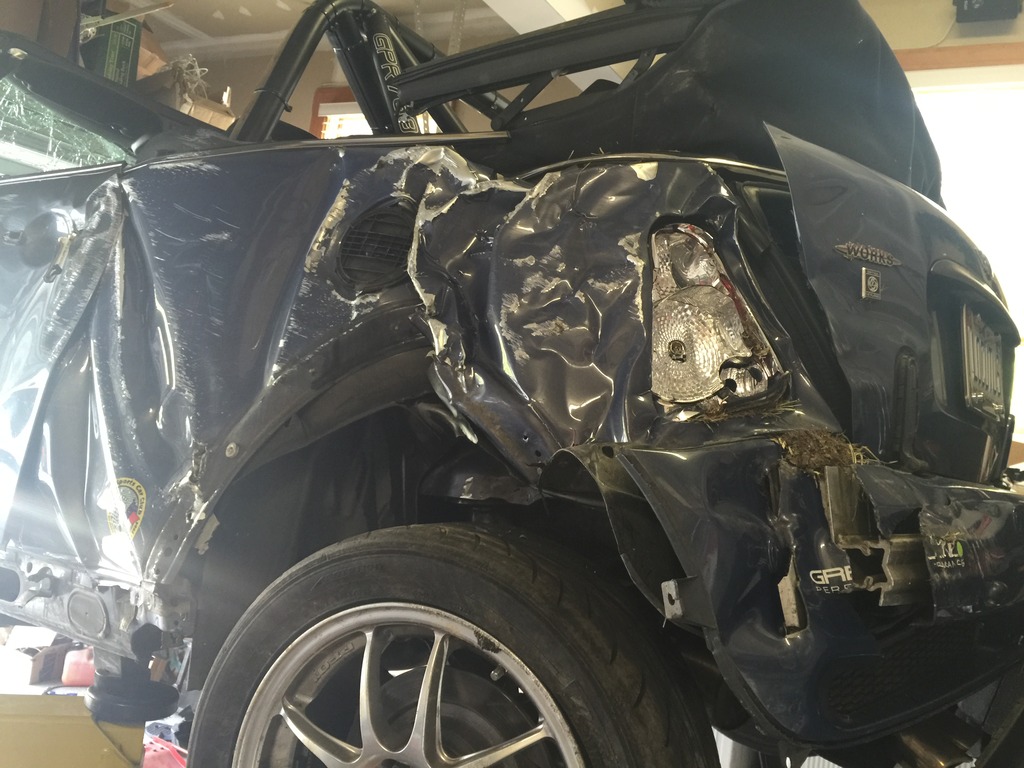
The amount the left rear corner deformed. The open-wheel MINI look…
Click the image to open in full size.

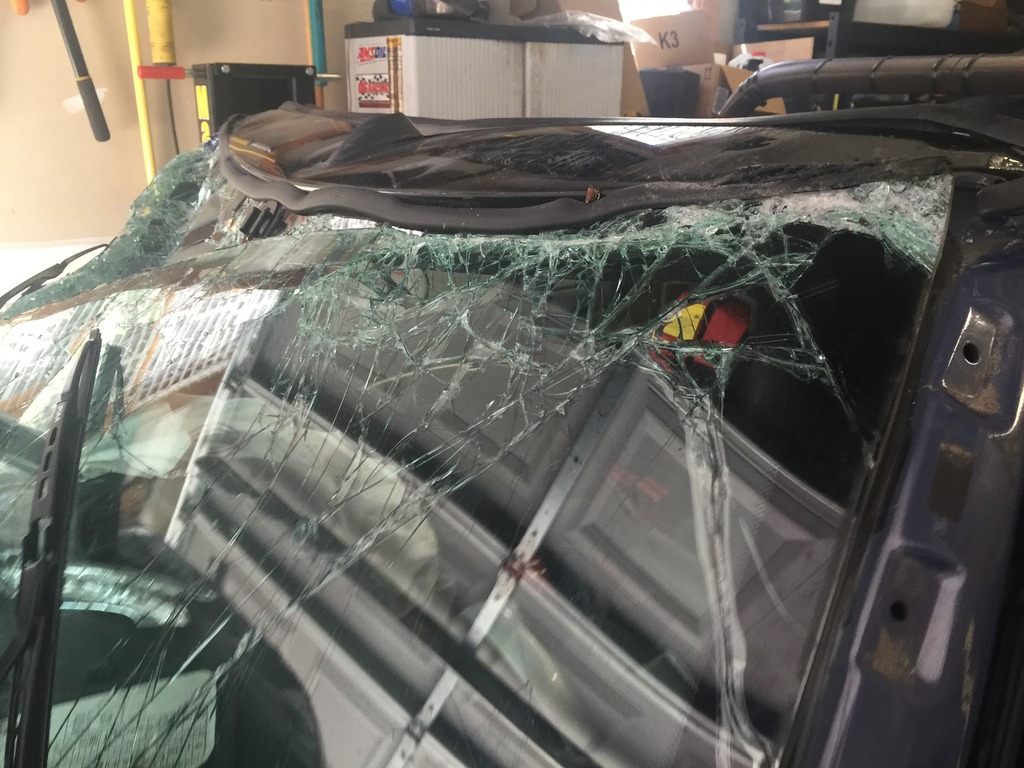
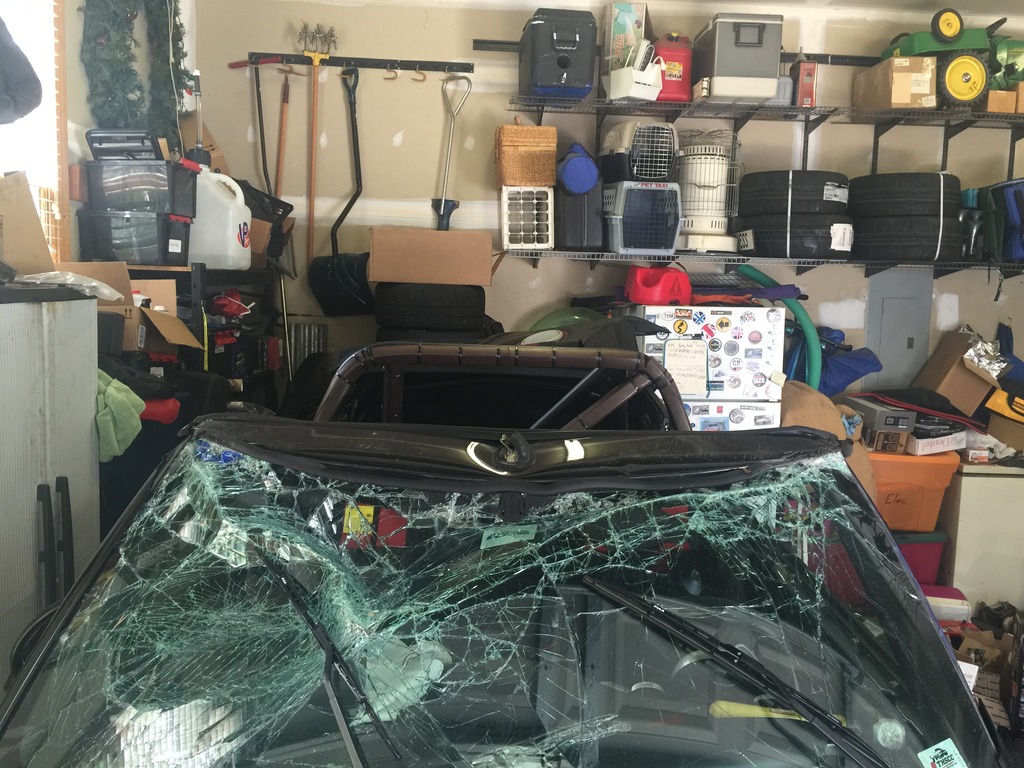
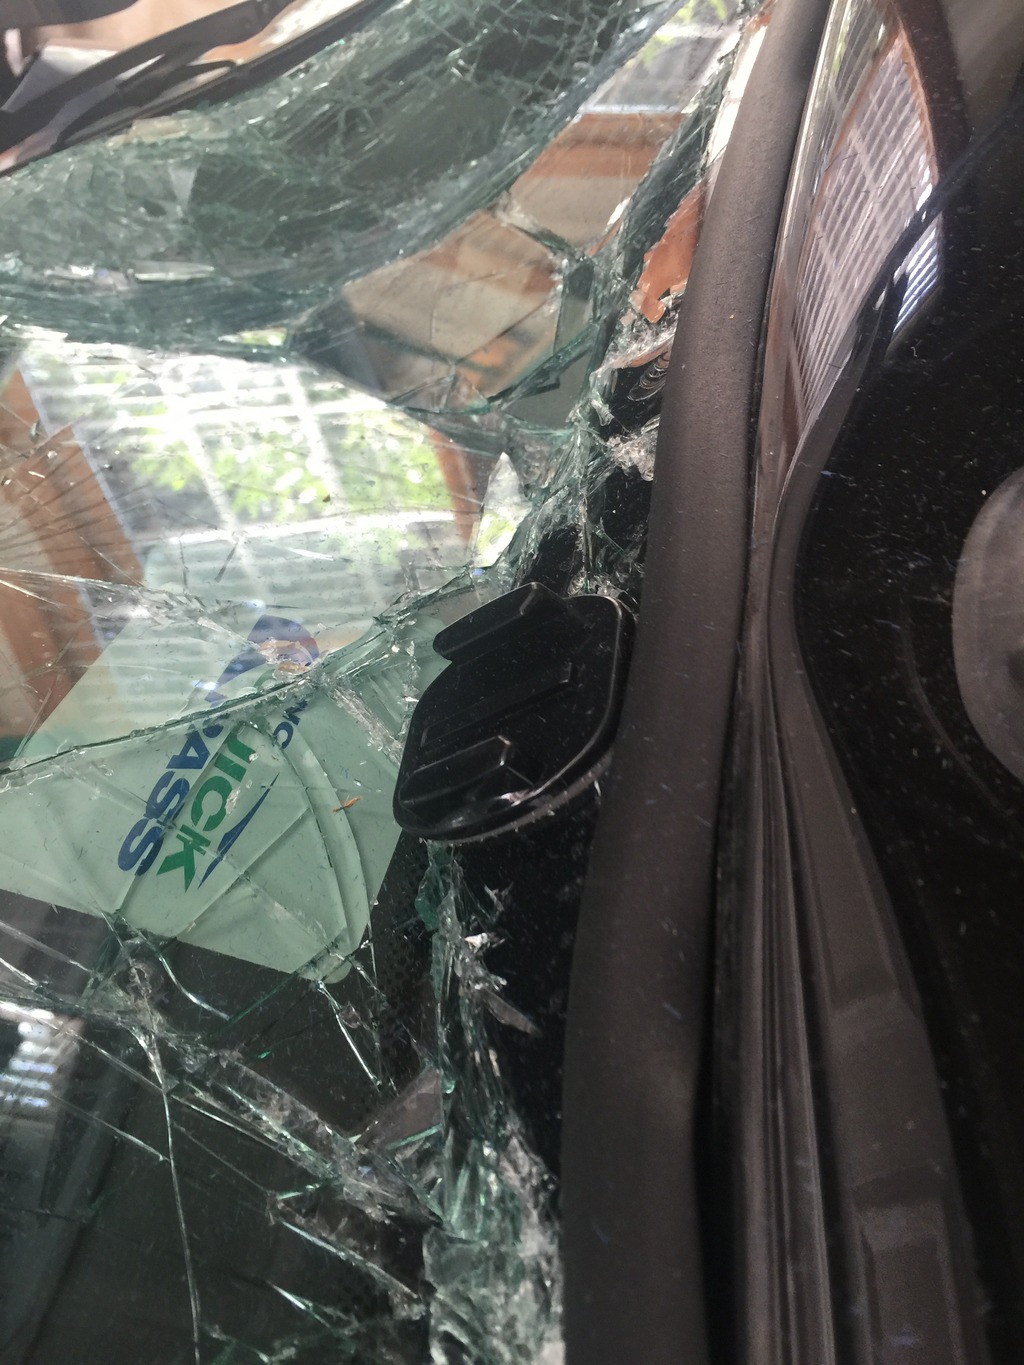
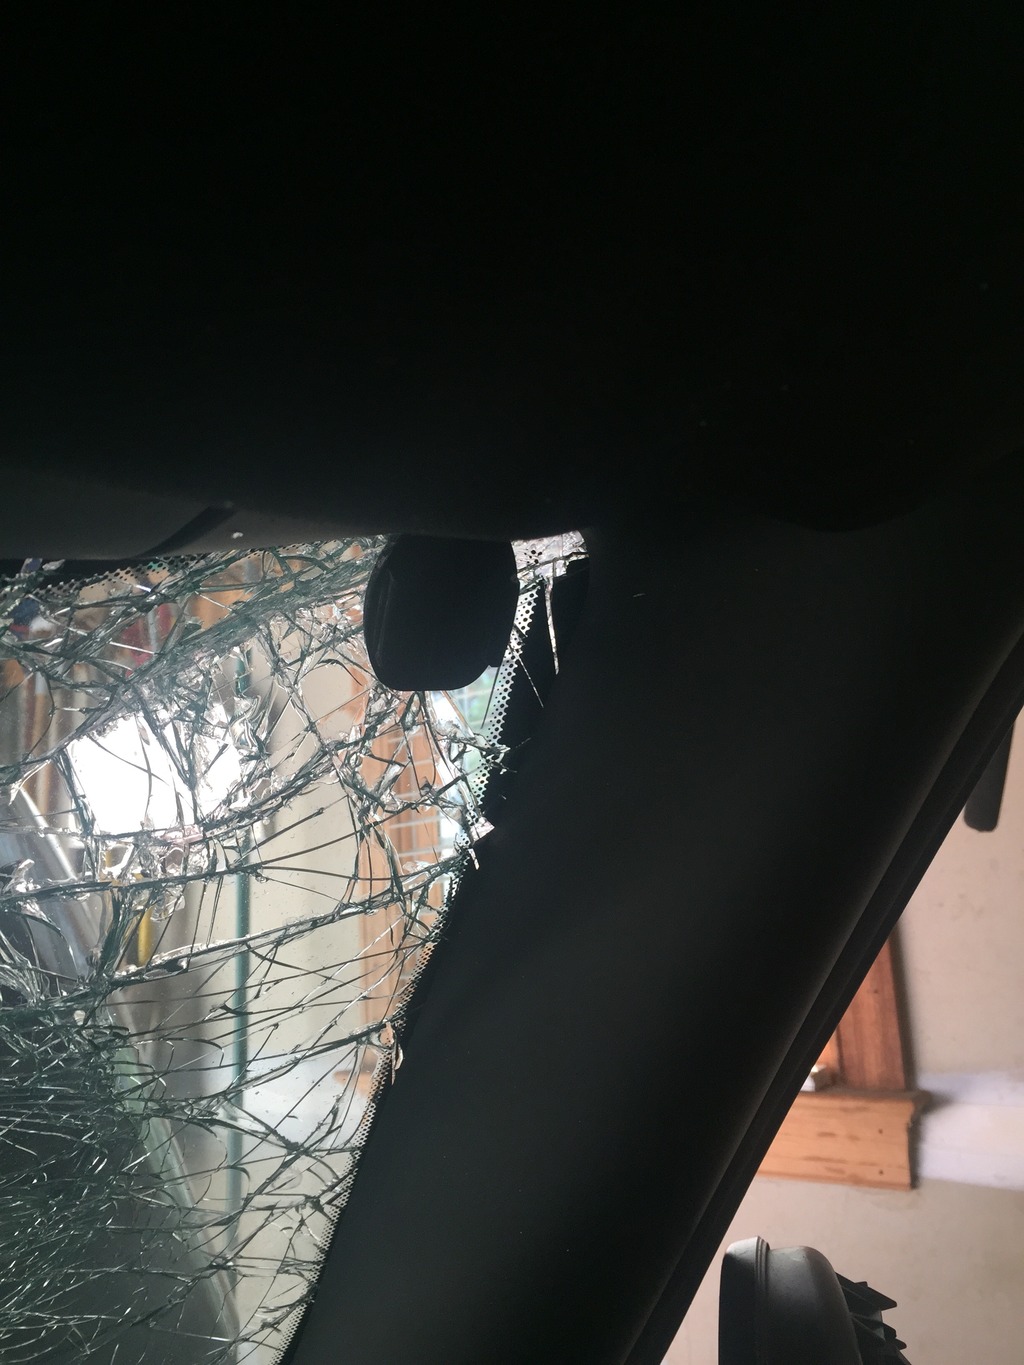
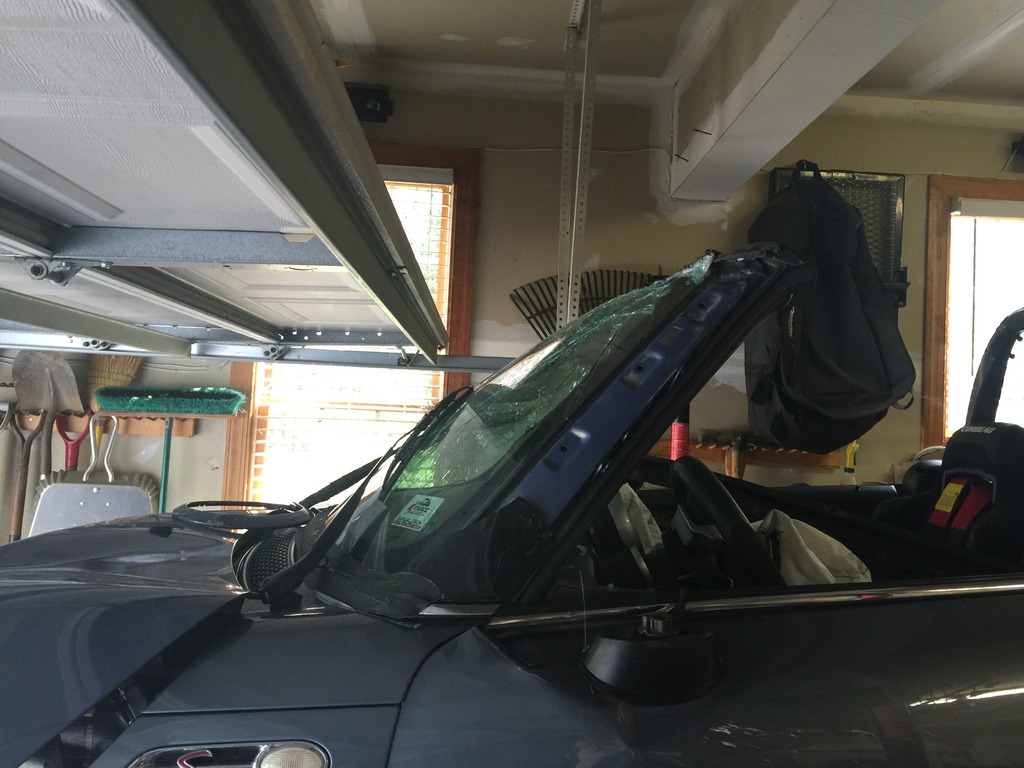
The amount of deformation of the windshield frame…
Click the image to open in full size.

In spite of that… the GoPro mounts stayed in place. Those things are STICKY…
Click the image to open in full size.

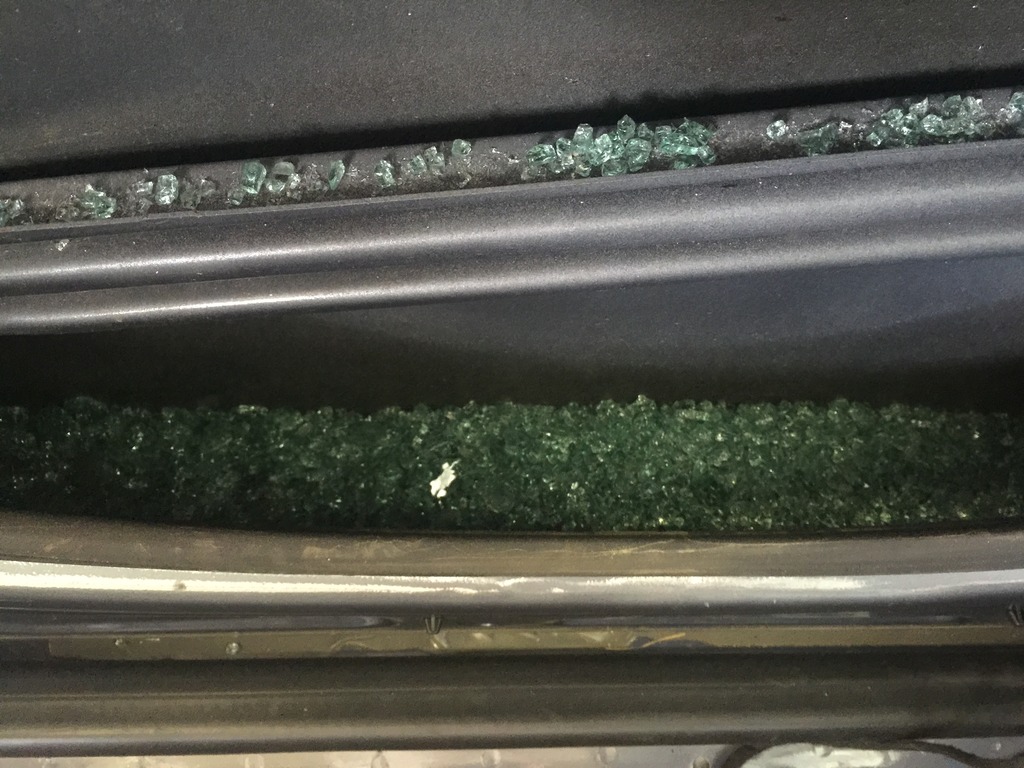
When a window shatters, it makes a LOT of pieces inside the door…
Click the image to open in full size.

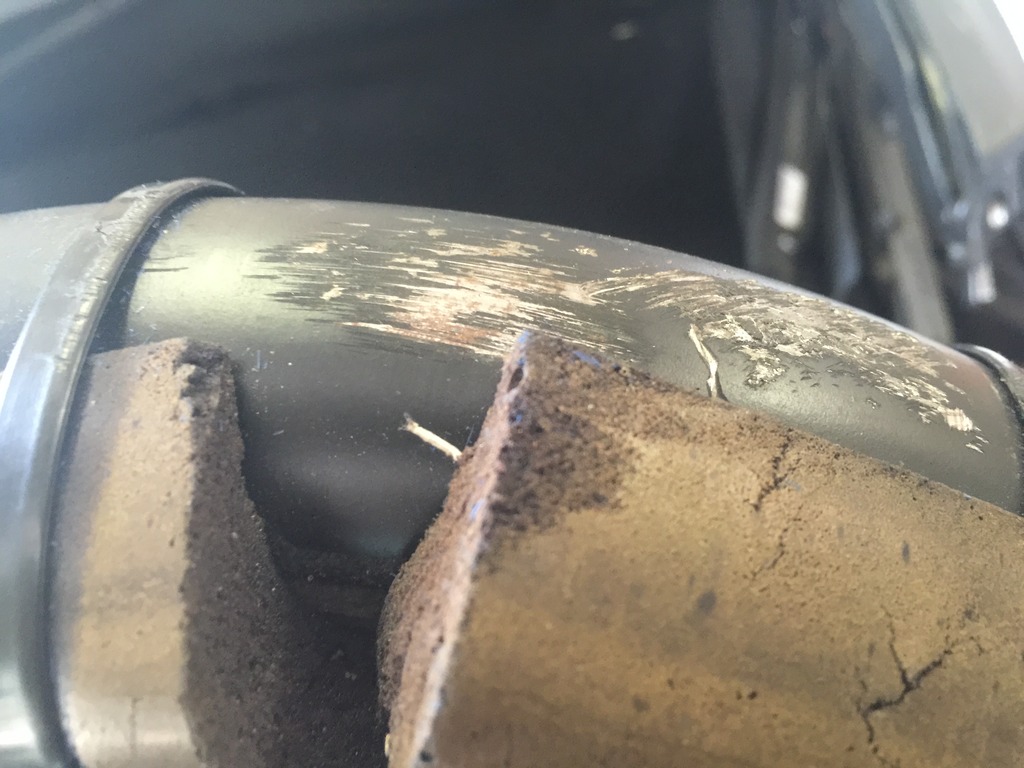
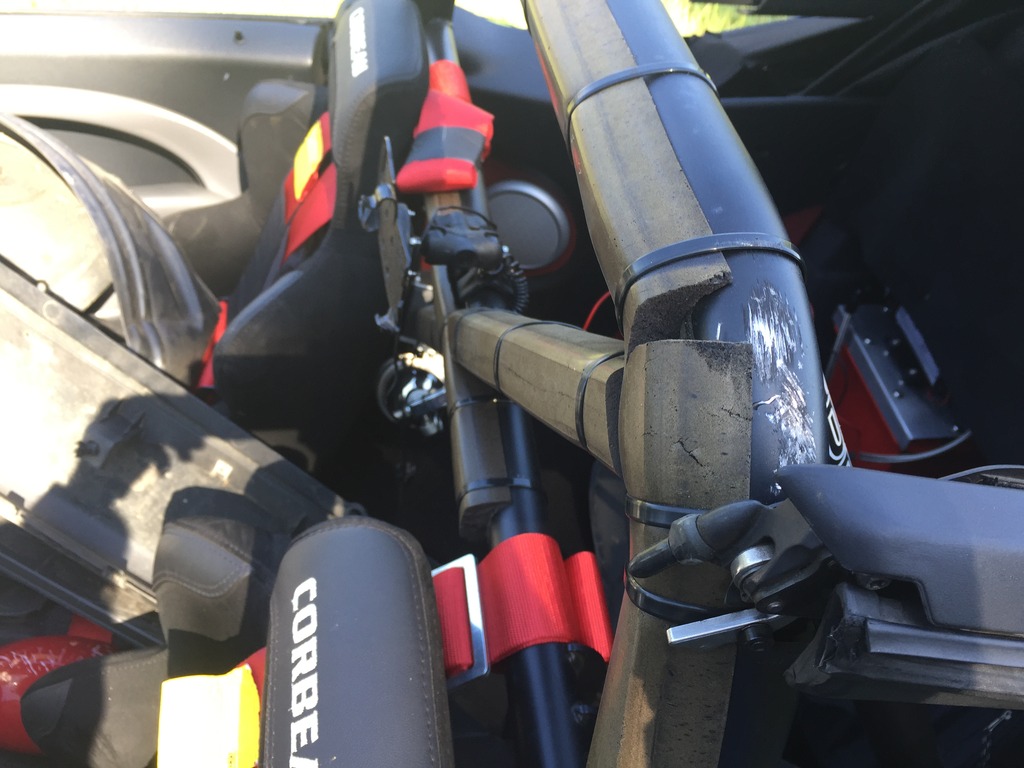
I thought the roll bar was just scraped from when the car settled into place… but it took a harder hit than I thought. There’s a definite flat spot on this corner, right beside my head, probably happened the same time I got road rash on my scalp at the same spot…
Click the image to open in full size.

Even with all the interior panels out of the way, prying and using the BFH, I can’t get the door to budge. I may just leave it, or I’ll have to cut it open. There’s some serious sheet metal origami going on here…
Click the image to open in full size.

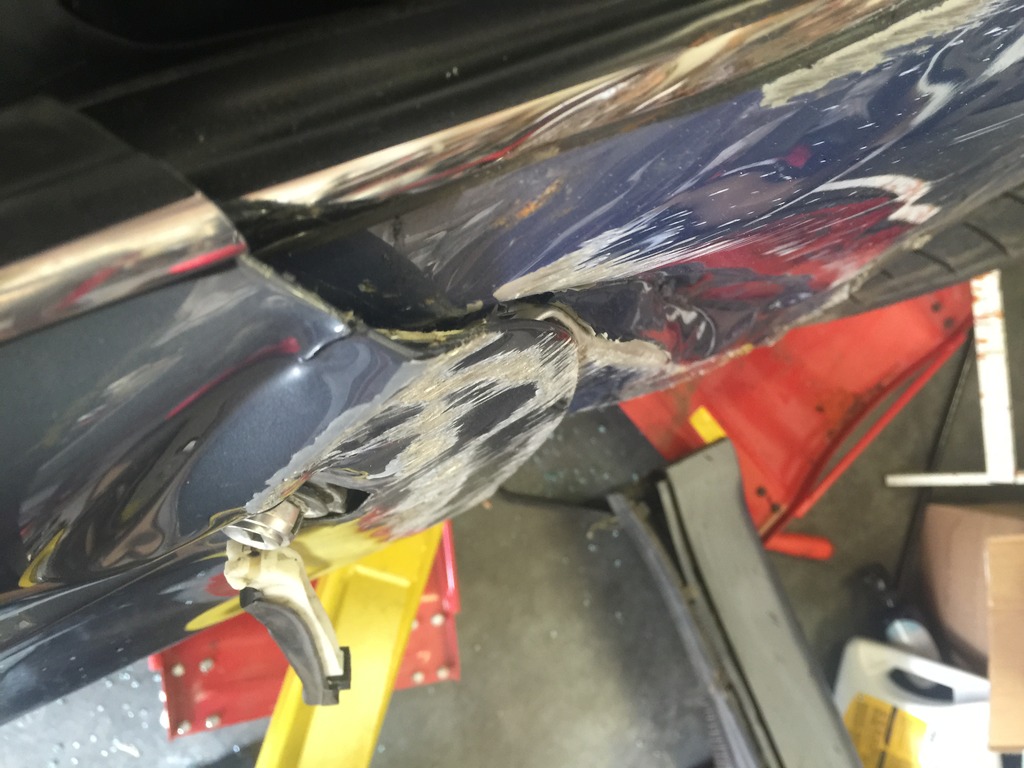
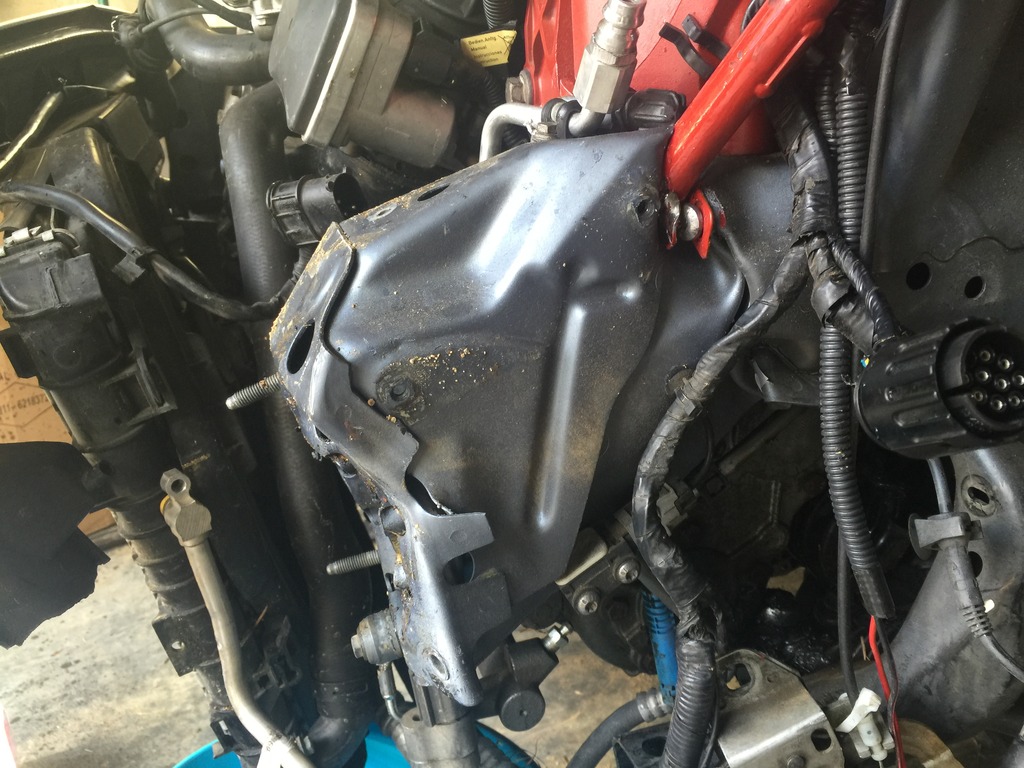
Started pulling some stuff off the front, and got a better view of the left front frame arm. Some good folding action here, too. This airbag sensor did its job.
Click the image to open in full size.

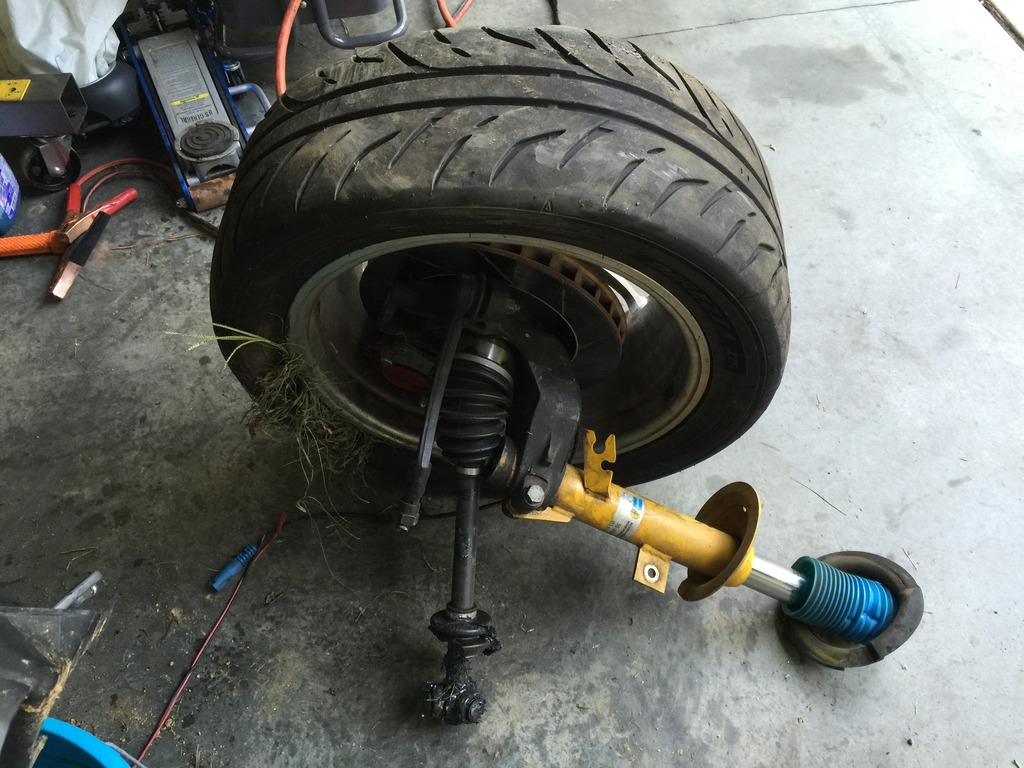
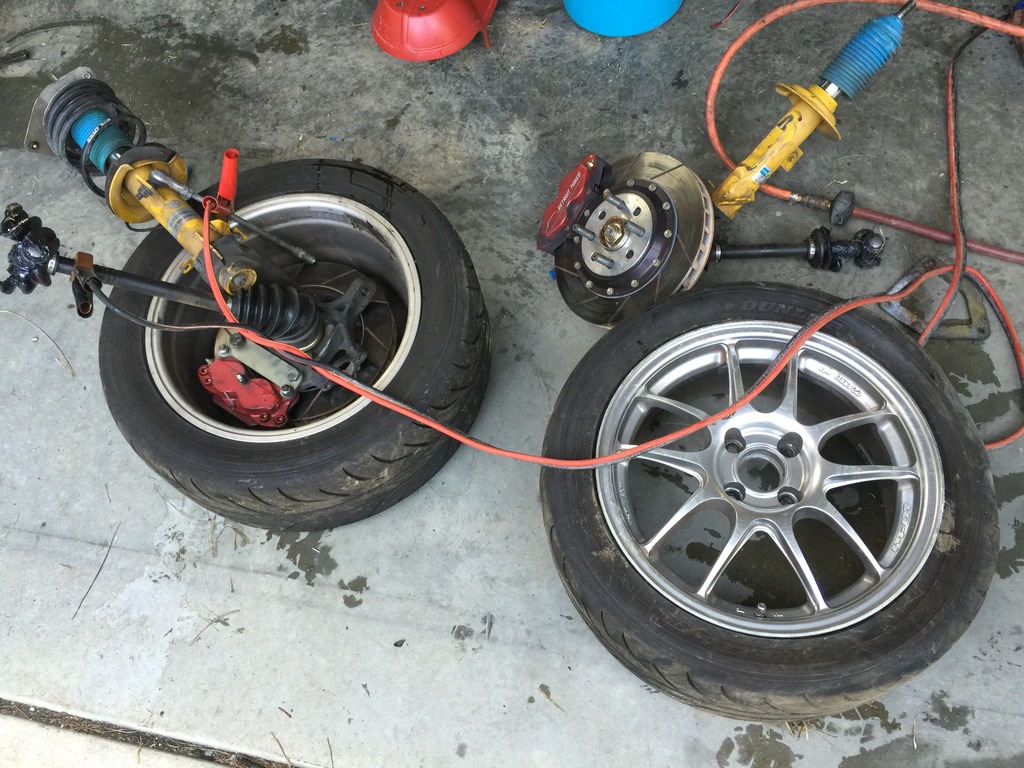
Worked for a couple of hours to get the front wheels and suspension wreckage off. This was the part I was dreading the most, because it was a mess and the wheels were really jammed in there. Took a lot of doing, but finally got one free.
Click the image to open in full size.

Repeated the process on the other side, then had some fun on LXM…
Click the image to open in full size.

This tie rod met physics… and physics won.
Click the image to open in full size.

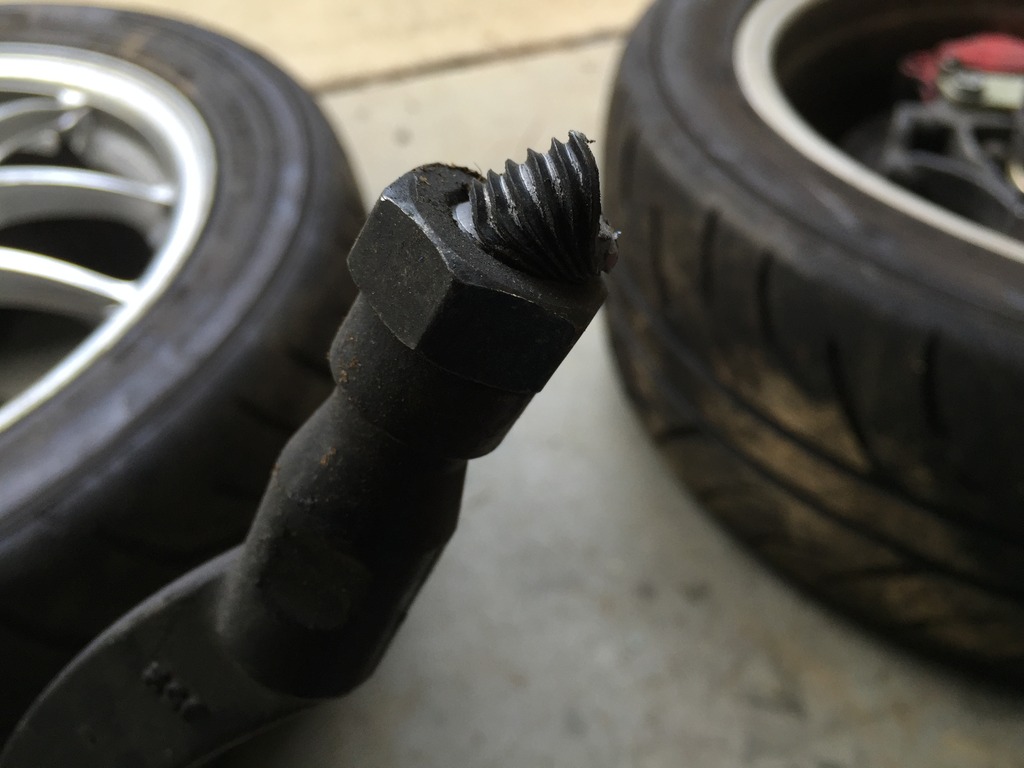
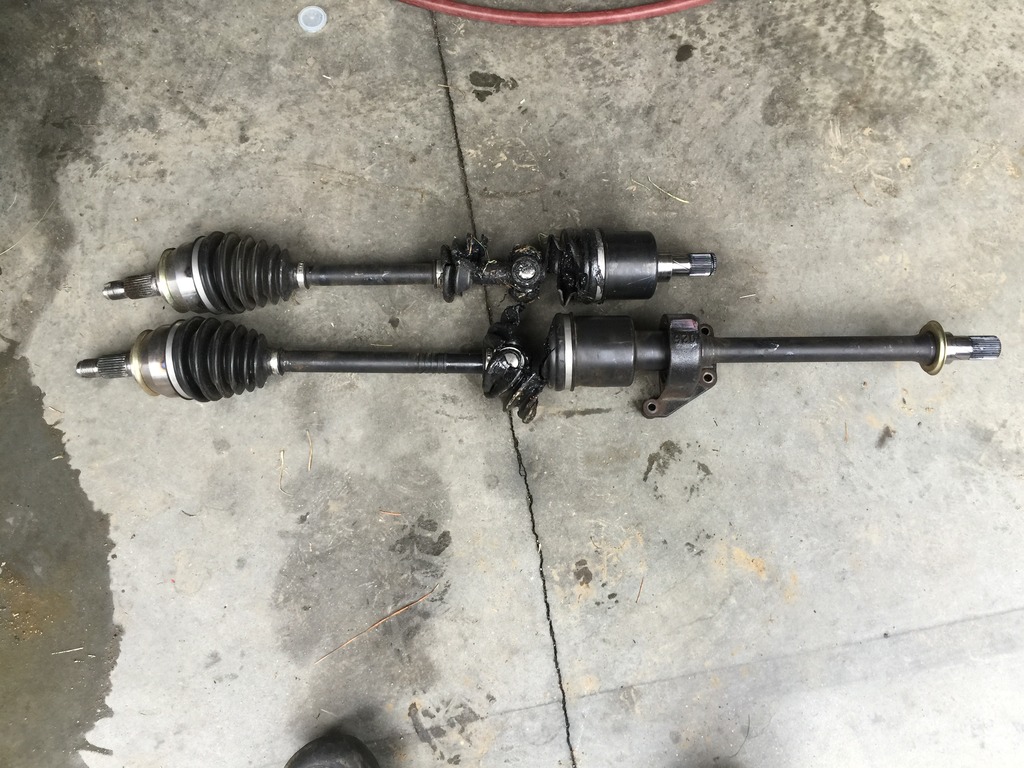
The sense of urgency for this, is I need to send my RMW axles back for a rebuild. They’re rated for 500HP… but not for vertical or inverted flight, or for deep ditch trailblazing. Still, with some cleaning, reassembly and maybe new tripod bearings, they’ll be good as new.
Click the image to open in full size.

And… new parts are arriving already.
Click the image to open in full size.

More diagnosis of the corpse

After a couple of days off to ride coasters at Cedar Point (yes, with a concussion!) and visit Wellzy… I’m back home and back to work.

Today’s task: More engine diagnosis. Pull remnants of bumper and put car in service mode so I can further inspect engine and sensors. Do compression and leak down tests (using new tools that arrived yesterday). If OK, let it run a bit to burn oil out of cylinders, see how it runs, and let the bearings work a bit. Pull oil sample to test for bearing damage.

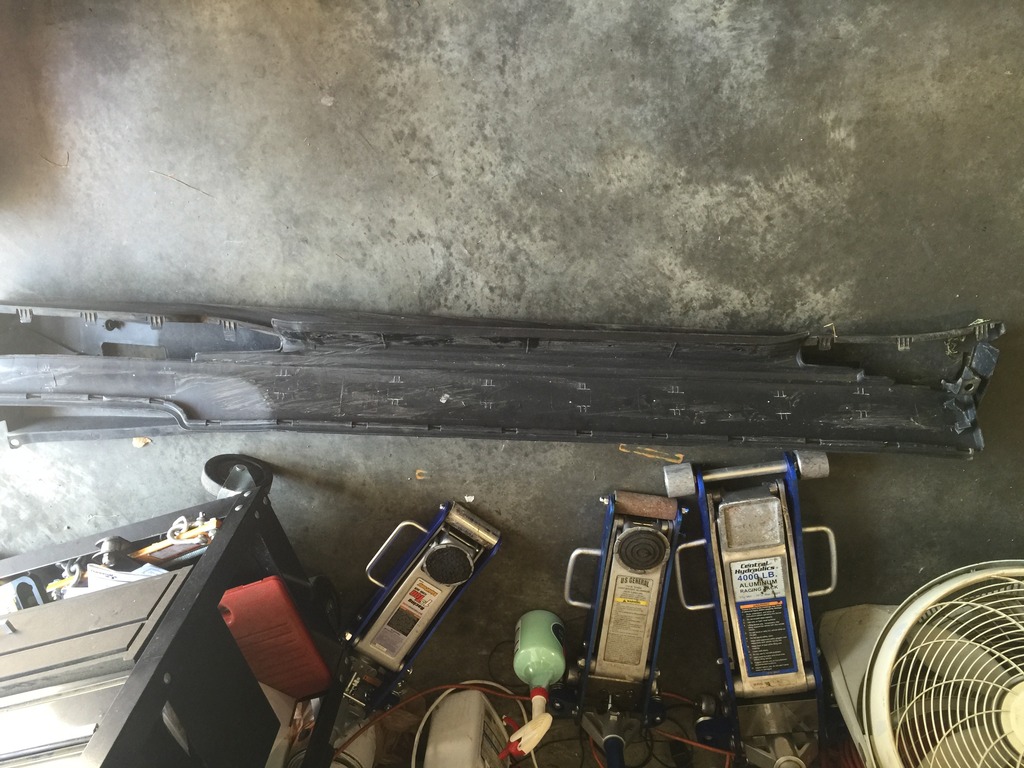
First, took an opportunity to look at my left GP skirt which got removed WITH MALICE by the ditch. Sadly, it sheared off EVERY SINGLE MOUNT in the painted part of the skirt, and also ground it up pretty well. Also cracked up the GP sill plate.
Click the image to open in full size.
I’m gonna see if I can get replacements; I DO own a GP, after all. If not, I’ll fabricate replacement mounts and epoxy them in, and fix the other problems.

Then time to get started on the motor…
Click the image to open in full size.

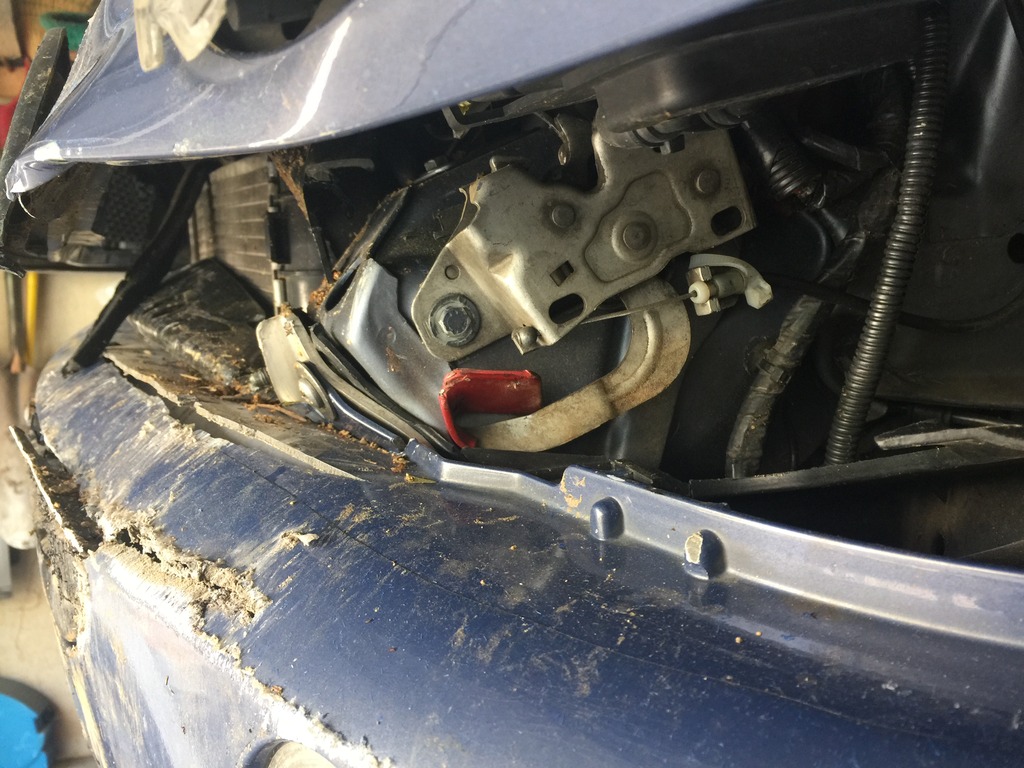
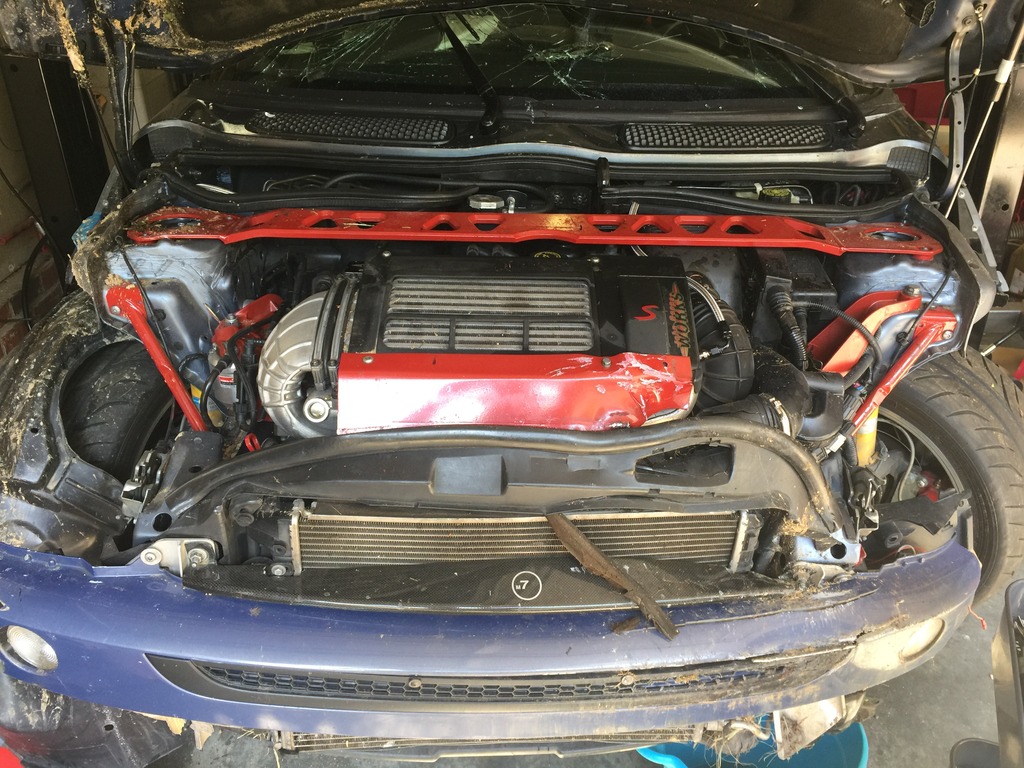
Took about an hour to get the remains of the front bumper off. The left crush tube was CRUSHED, and bent with the bumper frame in such a way that the only hope (without cutting) was to get the tube and frame off together. That worked.

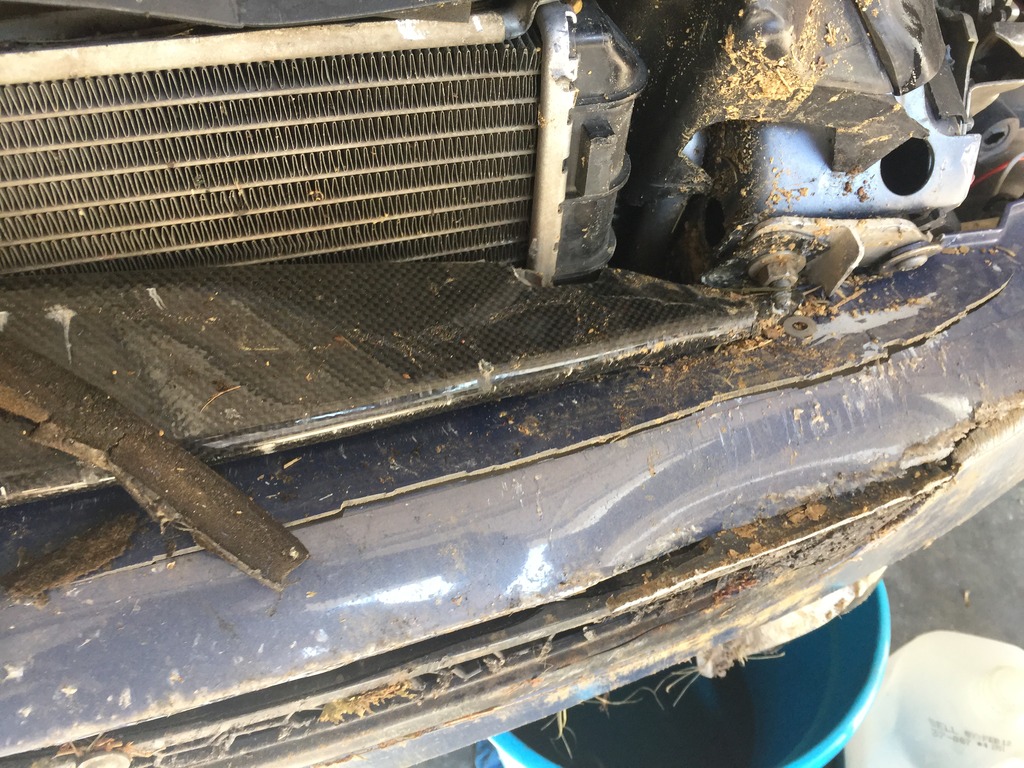
First, I had to fight for awhile to get the M7 air diverter plate off. The bolt holding it was also quite twisted. Sadly, the nice CF plate is history.
Click the image to open in full size.
I’m not sure if I can use one anyway with the RMW dual pass radiator I’ll be installing. If I decide to use the plate, I’ll get a new fiberglass one and paint it to match the GP bumper.

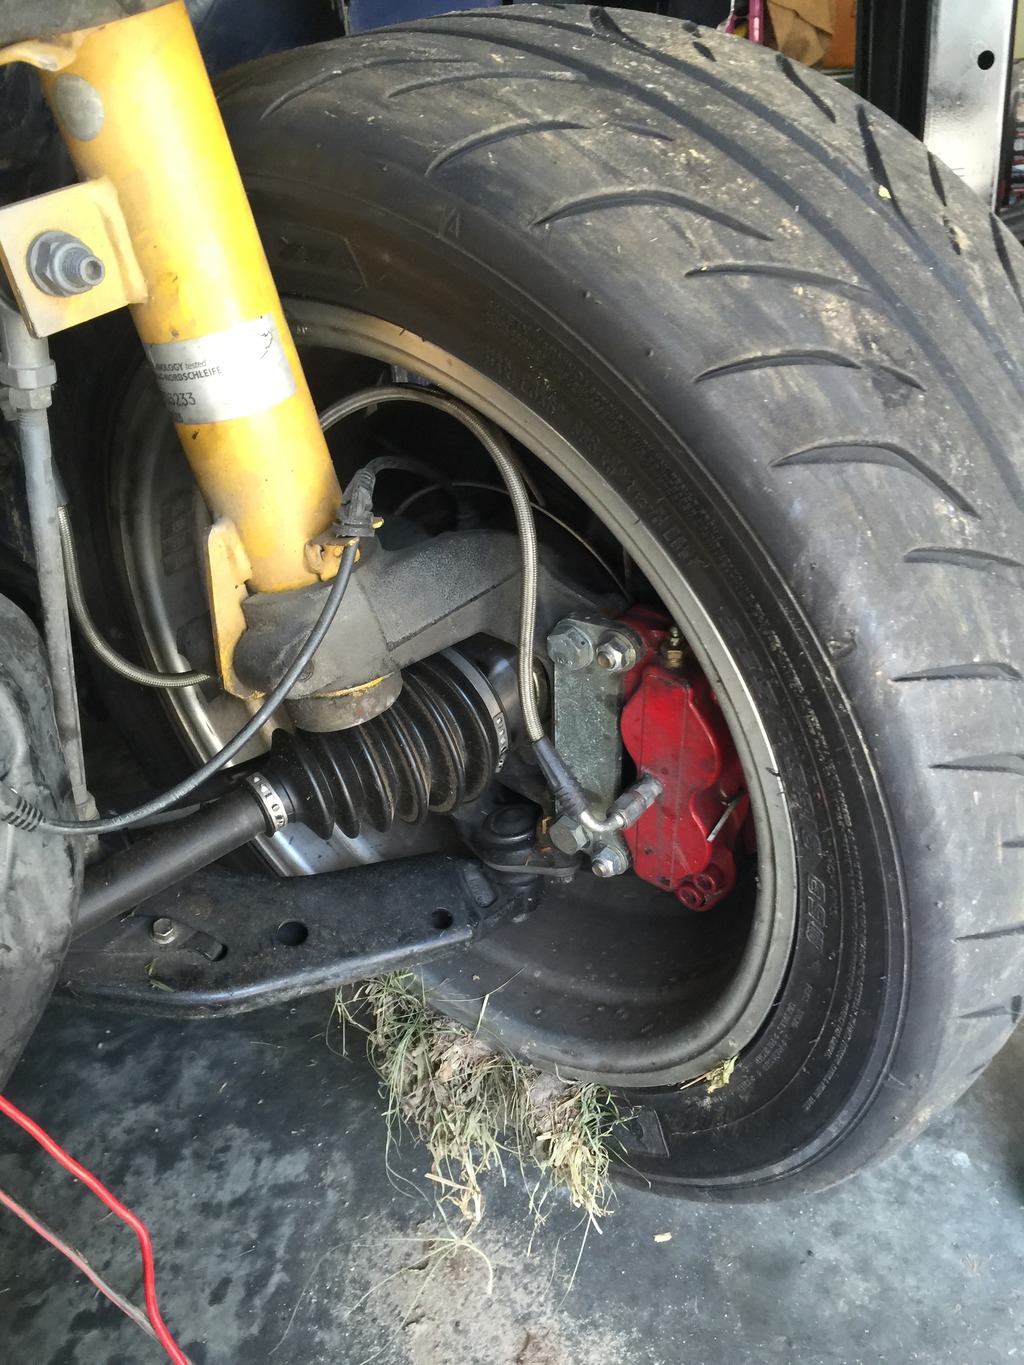
Took a minute to appreciate the carnage that is my left front suspension, wheel and tire…
Click the image to open in full size.

And the left front frame arm…
Click the image to open in full size.

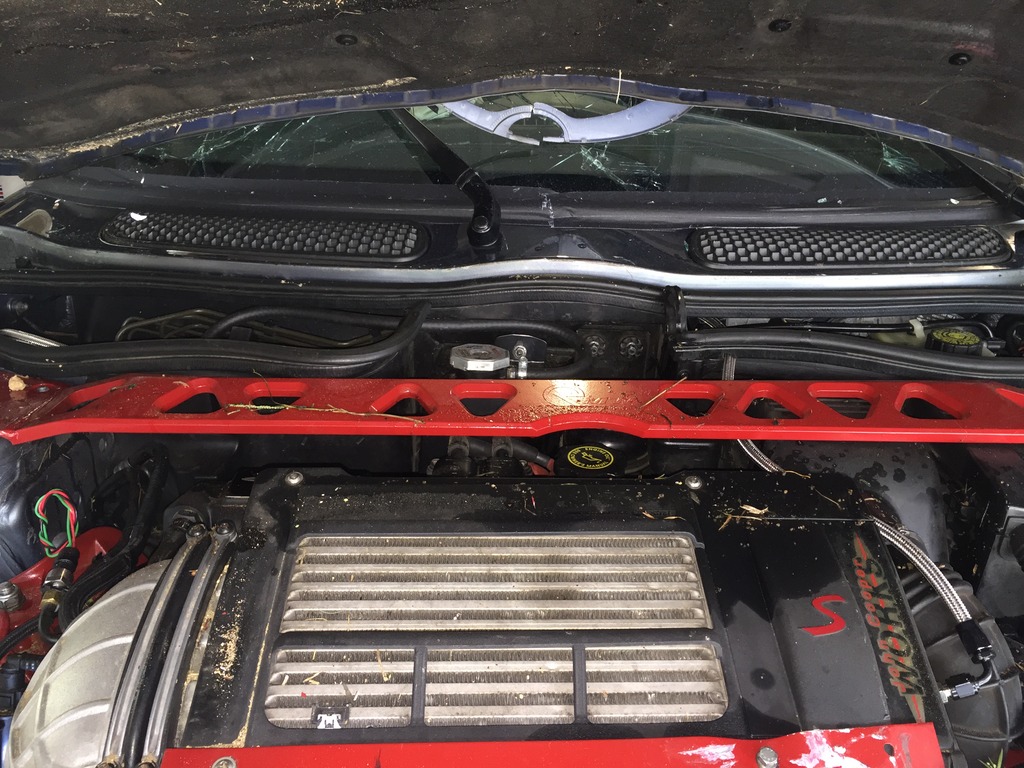
My custom red stainless intercooler diverter plate was mangled, and the corner of the ultra-expensive GP intercooler cover was busted, but it’s fixable and usable, I think. Soon I plan to have the RMW FMIC anyway.

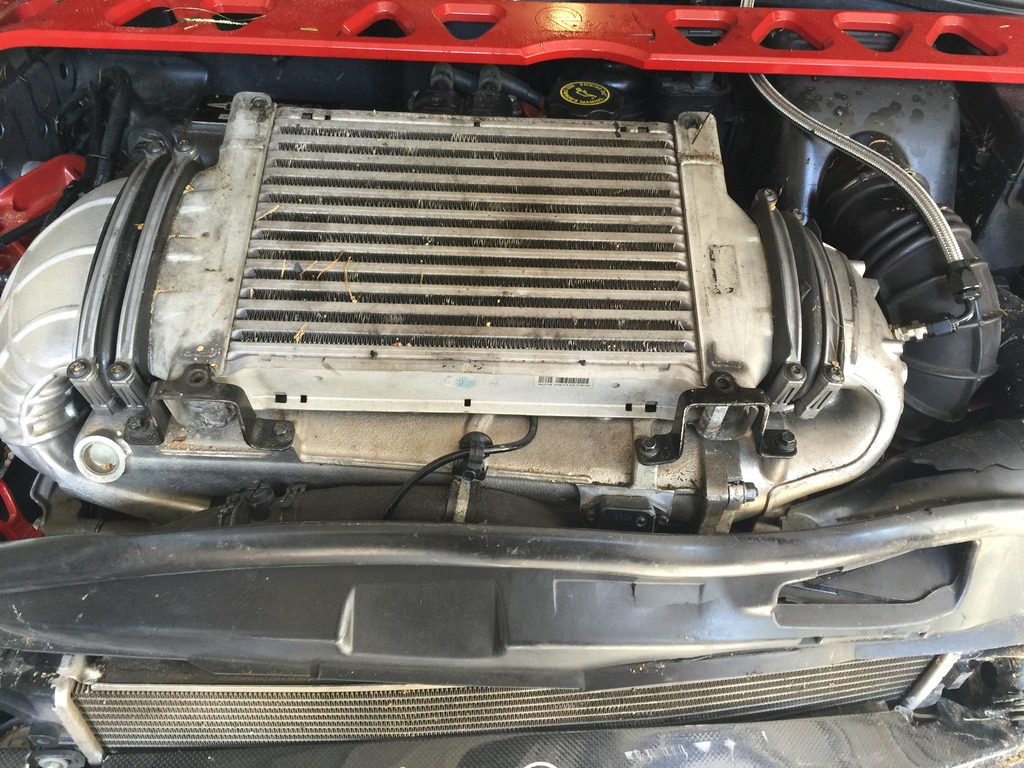
Once I got the covers off, I saw this. What’s wrong with this picture?
Click the image to open in full size.

Uh, the intercooler really shouldn’t sit at an angle like that…
Click the image to open in full size.
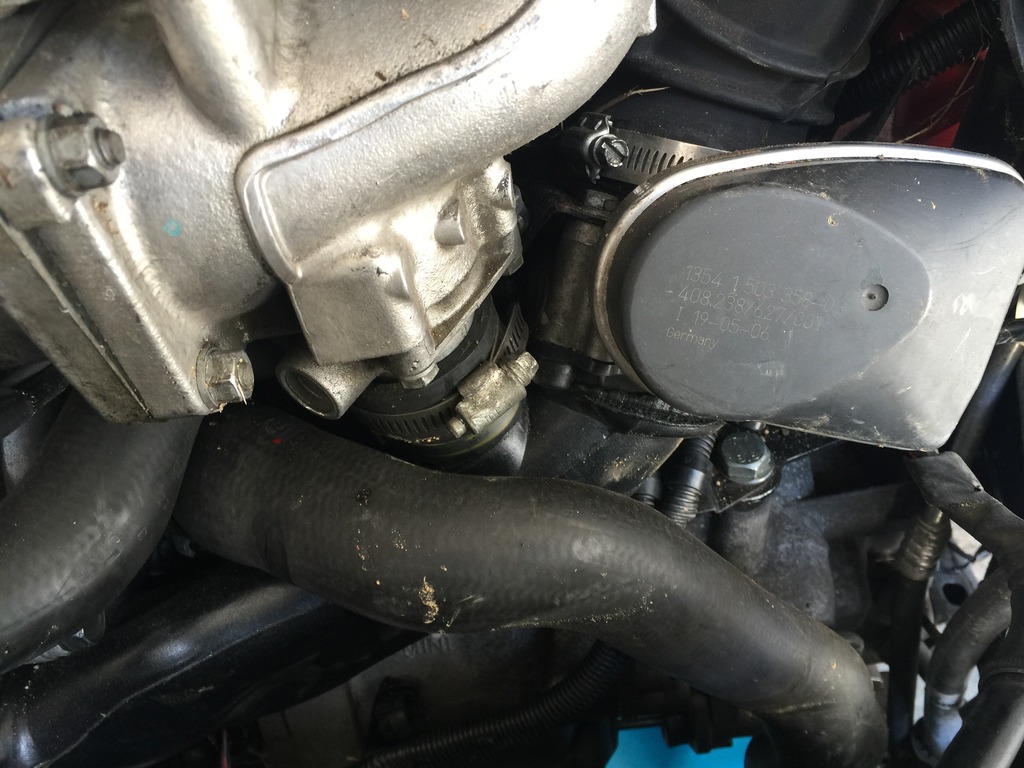
Right intercooler mount bent, and intercooler pushed back a bit, but otherwise OK. But the horn between the IC and the intake manifold is broken.

Oh well, I have a spare. And that will go away with the RMW front mount and custom manifold, anyway.

Also, my TMAP sensor was squished. That’s probably one reason it was “chugging” when I ran it for a few seconds last week. I have an old spare TMAP in a box… put it on.

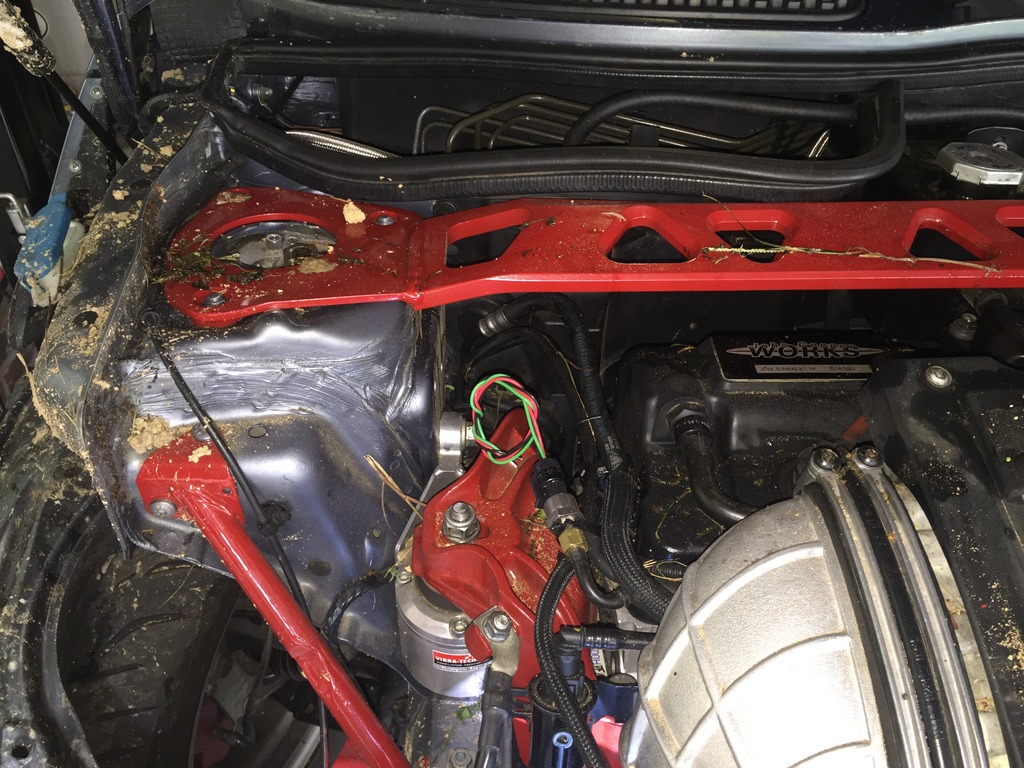
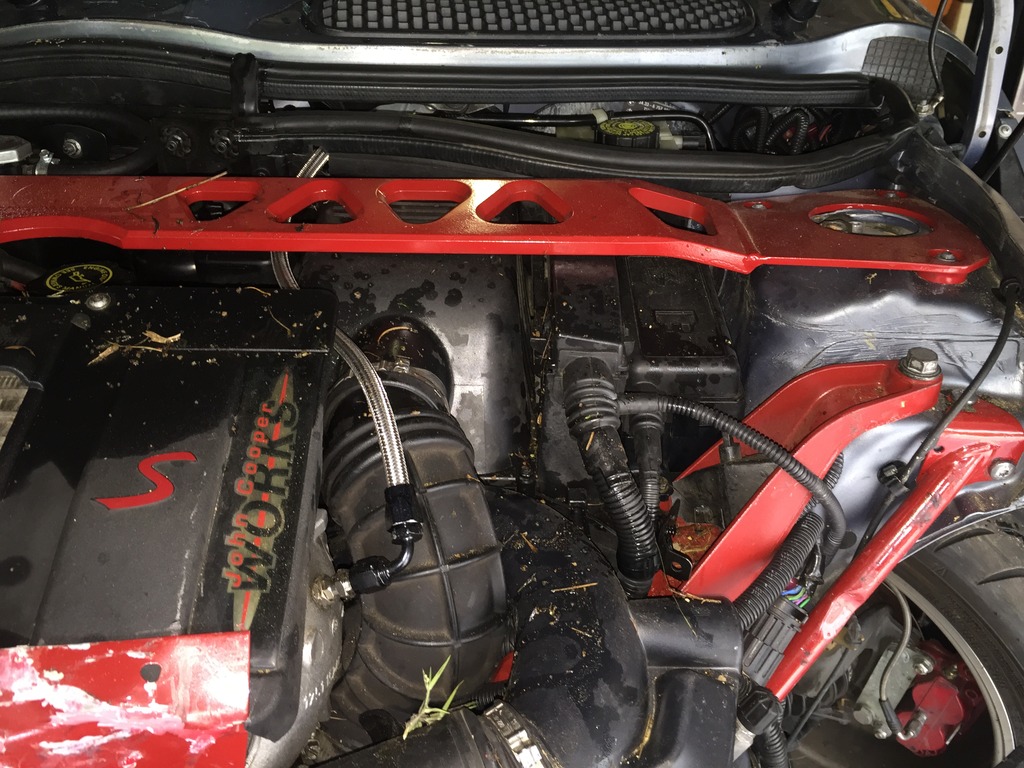
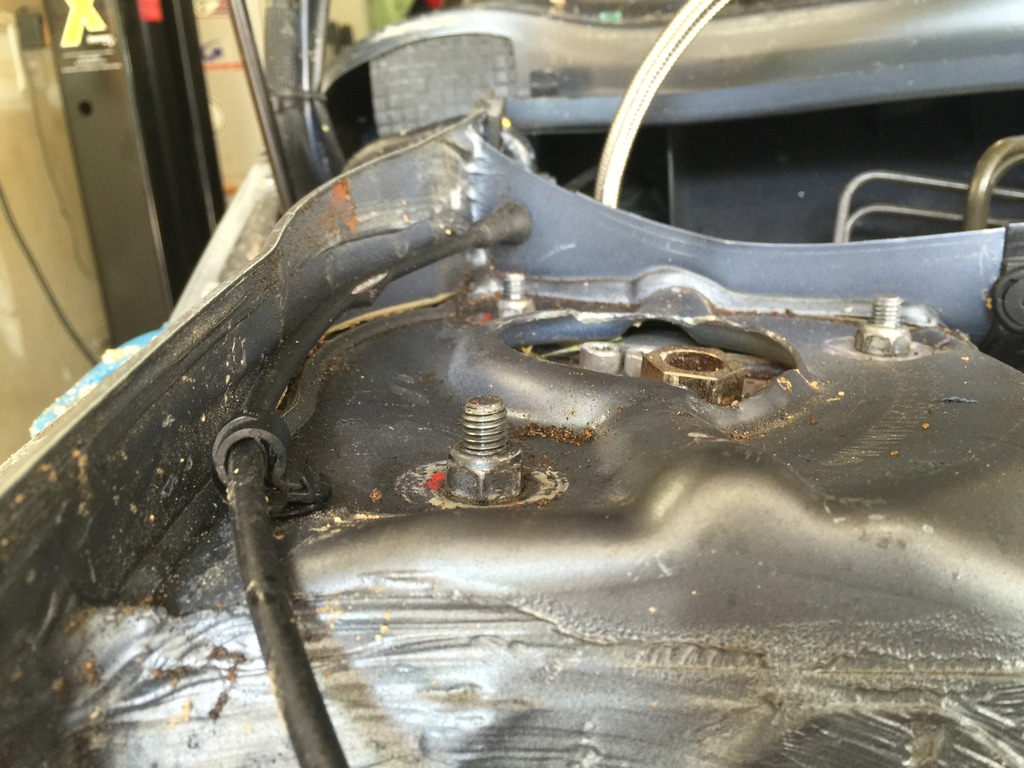
Pulled off my strut bar. It seems fine.

But the strut towers… not so much.
Click the image to open in full size.

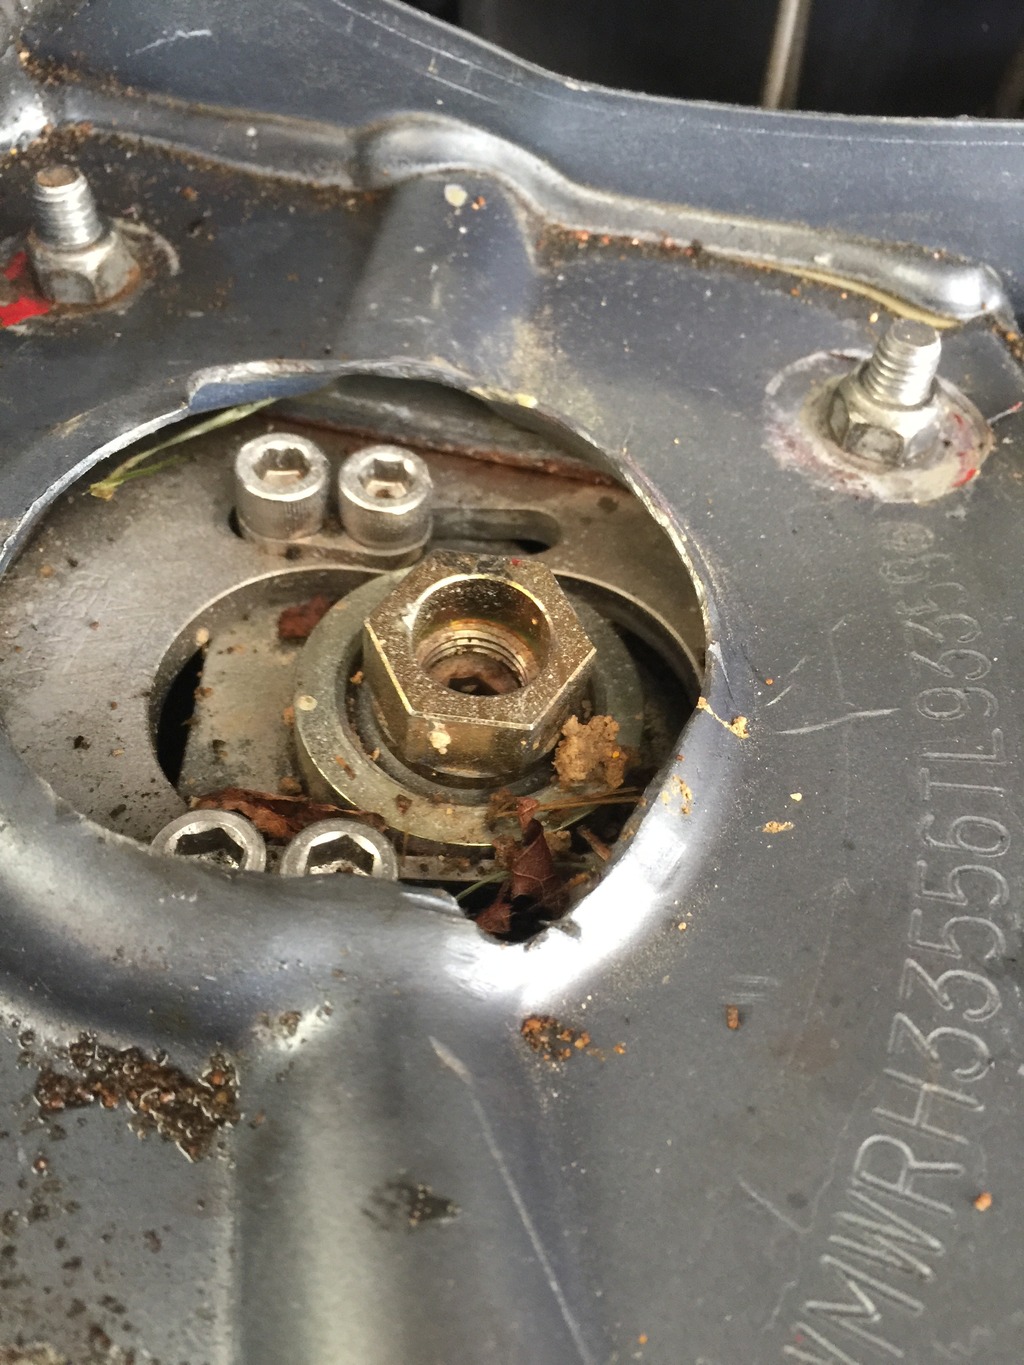
And looks like this Vorschlag plate may have some issues also. Won’t know for sure until I get it out.
Click the image to open in full size.

Ready to pull the coil, wires and plugs for testing.
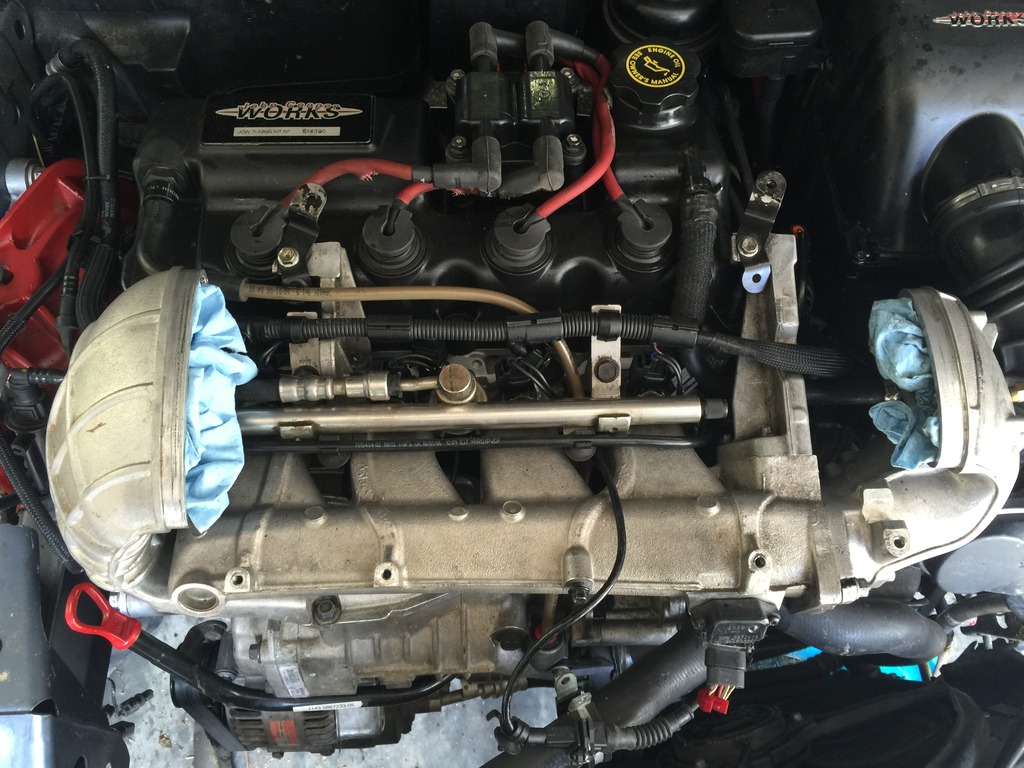
Click the image to open in full size.

Plugs were super fouled with oil (shocker… the car was upside down for an hour or two).
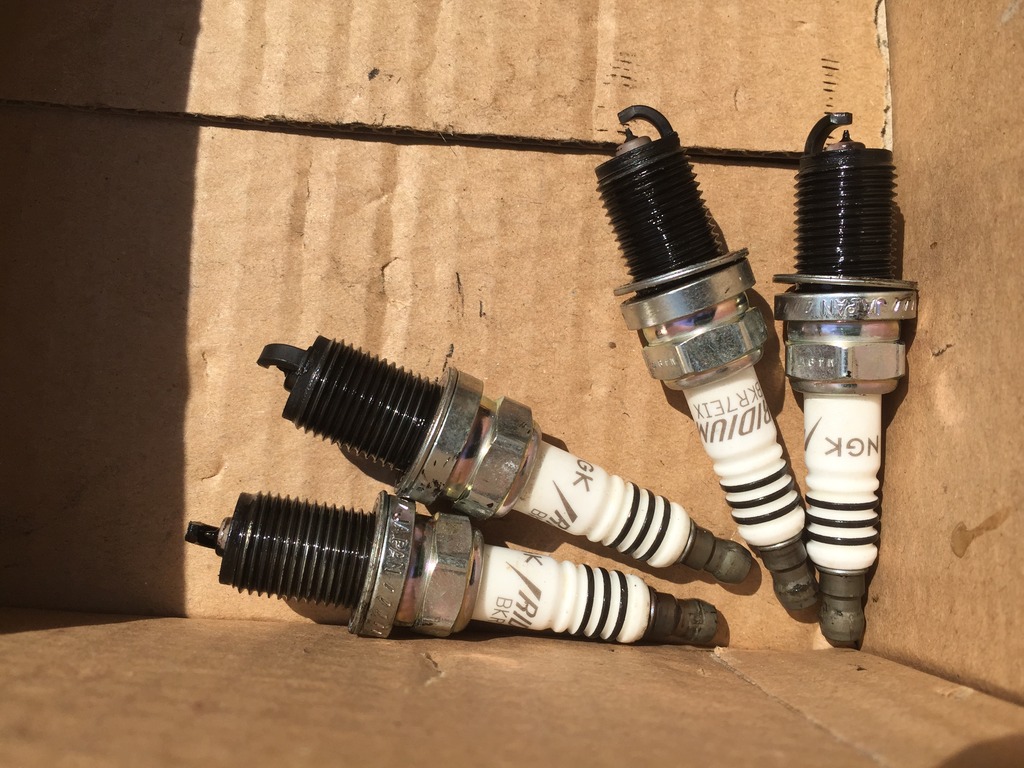
Click the image to open in full size.

Once the plugs were out, I pulled the fuel pump fuse and did compression testing. Results:
1: 190 psi
2: 190 psi
3: 190 psi
4: 200 psi

That looks good.

Then did leak down tests, at 80psi. All cylinders held at 75-78psi, cold (you’re really supposed to warm up the engine first). That’s only 5-6% leak down, which is quite good for a cold engine. The oily cylinders & rings probably helped that a bit.

Since compression and leak down seemed OK, decided to top up the cooling system with water, replace the crushed TMAP sensor, and try to run it…

It’s amazing how well the motor runs, considering how broken the rest of the car is, and what it’s been through.

I pulled an oil sample for analysis. If it shows high lead, that’s an indicator that I may have bearing damage. If it doesn’t… I’m probably good to go with the motor as-is.

A friend sent me this oil analysis kit, he had extras. He gets them from the local Caterpillar equipment dealer… only $15 per test. I’ve used Blackstone and BobIsTheOilGuy previously… but will be using this service from now on, the price is RIGHT. Comes with a great little pump for filling the sample bottle from the dipstick tube.
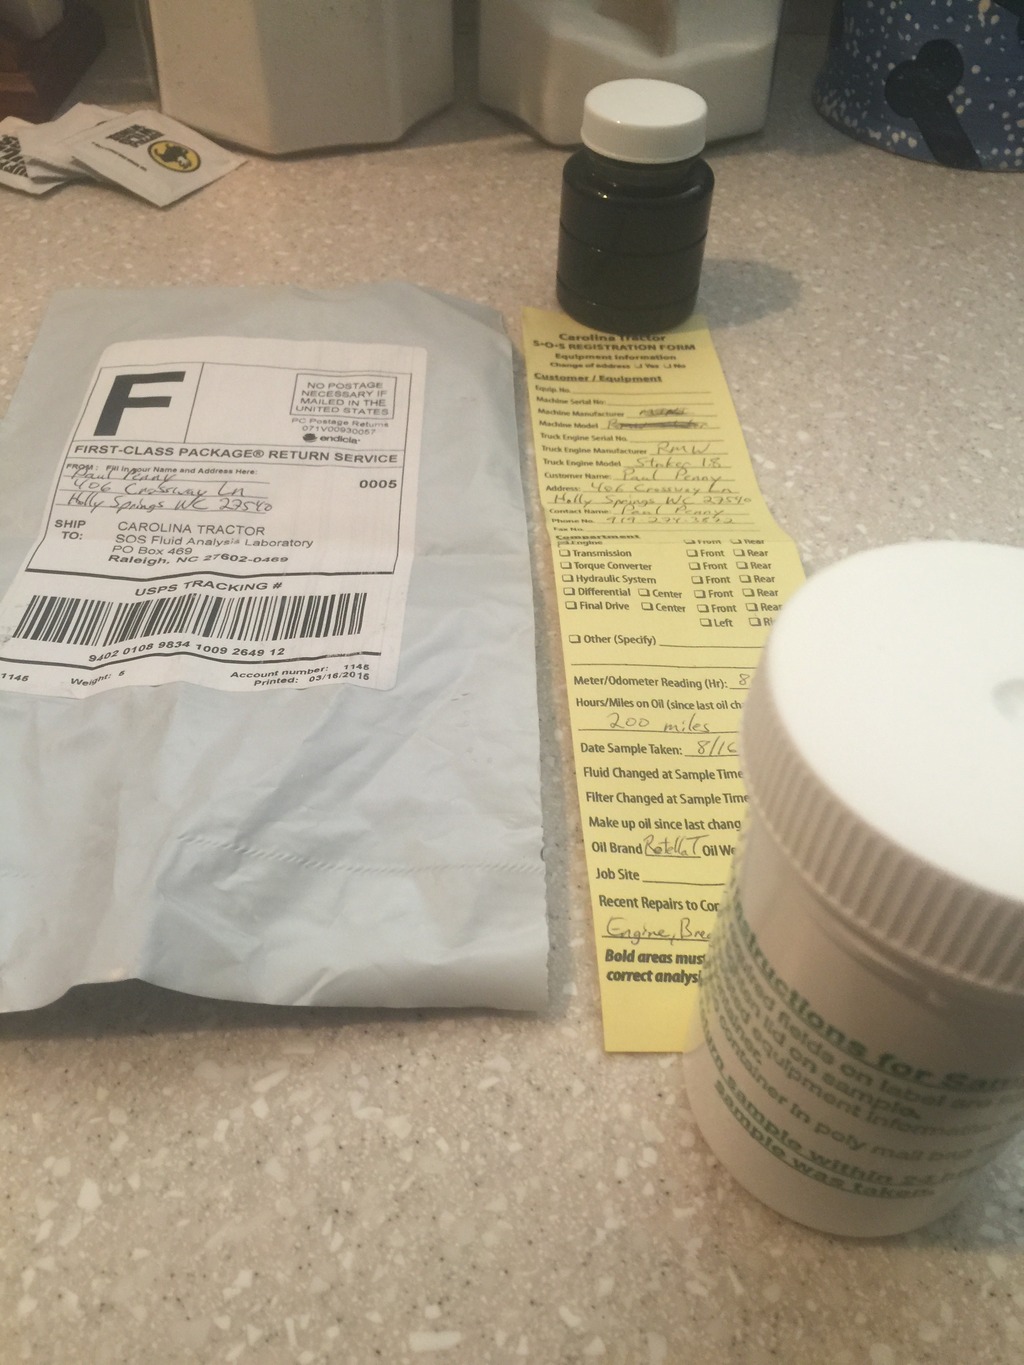
Click the image to open in full size.

And the oil lab they use is right here in town… so I expect to have results this week. Then can make a go/no-go decision on whether I’ll run the engine as-is, or send back to RMW for rework.
Found a new shell

Price agreed upon and deposit placed on R52 shell and some other needed parts. Probably picking it up in SC on 8/22 and dragging it home. So there can be three broken MINIs parked in my garage and driveway.

Decoded the VIN… the shell is just about perfect
11/2005 build, had DSC, Xenons, HK, cold weather package, multi-function wheel, just like my car. So the body / audio harness will be correct for the swap.
Manual, so I’ll now have a manual body harness and the goodness that goes with that.
Fixes an “unfixable” issue with my old car.

First look at the donor shell – these plus many other pics, plus lots of Q&A with the owner sealed the deal. HUGE shout out to Markus Richard and Doug Lavigne for helping me find this. Social media works.

Click the image to open in full size.

This was an Ohio salvage vehicle, now in South Carolina. Very little rust for a snow belt car. I’ll remove rust and repaint, use better parts from my wreck, or buy new parts and hardware as needed to make the rebuild as close to “like new” as practical.

Click the image to open in full size.

The car took a direct hit to the left front wheel, broke the strut, damaged hood, headlight, radiator surround, bumper, fog light, wheel… otherwise, everything looks OK. Strut tower and frame rail look fine. It doesn’t take a lot to total one of these cars… that short list of parts, plus labor and paint, is all it took for this one. The rest of the body looks very clean. Will be mostly stripped when I get it, but will include the taillight and rear left side window that I need. I have most everything else.

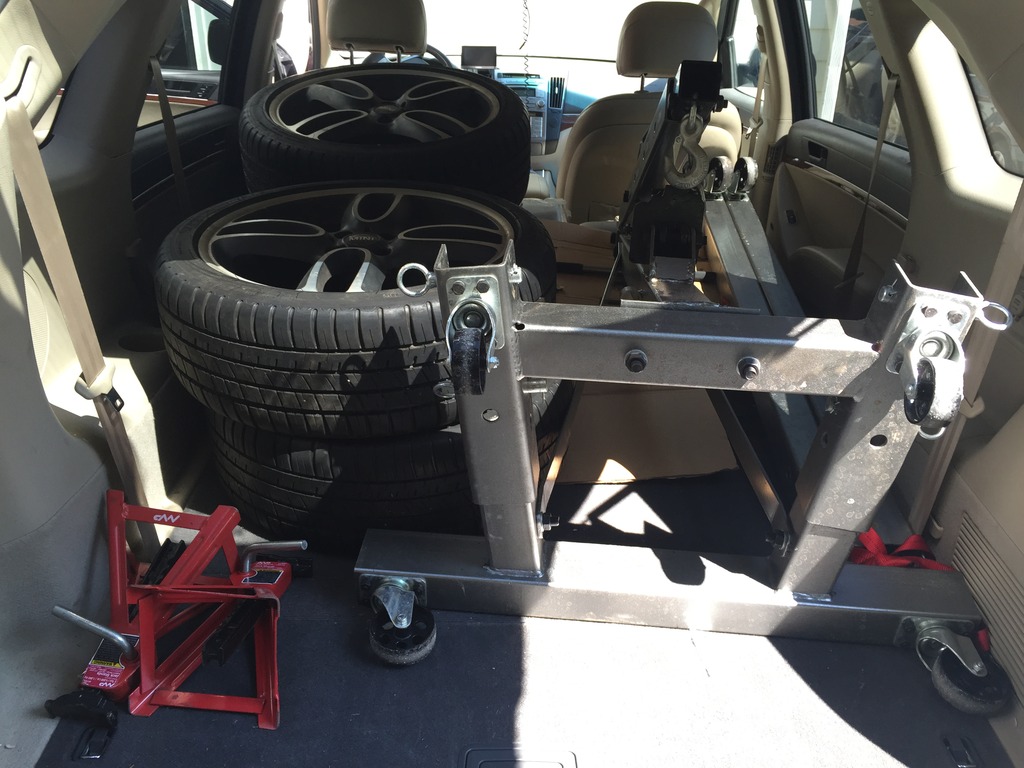
I’ll go down on 8/22 with my engine crane and a set of wheels, and help the owner pull the engine and strip anything else he wants to keep. Pop my wheels on it, drag it onto a Uhaul dolly, and drag it home.

First order of business will be to complete stripping the engine bay and trim, for a full Thunder Blue repaint, OEM quality or better, including a new bonnet, GP front bumper, and my GP side skirts. I’ll probably shoot the mirror caps and small GP trim parts myself later.

Already started ordering needed aftermarket suspension stuff last night. This gives me an opportunity to refresh my suspension and take it up a notch. While I loved the Bilstein + Swift + Vorshlag combo, it had become a little too low when on 15″ wheels. Greene Performance coilovers will remedy that. I was still running the original 19mm H-sport swaybar I installed as one of my first mods in probably 2007. Time to upgrade to the H-sport Comp bar. Broke at least one of my several-year-old Powergrid end links, time for a new set of Whitelines from Greene Performance. And some fresh Powerflex Race LCA bushings and steering rack bushing from Detroit Tuned. Already have a set of the new Greene Performance camber/caster plates on order, hopefully they will materialize before I need them.

Getting started…

OK, like with the GP donor and manual transmission conversion, some things happen fast.

Crashed car on Saturday.
Laid around with a concussion for a couple of days.

As of now (Wednesday) have:

  • Gotten corpse moved to my garage, from storage lot.
  • Performed preliminary damage / salvage assessment.
  • Visited crash site (twice), reconstructed accident, combed for small parts.
  • Removed Meth cell/pump from corpse
  • Successfully fired the engine, it lives.
  • Met with claims adjuster, think I will have a good outcome. Should know tomorrow whether it will be easy or hard to get an outcome I can live with.
  • Picked up police report, might as well say “aliens did it”.
  • Ordered compression and leak down tools to further evaluate the engine (I could borrow them, but should really own a set)
  • Ordered all stuff to add oil pressure to my Zeitronix rig so I can assess oil pressure on the current chassis before I pull the motor, since it runs. This, other test tools and oil analysis will enable me to decide to keep motor and run as-is, or ship back to Cali for rework.
  • Found a good donor cabrio with bad tranny, and another good donor rolling body shell. Will probably go with the shell. Price is right, location is workable, comes with some key parts I will need.
  • Confirmed that best paint shop in town can do my GP Roadster repaint cost effectively, on the rolling shell, in a compatible timeframe.
  • Started planning for the Bigger, Thicker, Uncut GPness Rebuild.
  • Solicited proposals for volume discounts on OEM parts.
  • Traded emails with Jan about axle rebuild and dual-pass radiator.
  • Pulled a couple of parts off the GP that the guy with the rolling shell wants.

Gonna rebuild this thing RIGHT. It’s gonna be EPIC. Have some ideas for improvements that would not have happened without this turn of events.

Stay tuned.

The Aftermath

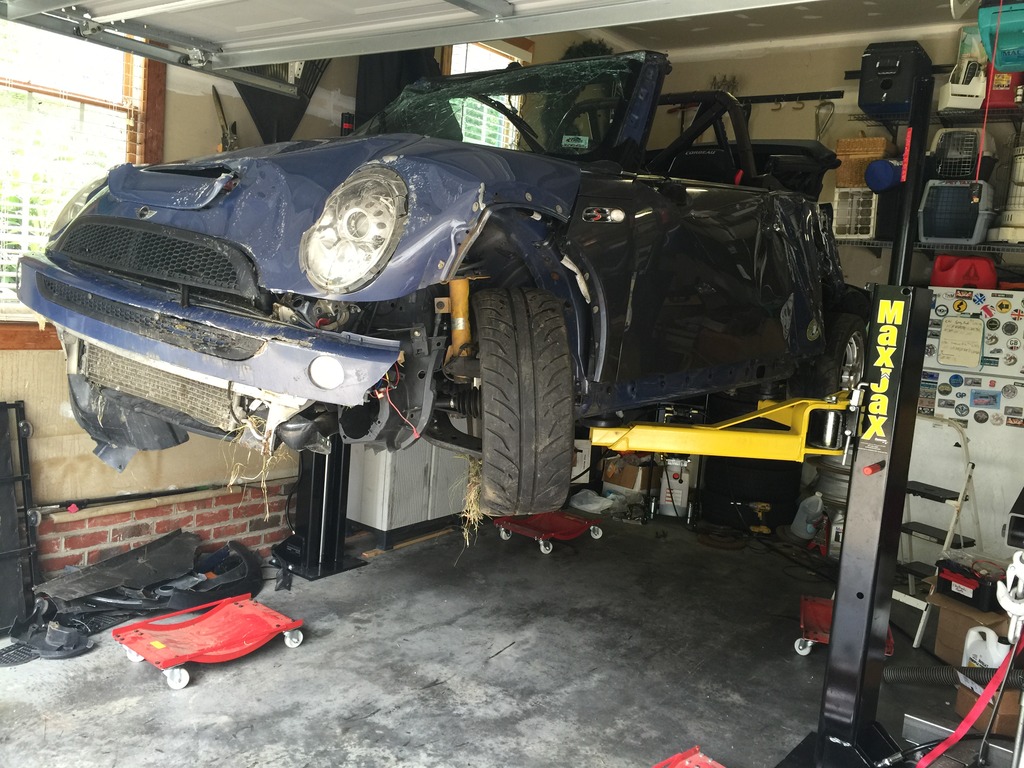
Back in the garage and on the lift, for preliminary damage assessment.
Click the image to open in full size.Obviously, it needs a new body. 🙂
Click the image to open in full size.
When you throw a Mini through the air onto this corner… this happens.

Click the image to open in full size.
Hard to see above, but there is a definite “fold” in the forward frame arm, it’s bent as much as any I’ve ever seen. That’s what happens when you focus the full momentum of the car into that spot.

Though mine has the new “Speedster” windshield…
Click the image to open in full size.

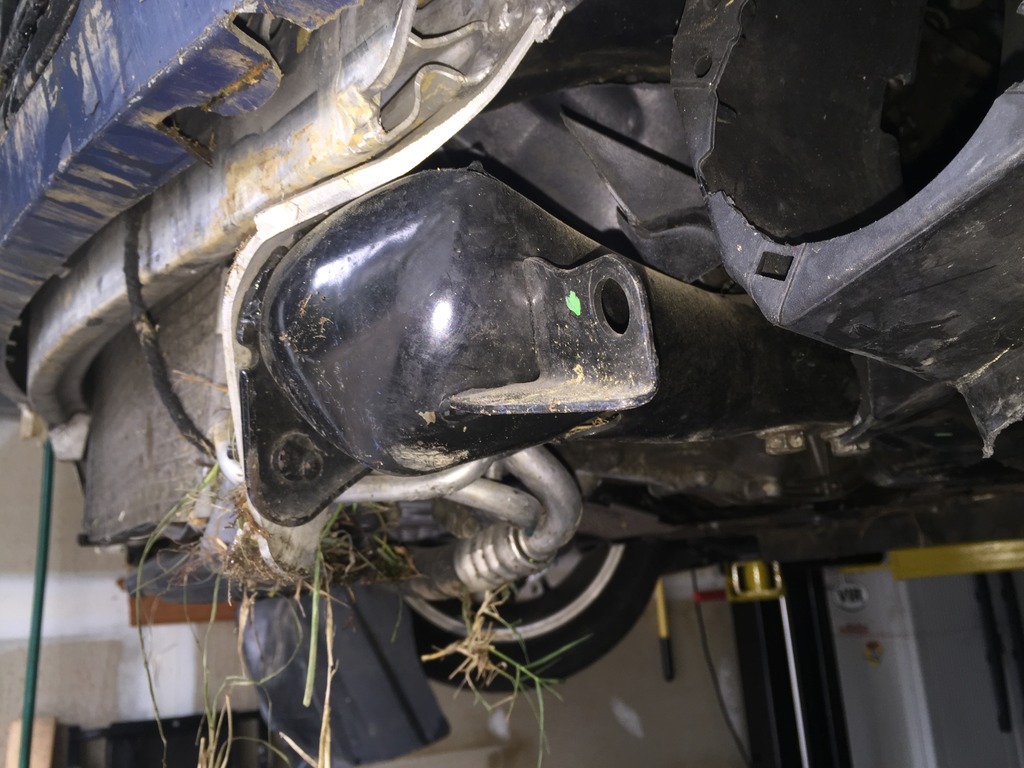
Crush tube… crushed.
Click the image to open in full size.

Motor, transmission, intercooler, airbox, etc all look OK.
Click the image to open in full size.Click the image to open in full size.
Click the image to open in full size.
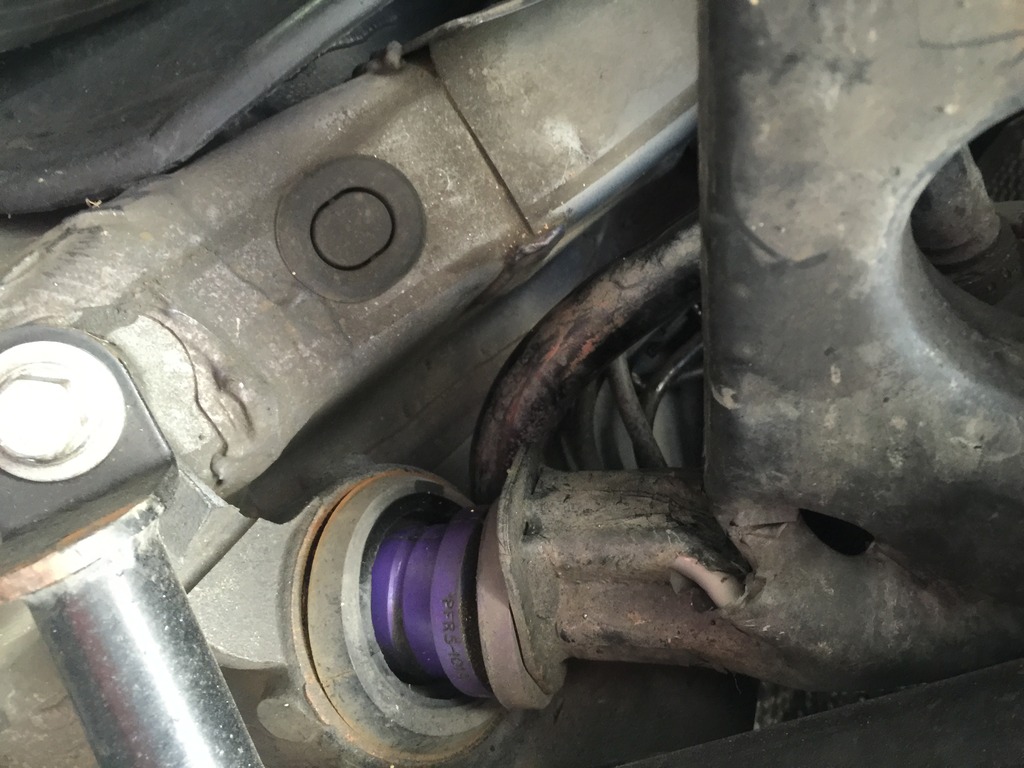
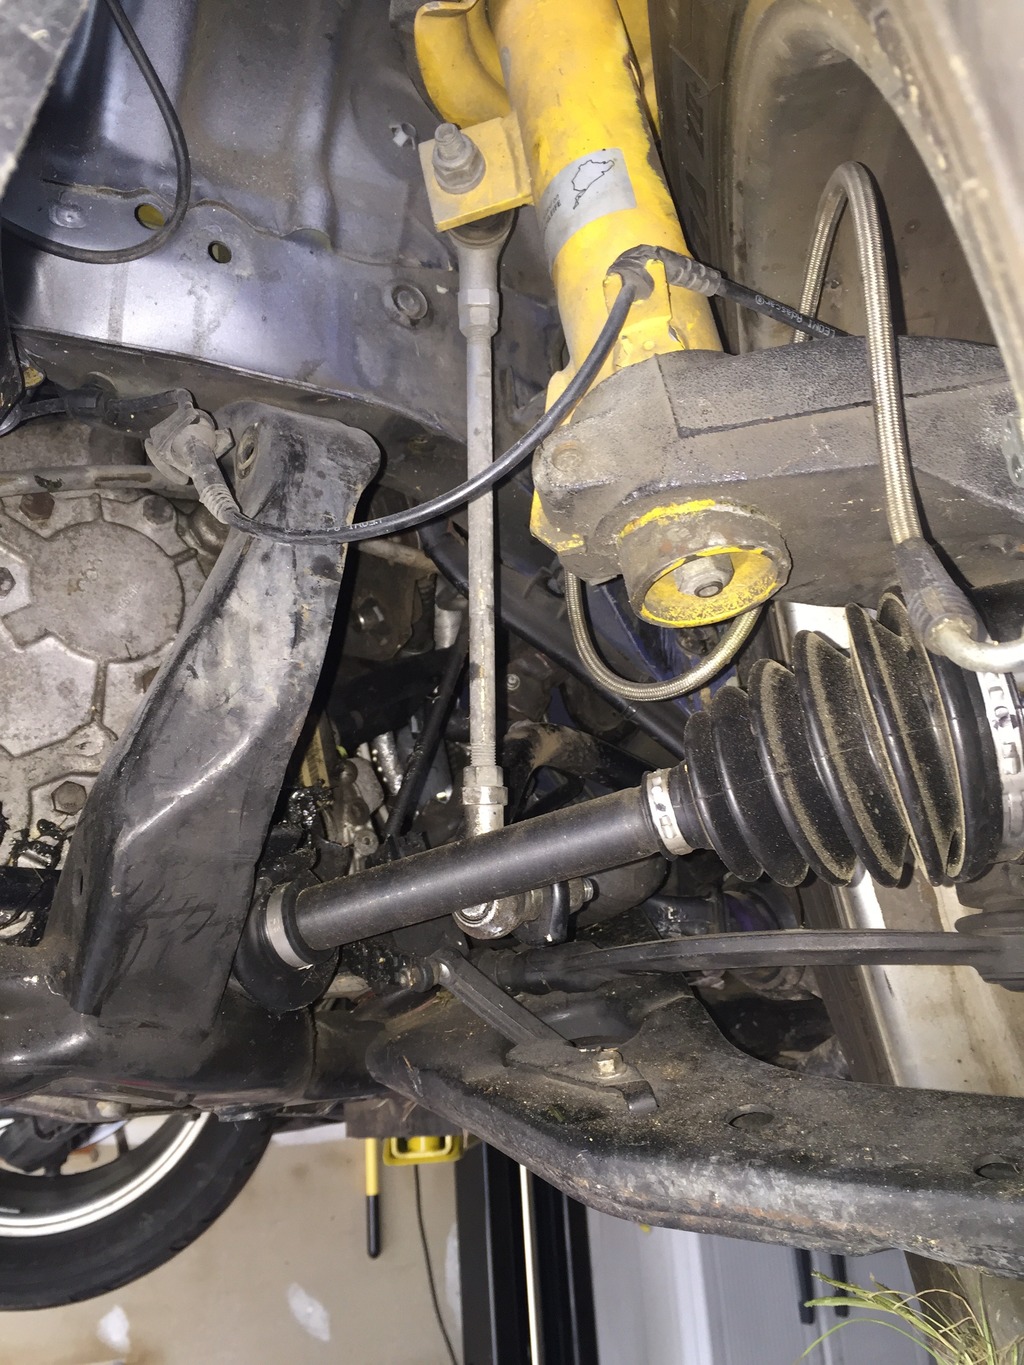
Both lower control arms collapsed and bushings pulled out.
Click the image to open in full size.

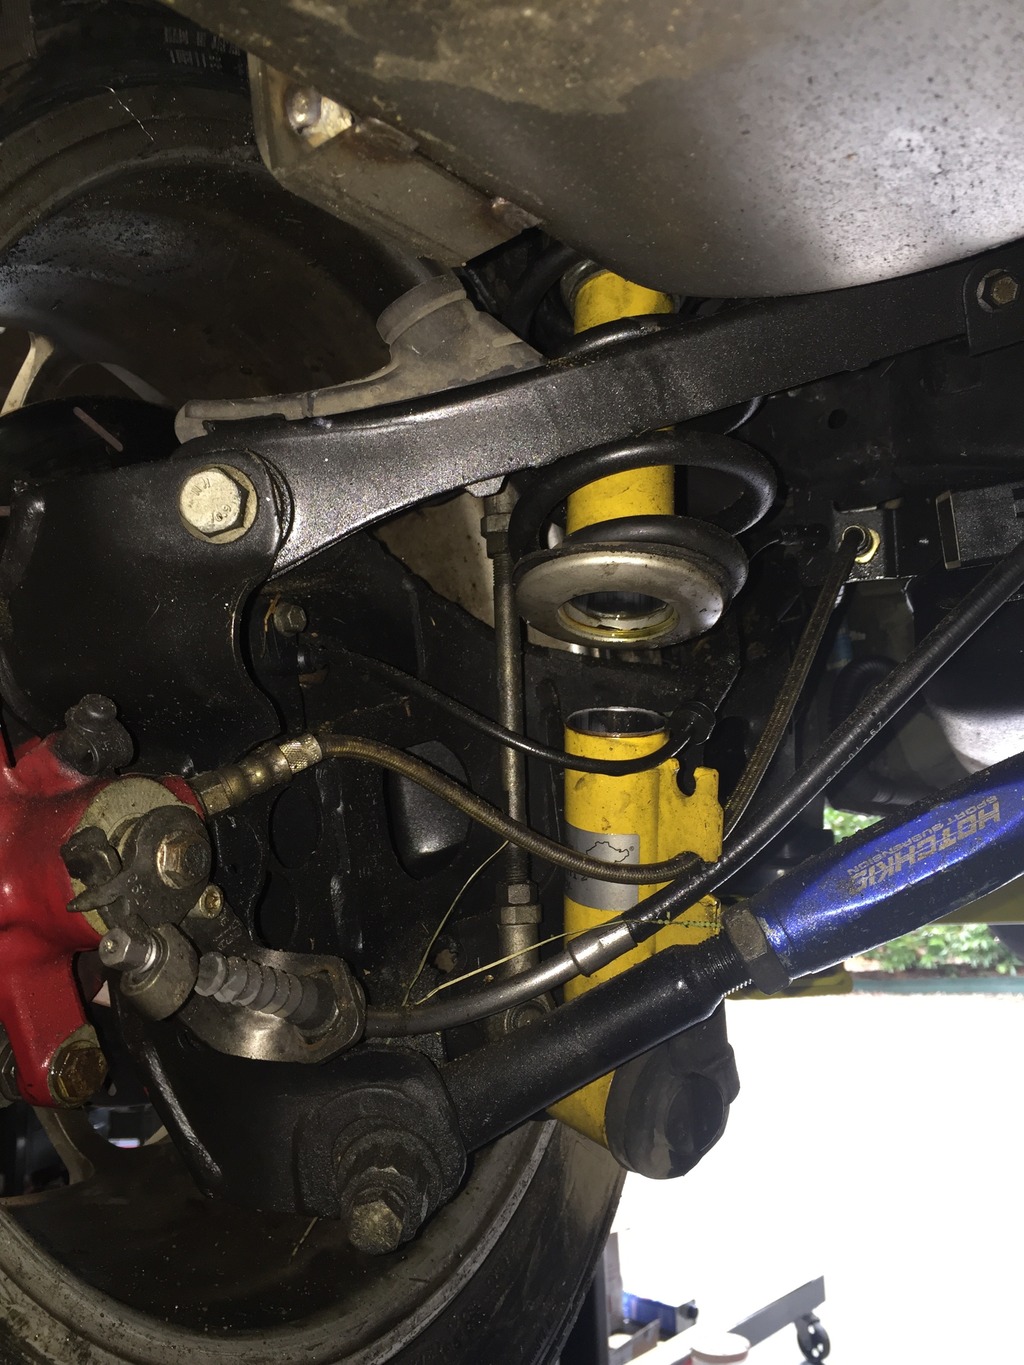
Right rear shock sheared off.
Click the image to open in full size.

Left tie rod broke.
Click the image to open in full size.

Right front sway bar end link broke.

All engine / transmission mounts appear intact. One top plate on the strut bar bent a little, but is OK.

One Xenon headlight and one taillight broken.
Click the image to open in full size.

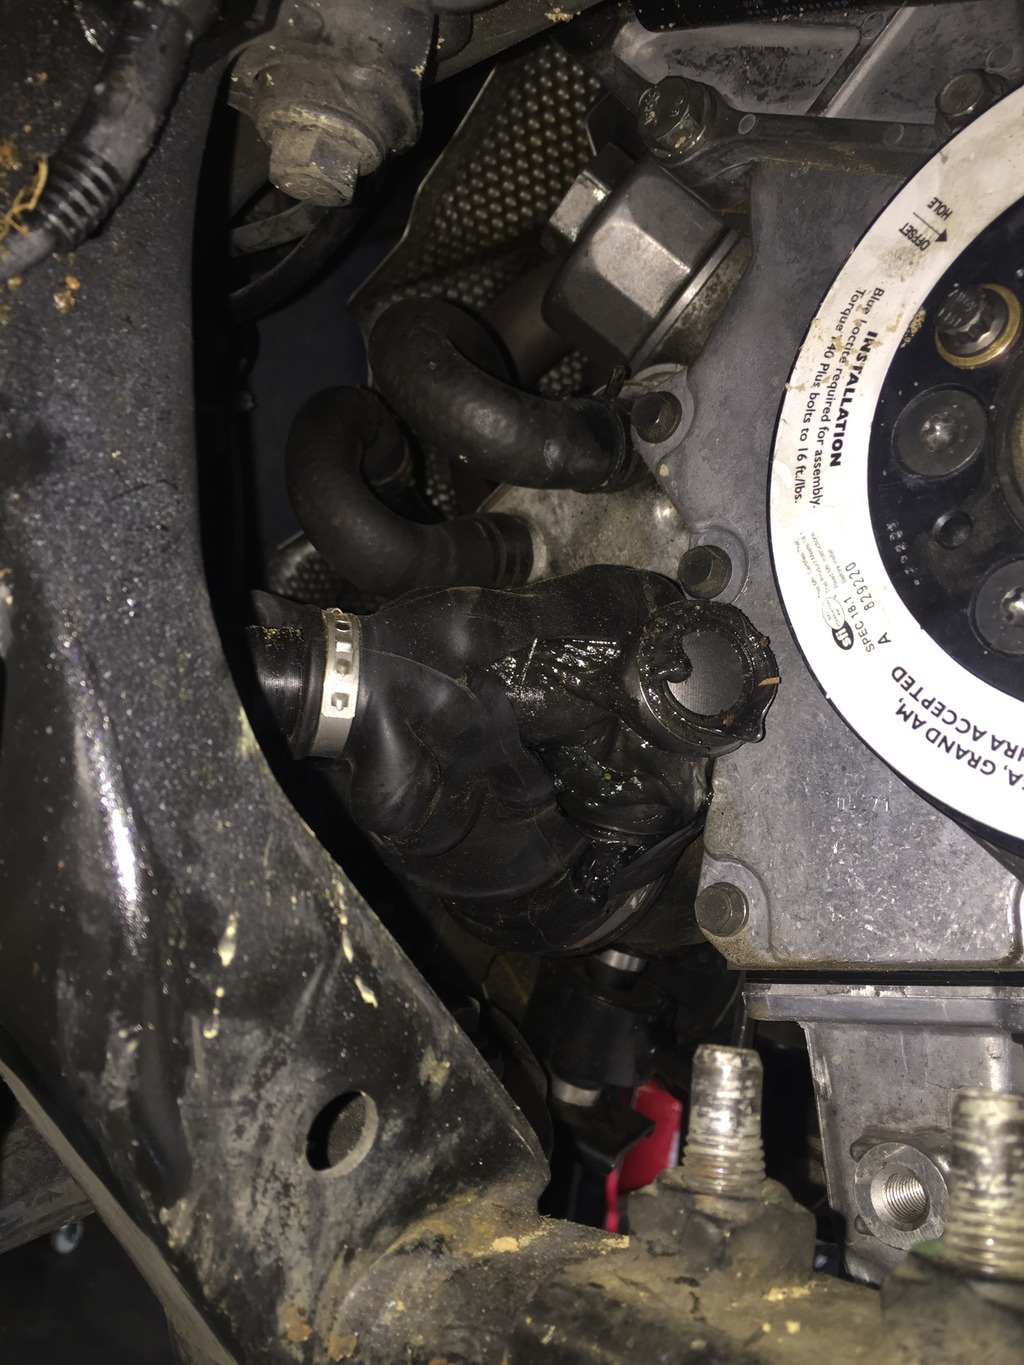
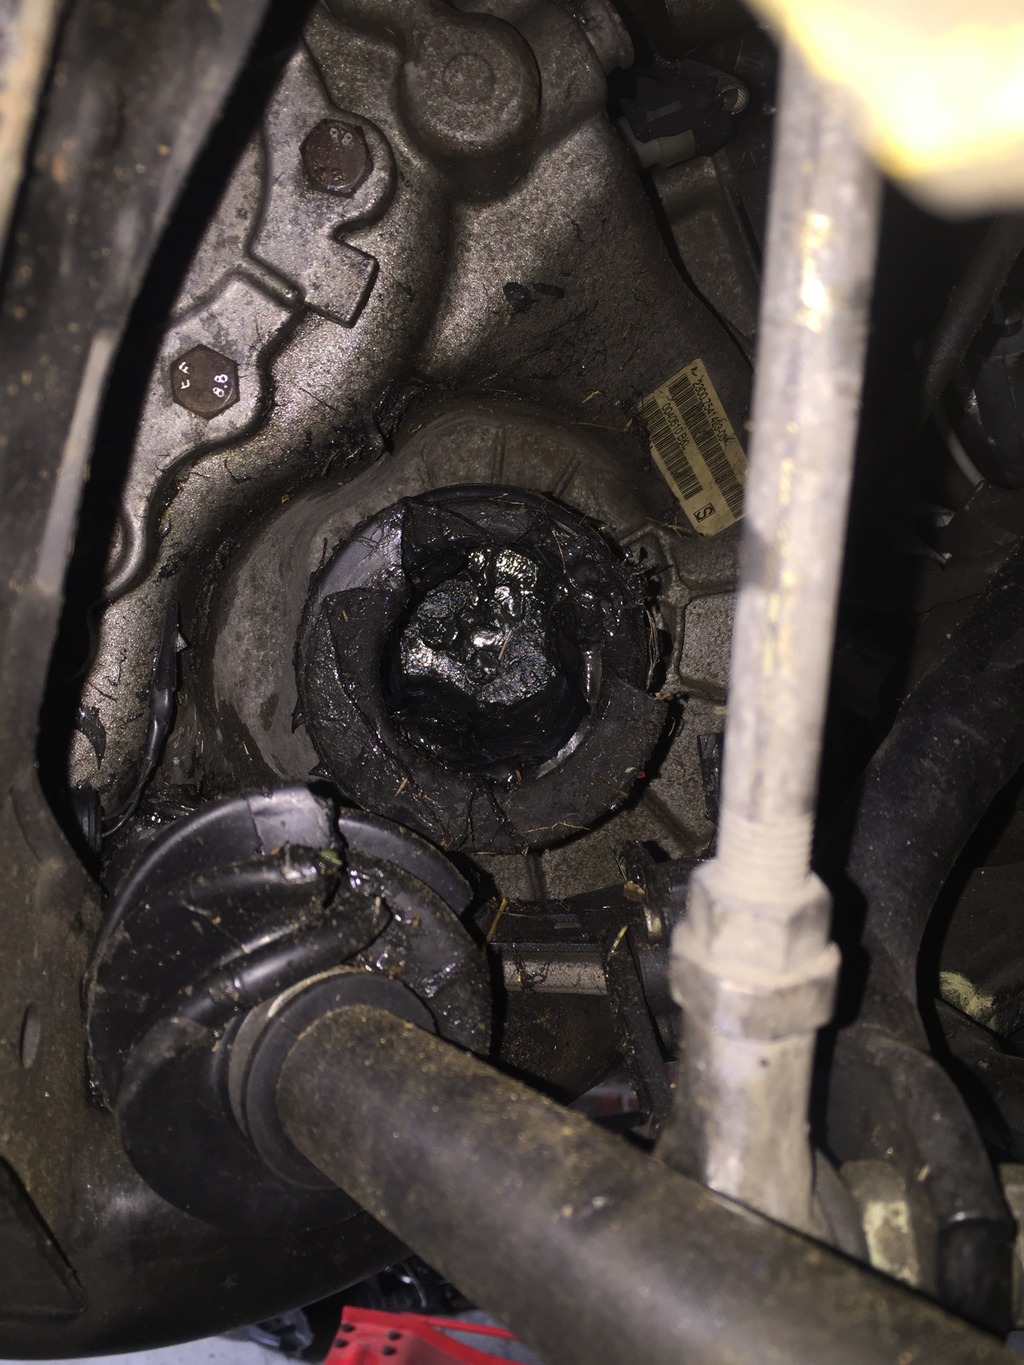
Both new RMW axles had the tripod joints pulled apart and boots split (typical for this kind of crash) but they can be rebuilt like new.
Click the image to open in full size.

Radiator might be leaking a little, but not much. Will be replaced.

Engine still has a full oil fill. A little oil on the engine and tranny, but that may be from when it was upside down. As much oil on top of the engine as underneath.

Rear end of exhaust got banged up but is fixable.
Click the image to open in full size.

Underside of car is surprisingly clean and undamaged. Didn’t rip off any fuel lines, meth lines, wideband, etc.
Click the image to open in full size.

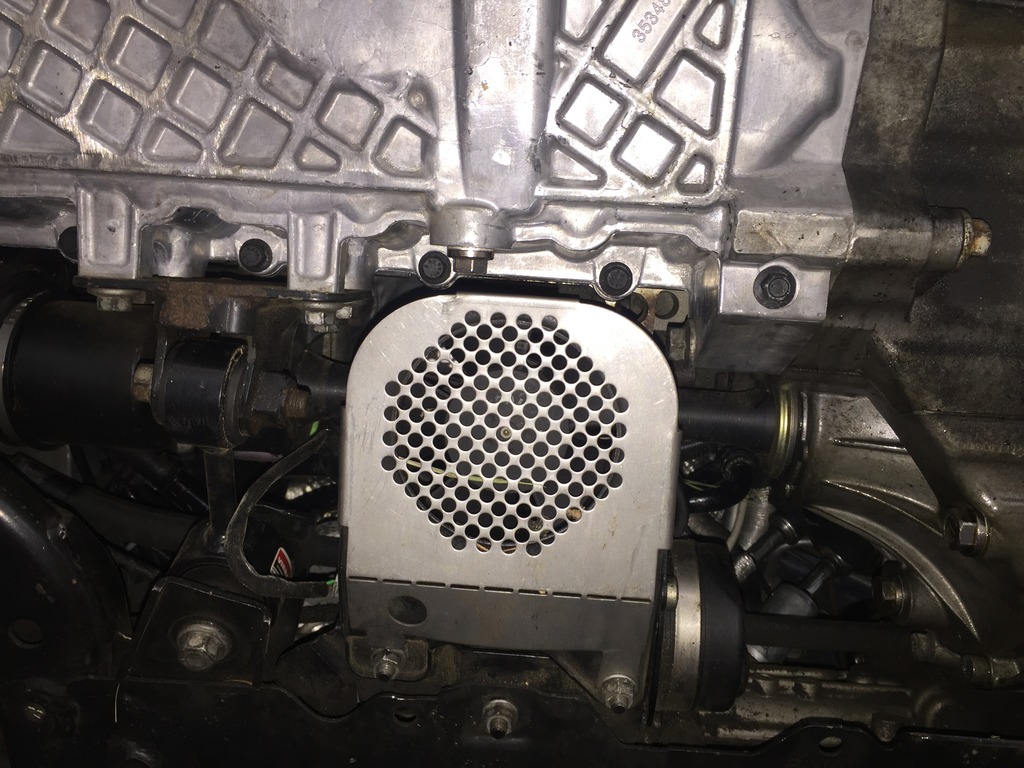
Even the PS fan looks fine.
Click the image to open in full size.

Wheels took a beating, 3 of the tires are flat. Interior is OK I think, other than airbag deployment and drivers side harness. I think all the vital GP trim is intact, inside and out. Both door handles got broken off, will have to rekey new drivers door (cylinder is still in the door, may be able to reuse it). Battery reads 4v, but 0v at the engine bay terminal, so the fusable link probably blew and shut down the motor before any damage occurred (I hope). It actually looks like I could hook up a battery and start it right now, but I won’t.

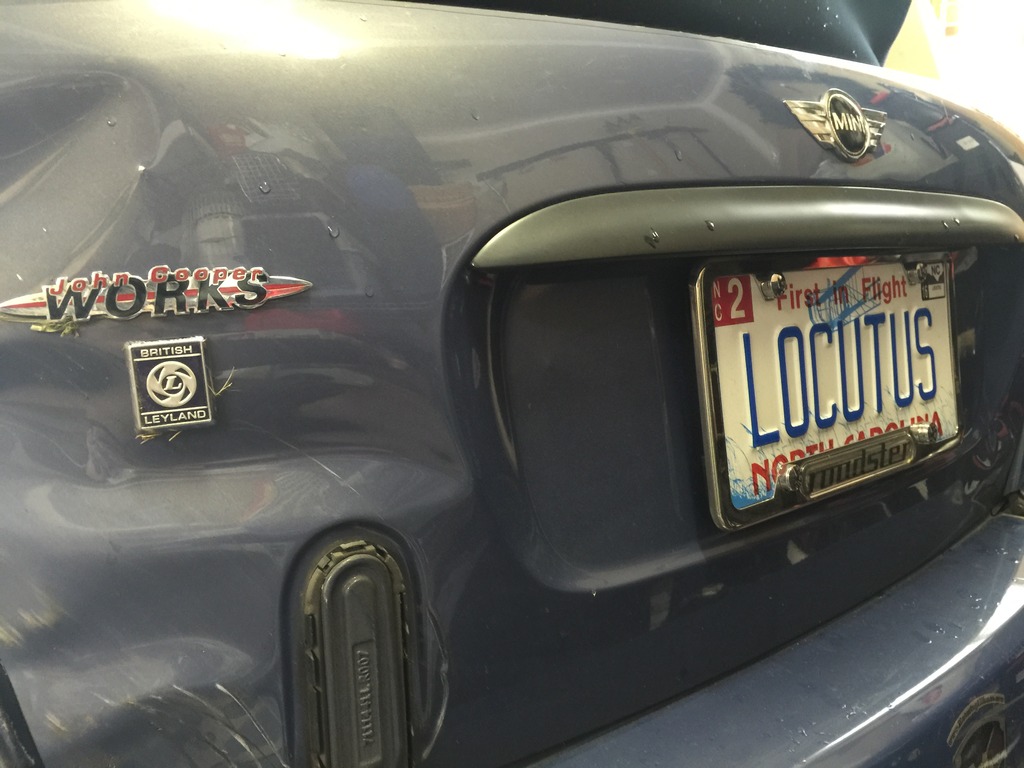
Important badges and license frame are OK
Click the image to open in full size.

This could be a problem…
Click the image to open in full size.

__________________

The Legend Begins…

Before a Phoenix can rise from the ashes… there must be ashes.

– Paul

So, this happened.

Click the image to open in full size.

Not exactly what I had in mind today. But stuff happens.

I’m not going to go into a lot of details. Skidded on a corner, dropped a wheel in a ditch with an embankment beside it, and got catapulted back out and over. Road I’ve driven 100 times.

Bumped my head on the pavement (I think) on the left side while rolling, and have a mild (hopefully) concussion from that, a variety of bumps and bruises and cuts, and a burn on my hand from (I’m guessing) the airbag, but otherwise I’m OK. Head CT came back clear, but I lost probably 15-20 minutes of time… so paying attention for the next few days.

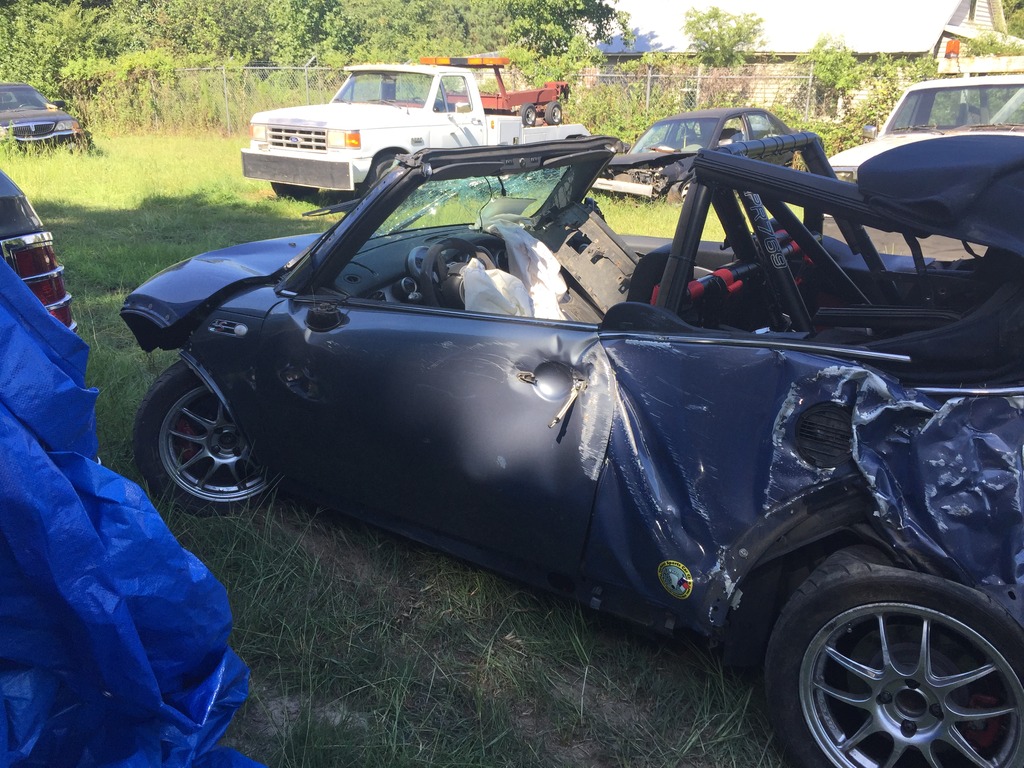
Car is as broken as any MINI I’ve ever seen. I think the motor will be OK, as is much of the interior, and I think the GP bits are savable.
Click the image to open in full size.
http://i1060.photobucket.com/albums/…pselawcfio.jpg

Every person who has seen the car has said the same thing: “That roll bar saved you”
That, and the harness, did their jobs.
Click the image to open in full size.

Might take a day or two to collect my thoughts, but I’m probably going to buy the car back from the insurance company, find another cabrio shell, and rebuild it. I’m getting good at that part. So just a temporary setback…