Custom jack blocks

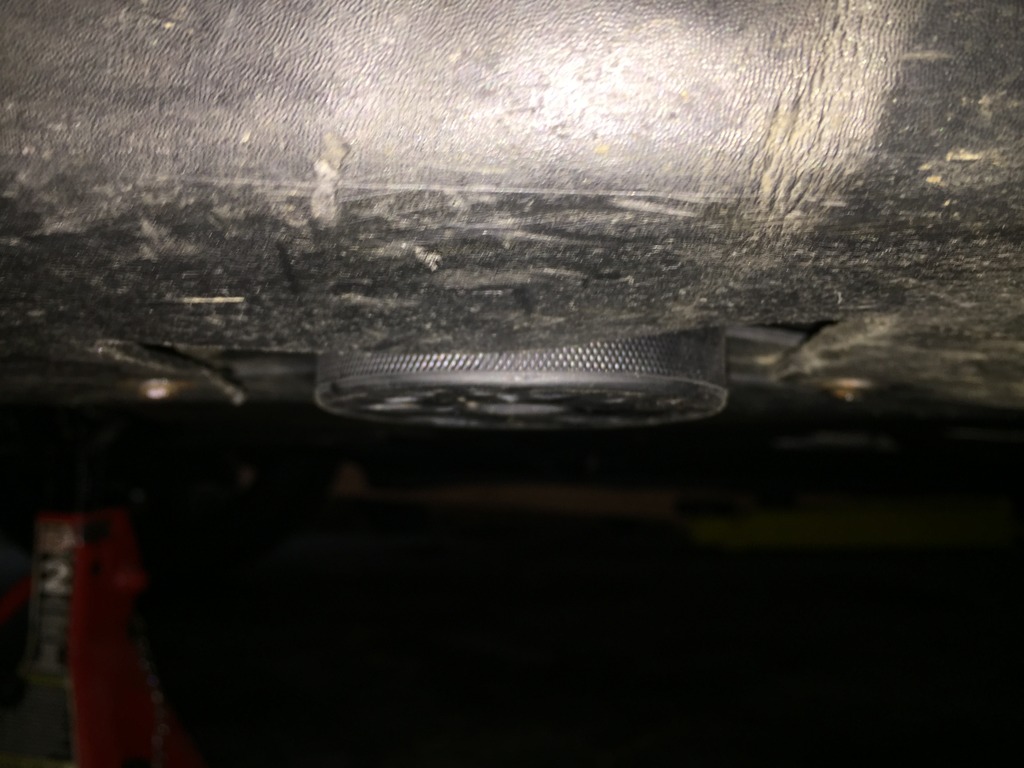
So I installed these:
Click the image to open in full size.

Drilled out the center pin on the old rattling plastic OEM points, and pulled them off.
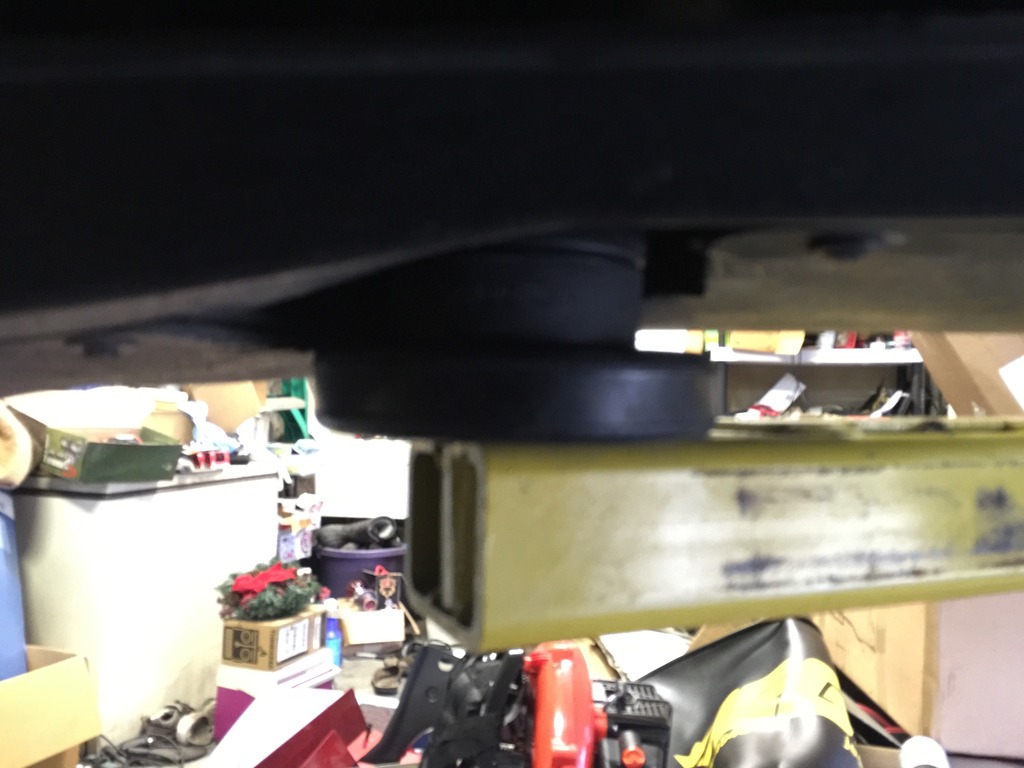
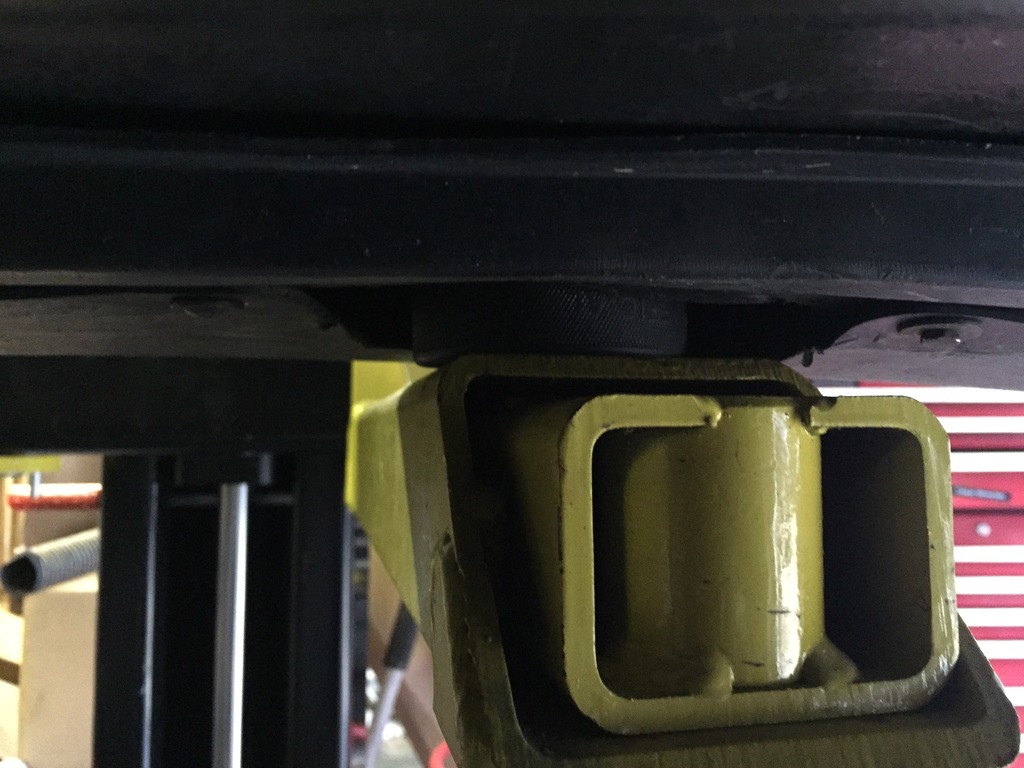
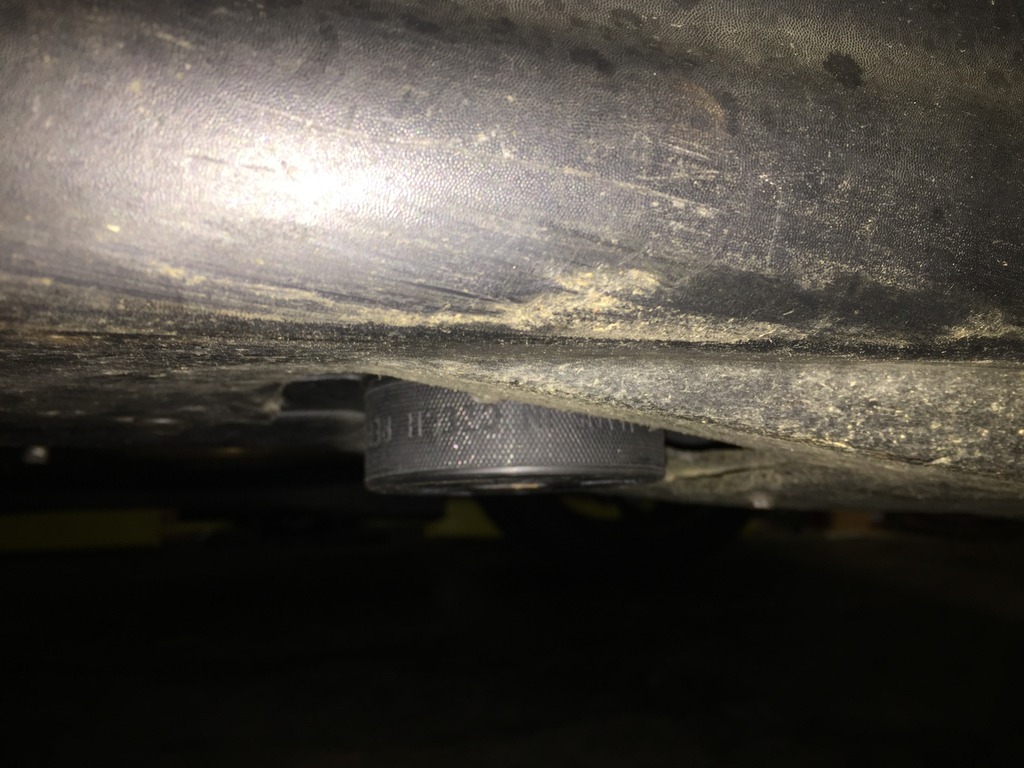
Mounted the new ones…
Front:
Click the image to open in full size.

Rear:
Click the image to open in full size.

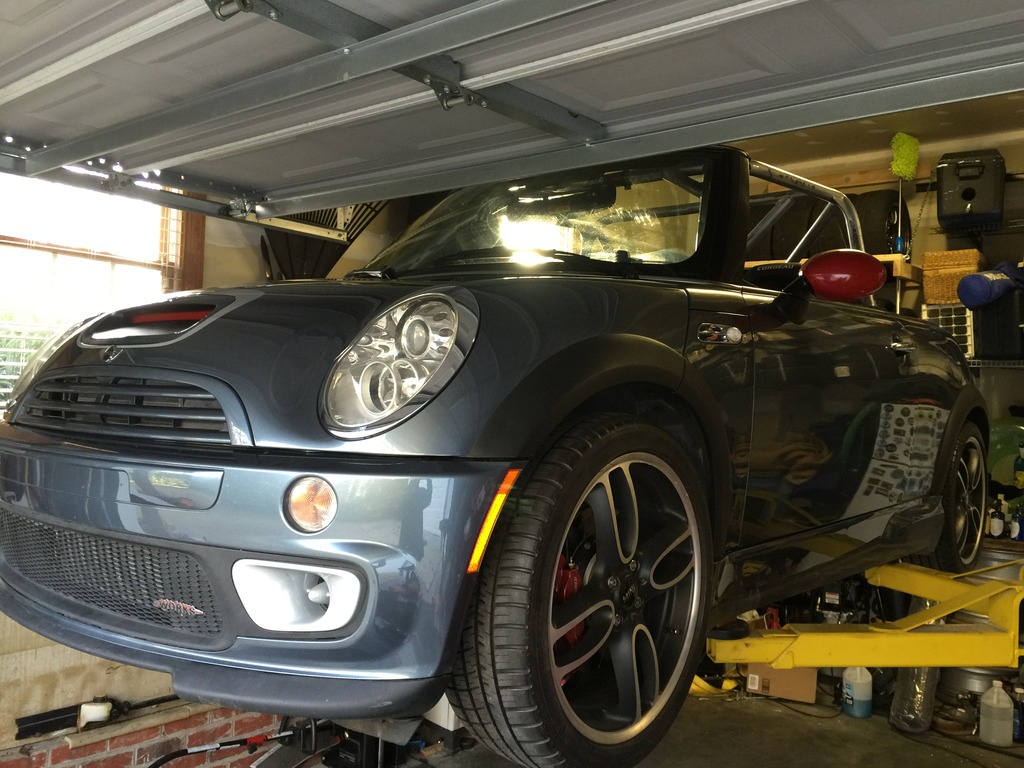
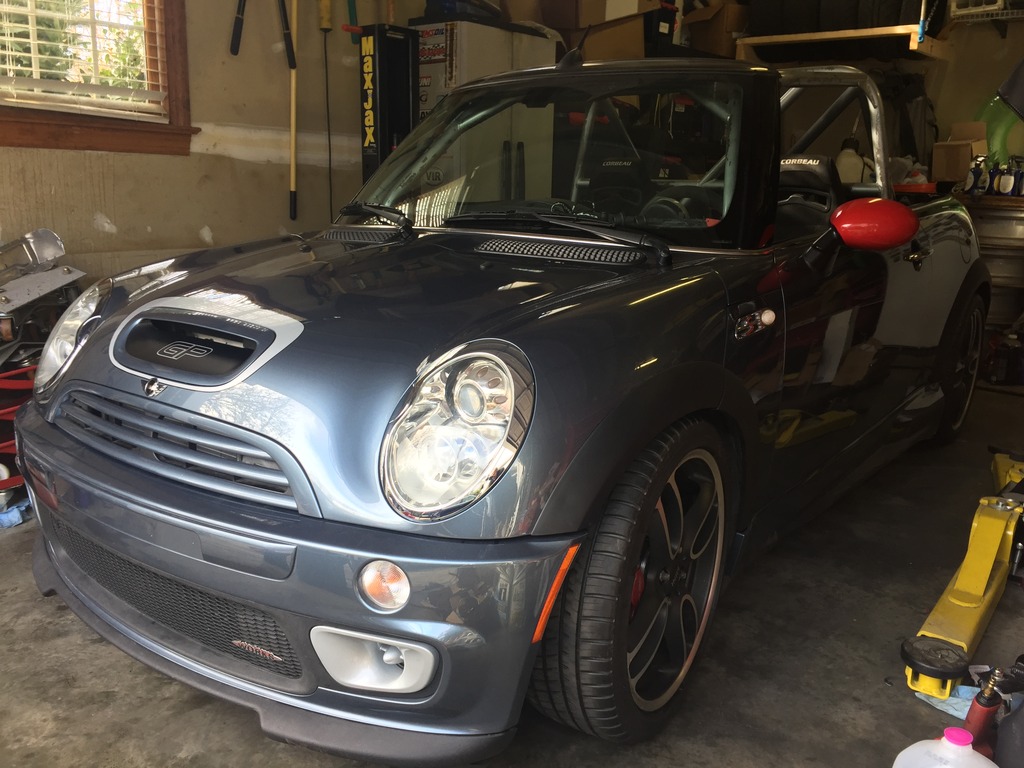
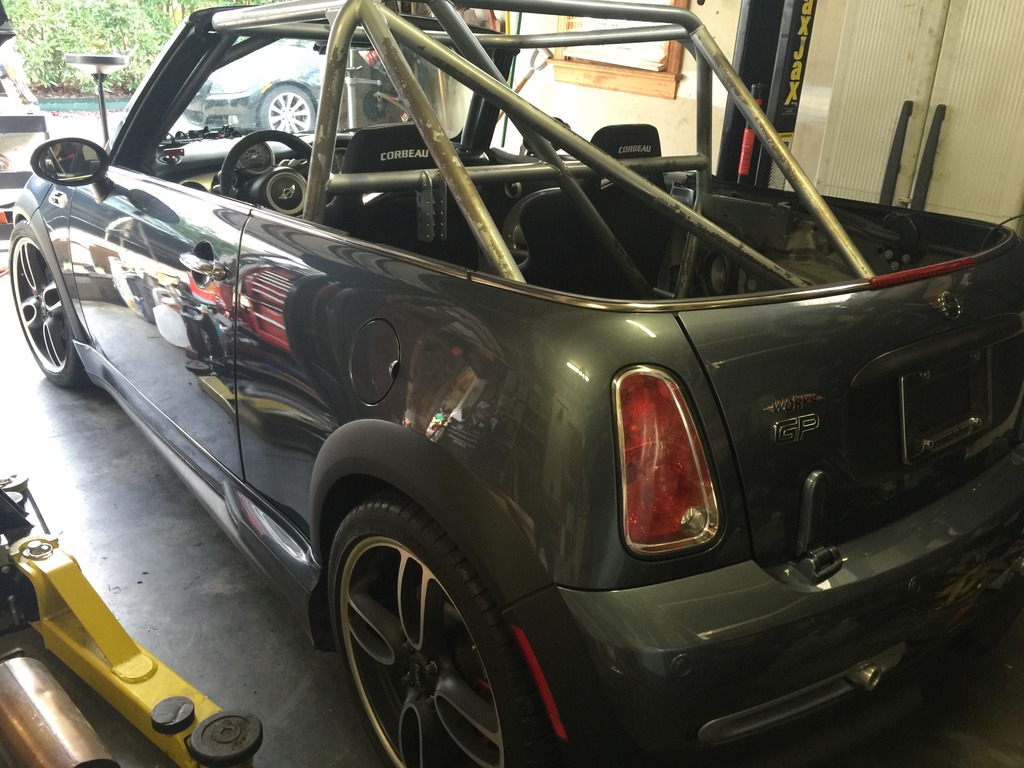
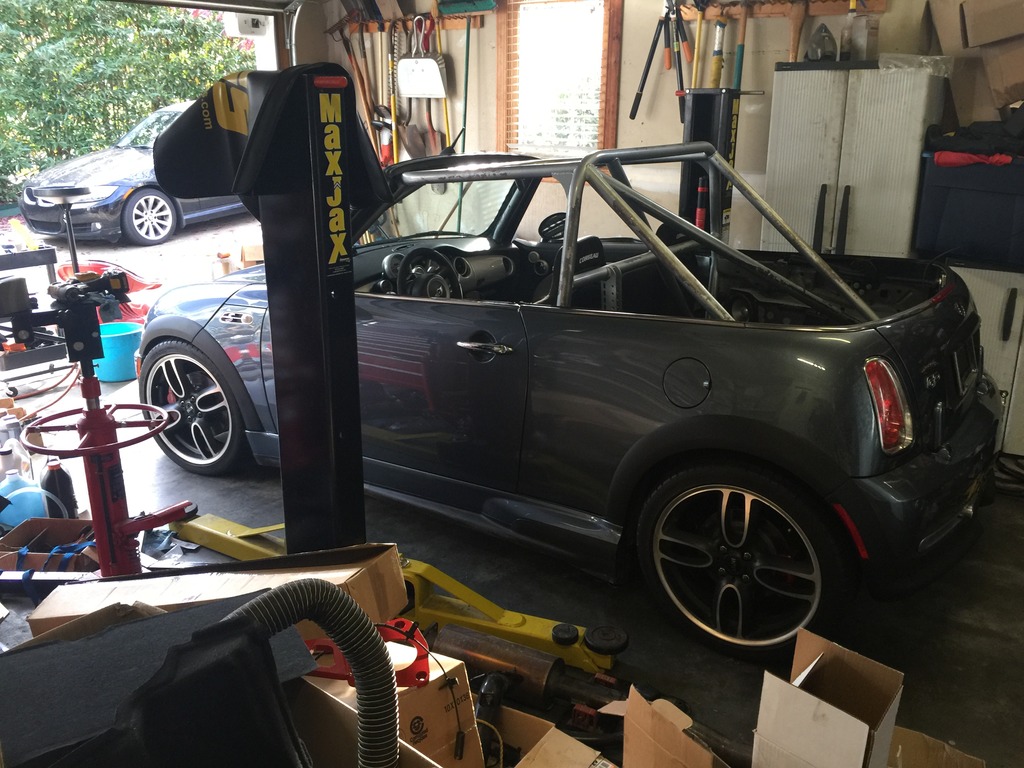
PERFECT. So much easier to get on the lift, with no danger to the skirts.
Click the image to open in full size.

Highly recommended mod, if you have aero or GP skirts.

Also fixed the passenger side hood latch and cable, so everything latches like it should now. And red-dipped my driver’s side latch handle, and oil dipstick. No more yellow in the engine bay, except for the oil fill cap label.

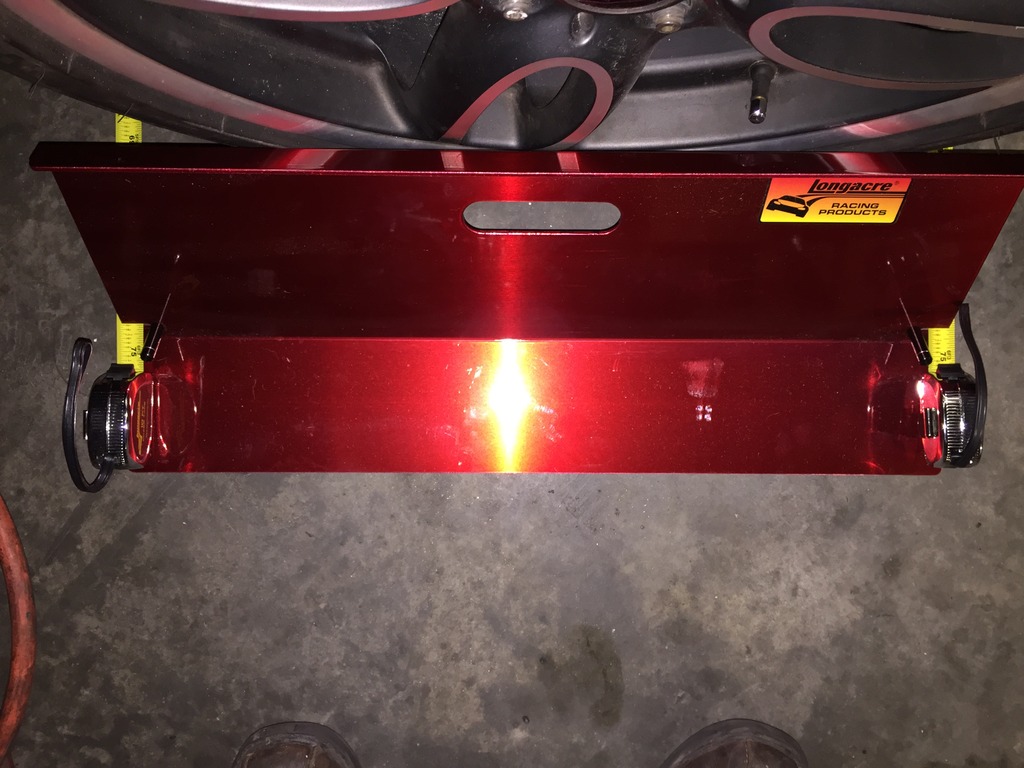
Adjusted my front and rear camber, now that I have the caster plates installed. I’m going to try running -1.25 F / -1.0 R static camber. With the caster set to +7degrees, I get added dynamic camber when I turn in. Measures -1.65deg on outside wheel, with steering wheel turned 1/4 turn, and -2.0deg with 1/2 turn of steering. I might bump front camber up a bit more, but want to see how little I can get away with.

Christmas break is over… back to work!

OK, Christmas break is over…

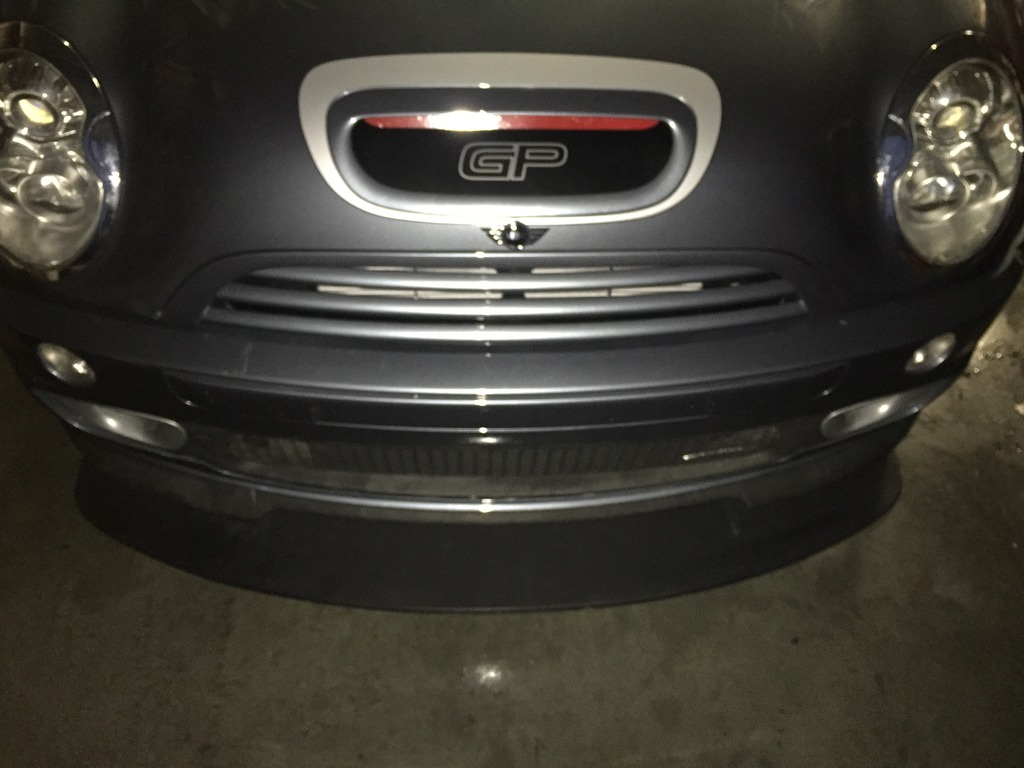
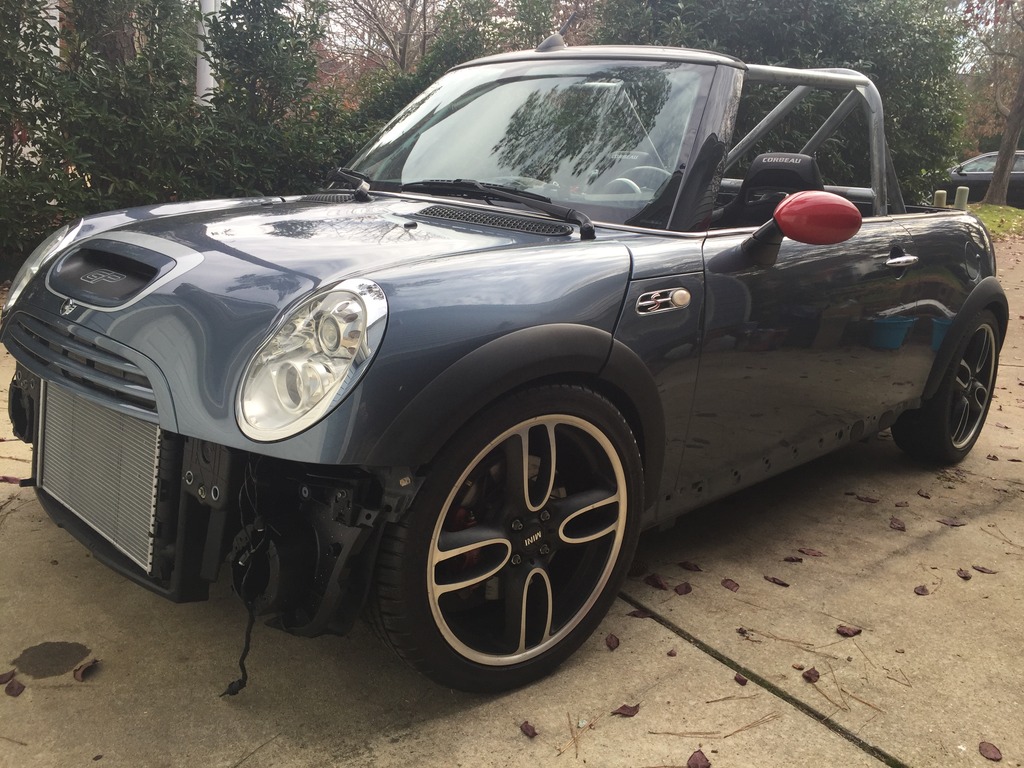
Reconstituted the front end, at least structurally. All back together in one piece. Still have some paint repair to do, but that’s low on the priority list right now. Looks fine for a 10 year old car… you can see some scuffs and such, in this pic of my new-to-me gently used RMW splitter.
Click the image to open in full size.

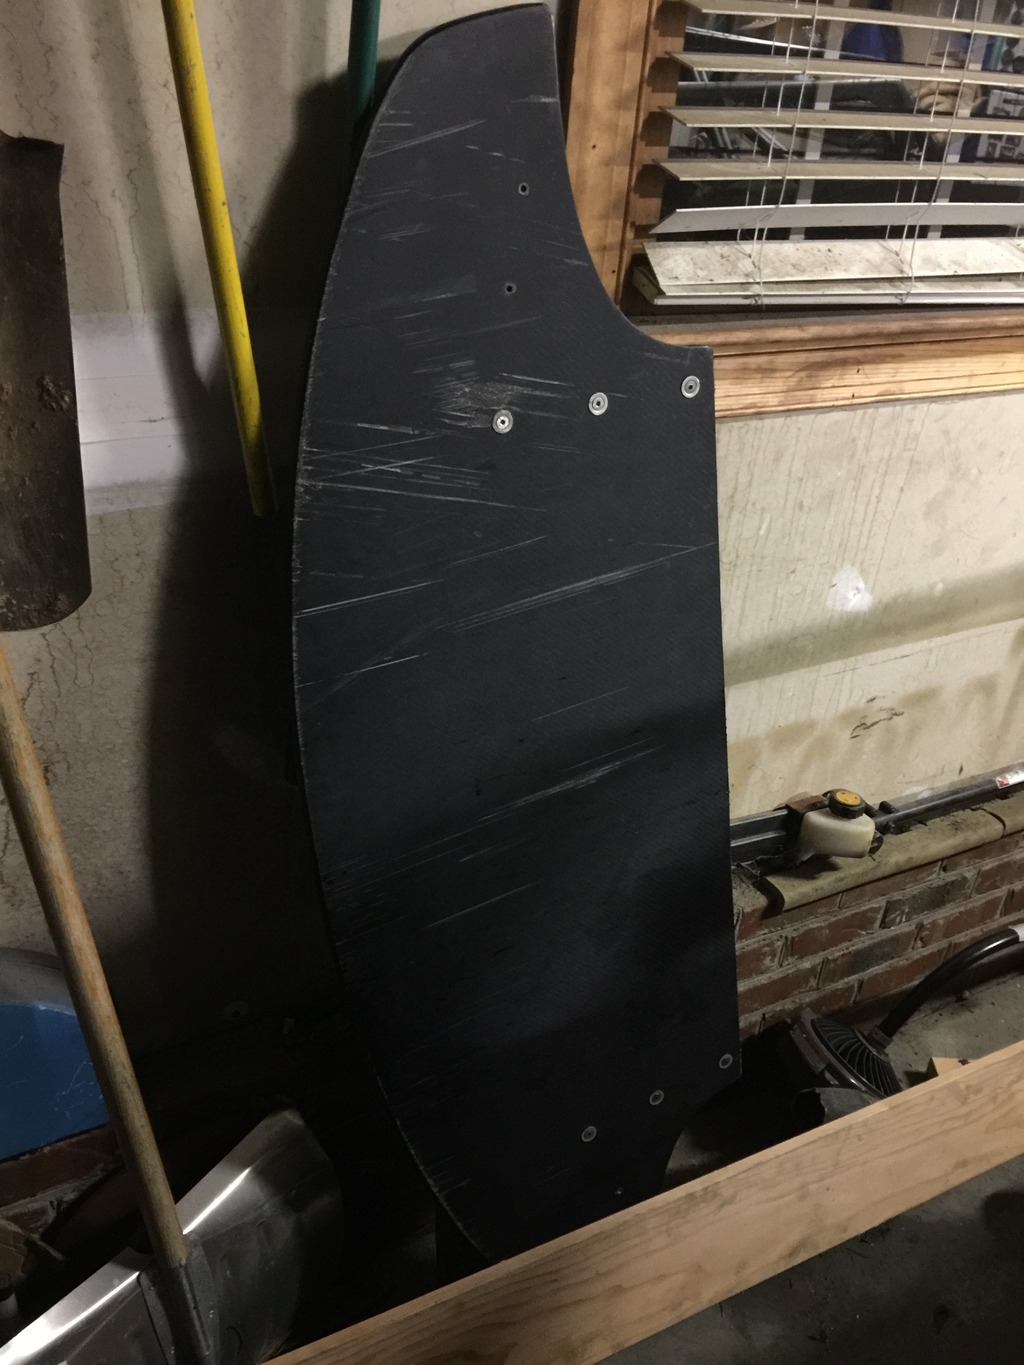
This splitter is beastly. It’s one massive solid panel. I could snowboard on it. It may be the strongest thing I’ve ever held…
Click the image to open in full size.

A few scuffs on the bottom because… it’s a splitter. This will go on for track days only. Definitely not made for mountain twisties. But, with the underbody panels and the GP skirts, I’m hoping this will give me a little more stability at speed… I need all the help I can get, at triple-digit speed.

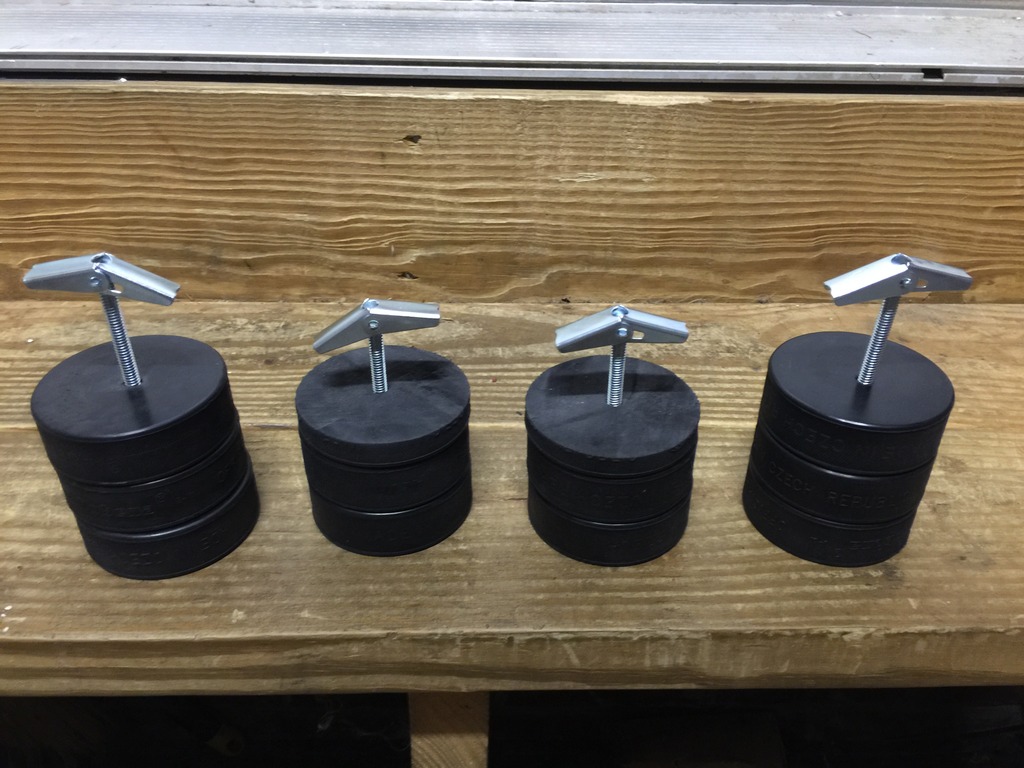
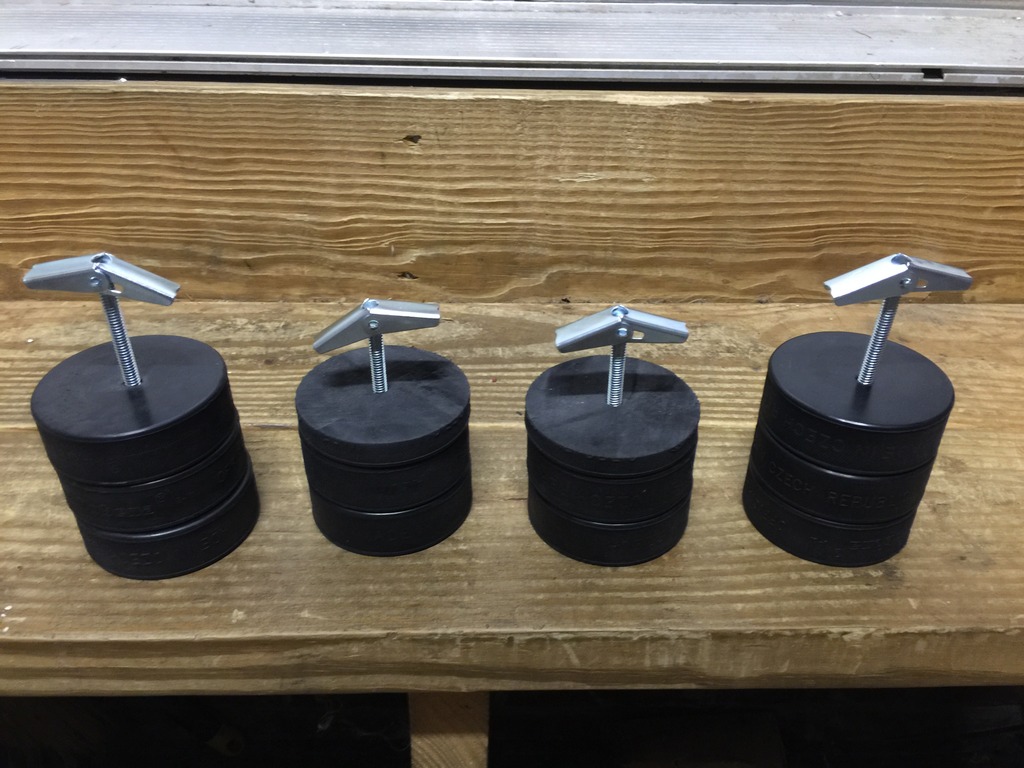
Built some custom jack points, to replace the factory points, so I can roll right on and off the lift with the GP skirts, without fooling with the jack point extension blocks, hockey pucks, etc.
Click the image to open in full size.

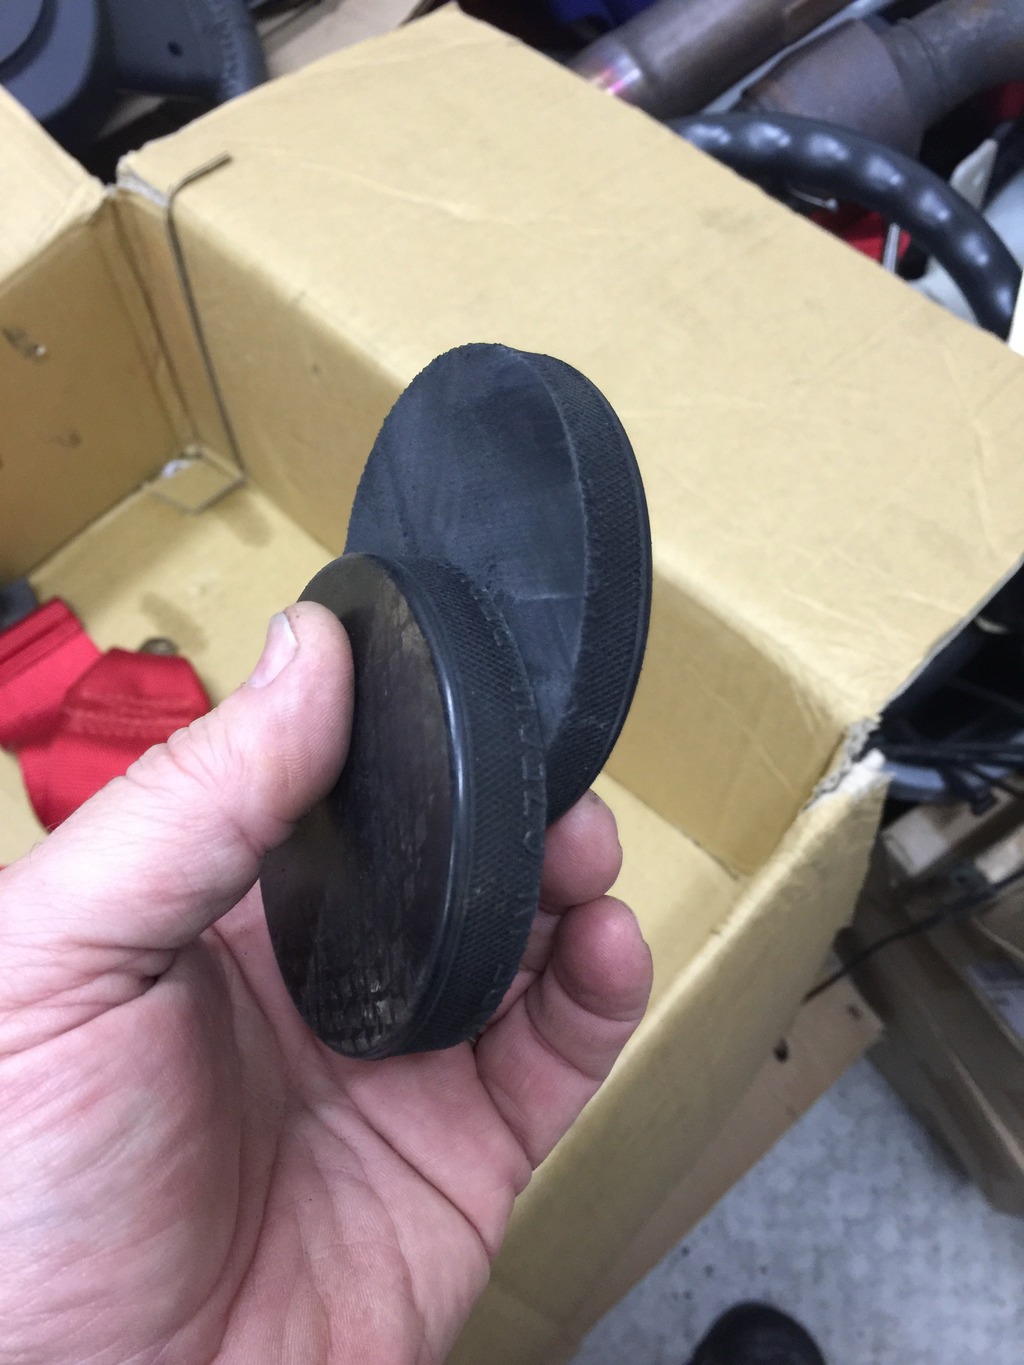
Yes, I cut a hockey puck in half.
Click the image to open in full size.

Sure, I could have some custom jack points machined. Maybe I will at some point. But these will work fine, and don’t weight much, and were easy. Three hockey pucks (75mm) rear, 2.5 hockey pucks (62mm) front. Should protrude just a few mm below the skirts. I don’t use the little trap doors anyway, so the skirts should be more aero than usual, with the holes mostly plugged by these. I’ll pull off the factory points and install them today. Need to test with the factory jack for roadside repairs, I may need to get a small flat-top scissor jack to use instead, since the factory jack can’t engage these like the factory points.

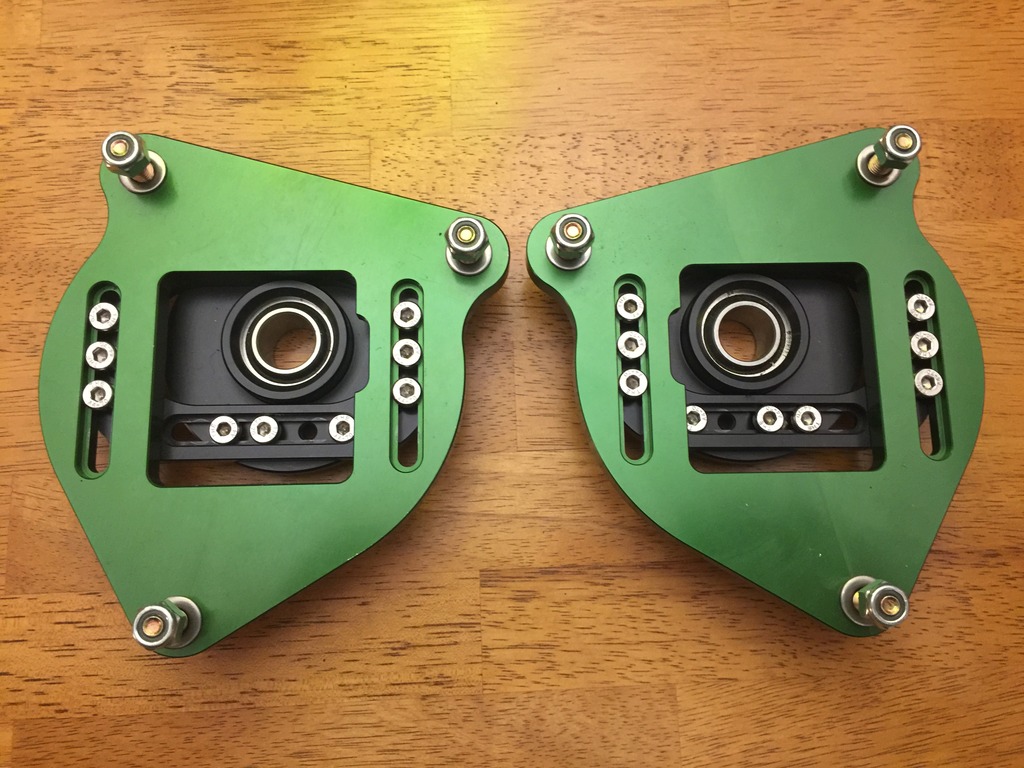
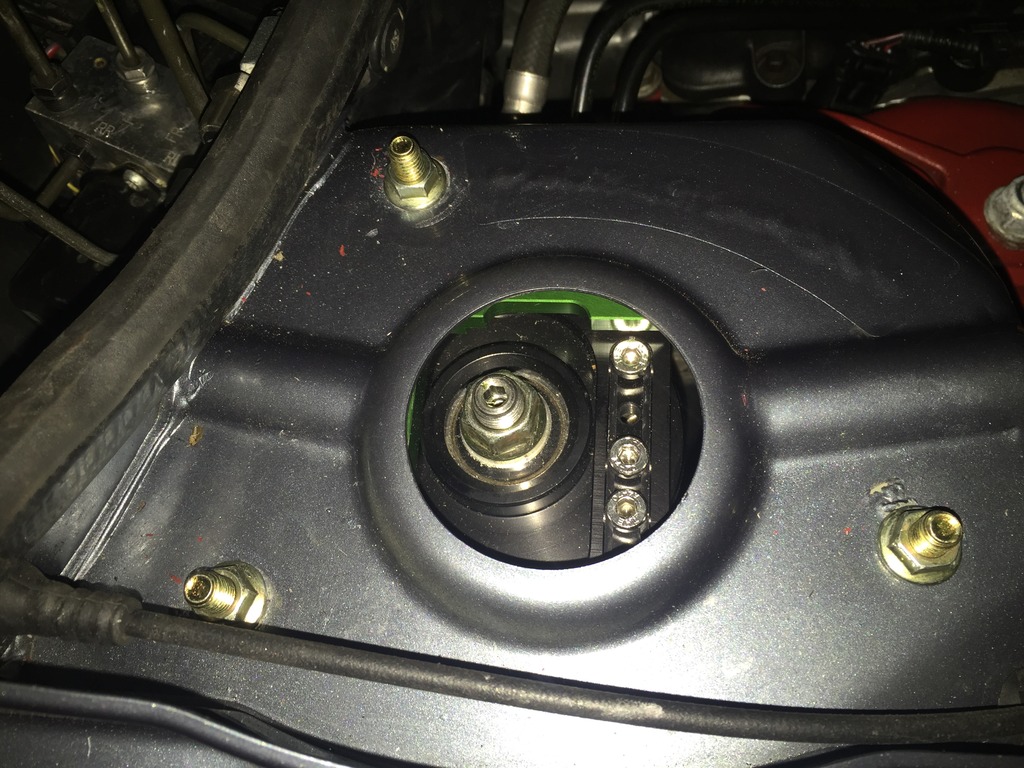
Installed my Greene Performance camber/caster plates, once I figured out that the BC coilovers had a top nut with integrated bushing that’s close enough to fit.
I started with them adjusted like this. Max caster, and about half max negative camber. I’ll tweak them a bit as needed. If I’m reading the gauge right. looks like I have about 7 degrees of caster with these. Haven’t driven the car at speed yet to evaluate, but it definitely has more “on center” feel than before. I can tell that just driving around the neighborhood.
Click the image to open in full size.

Annnnnnnddddddd…. Yesterday was a huge day.
After a couple of failed attempts to get the car titled… I got’er done.

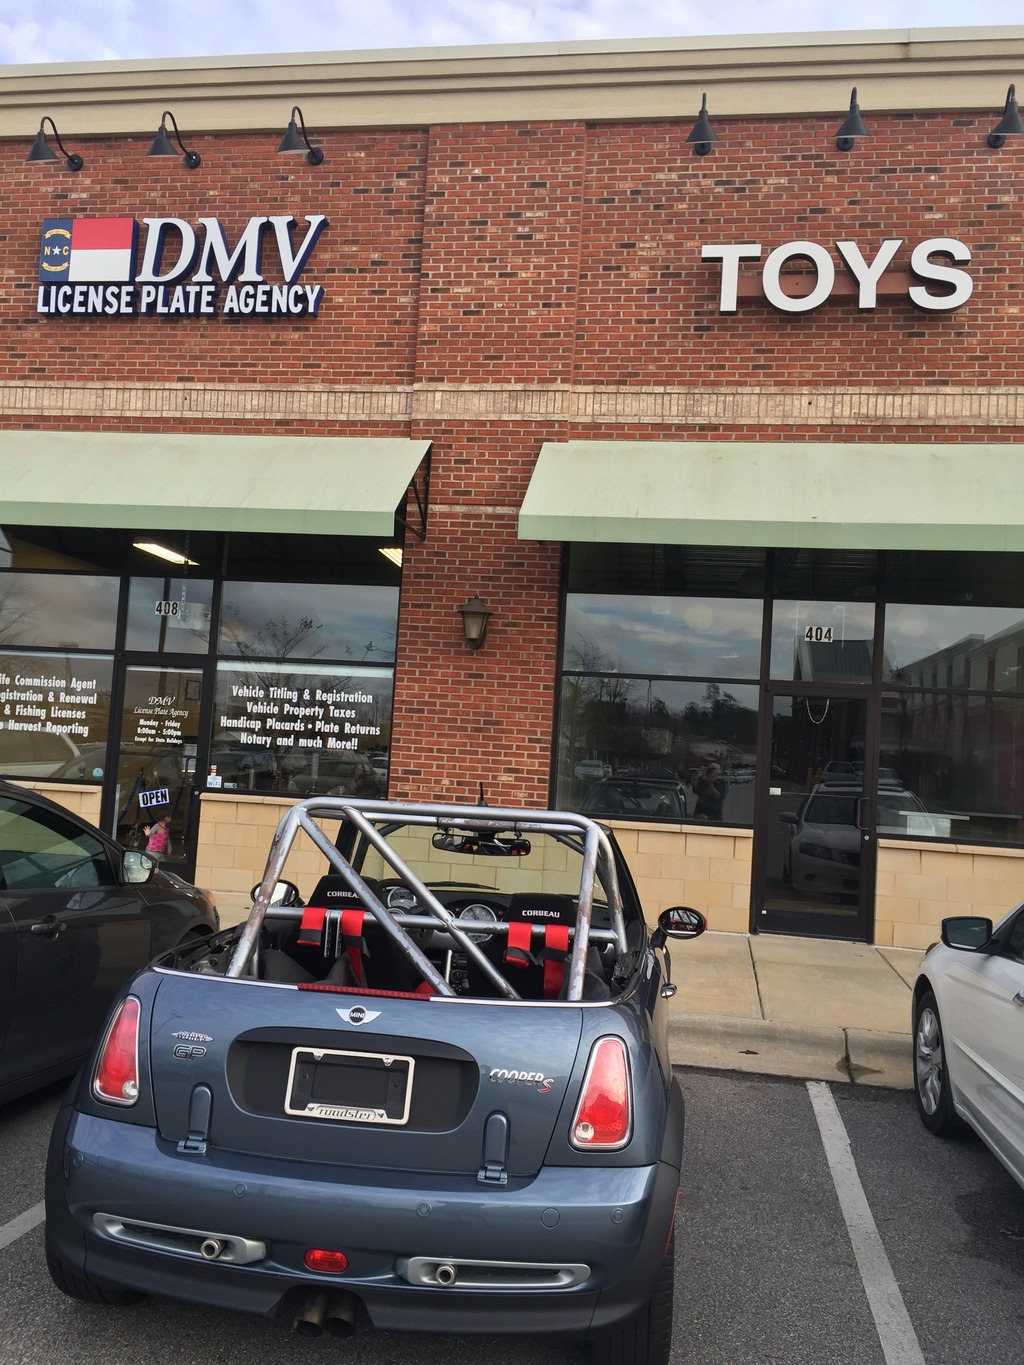
A truly amazing day. Went to the main NC DMV office in Raleigh early. Successfully titled the car in the name of the guy who bought it at insurance auction (via power of attorney), then transferred that title to me (via power of attorney), then titled it in my name. Then called DMV theft inspection unit, and (incredibly) they had an appointment available at 2PM. Went home and buttoned things up to be ready for the inspector. Inspector arrived at 2, was done by 2:30. I took inspection report to the local DMV office 10 minutes from my house, got a 10 day permit for the car. Back home at 3:00, drove the car to the local safety/emissions inspection shop. They were slow today, done about 4:00, passed first try. Drove the car back across town to the DMV office with the safety/emissions inspection report and registered the car, got a plate, and ordered personalized plate.

Click the image to open in full size.

Emailed my insurance agent and added the car to my policy. DONE. Street legal!

Taxes and fees were almost exactly the same amount I paid for the car (or at least, the shell). YOLO.

Now time to schedule all the other stuff I need to have done… exhaust repair, windshield replacement, paint repairs, top and tonneau fabrication, etc. Which is fun to schedule, when the car has no roof and we’re in a El Nino rainy pattern… And I need several dry-ish days to pull out the interior, strip and repaint the cage, give it a few days to cure, and re-install interior. And the rest of the TVS stuff should arrive in a couple of weeks… and I have a weekend at VIR in late February… still lots of work to get it ready.

And then this happened

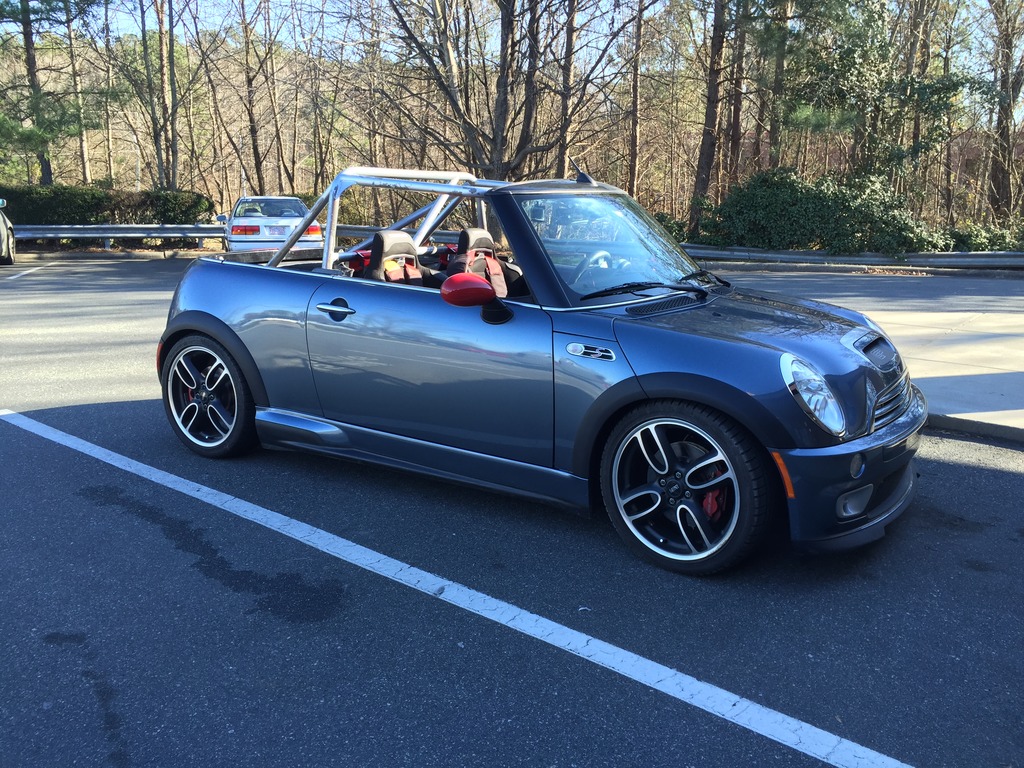
Sunday, I went for a spectacular drive. Car was fantastic. And looked fantastic.
Click the image to open in full size.

Drives like a dream. 

Remember, the last time I built a car, the new motor was in it for THREE DAYS before I tore it up.

Well, we have a new record. ONE DAY. 
Click the image to open in full size.

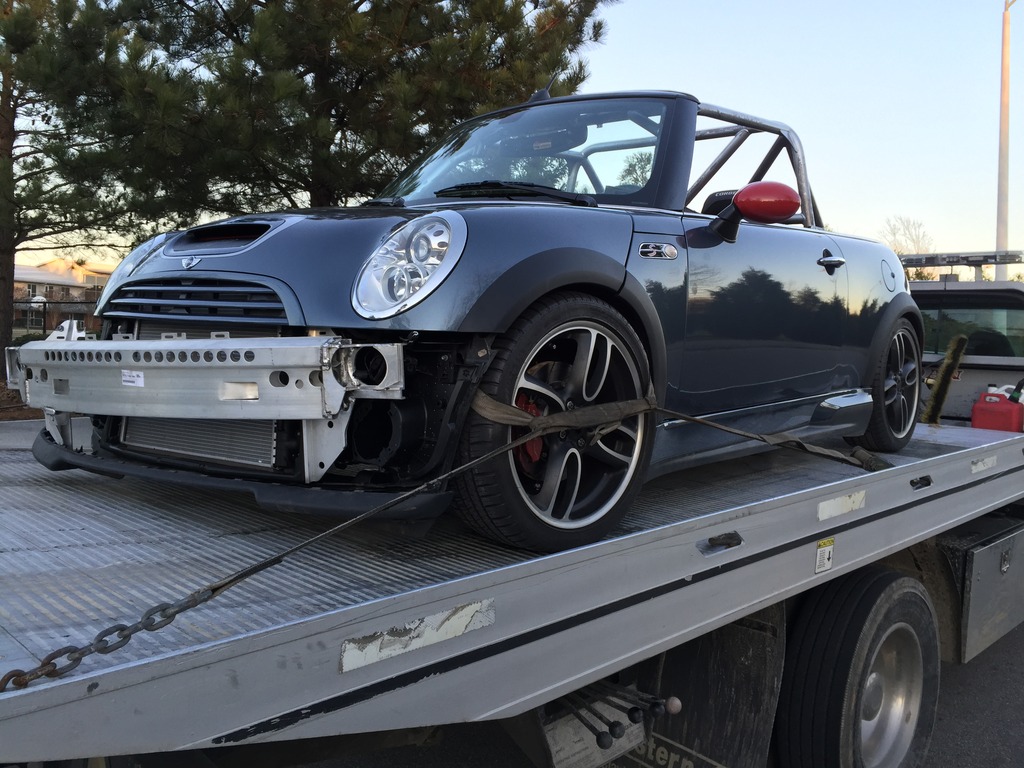
Greek Tragedy of Epic Fail. Short version, do not attempt to pull your car by the tow hook if the crush tubes aren’t installed to support the bumper frame. I already knew that. But now it’s been reinforced a bit. 

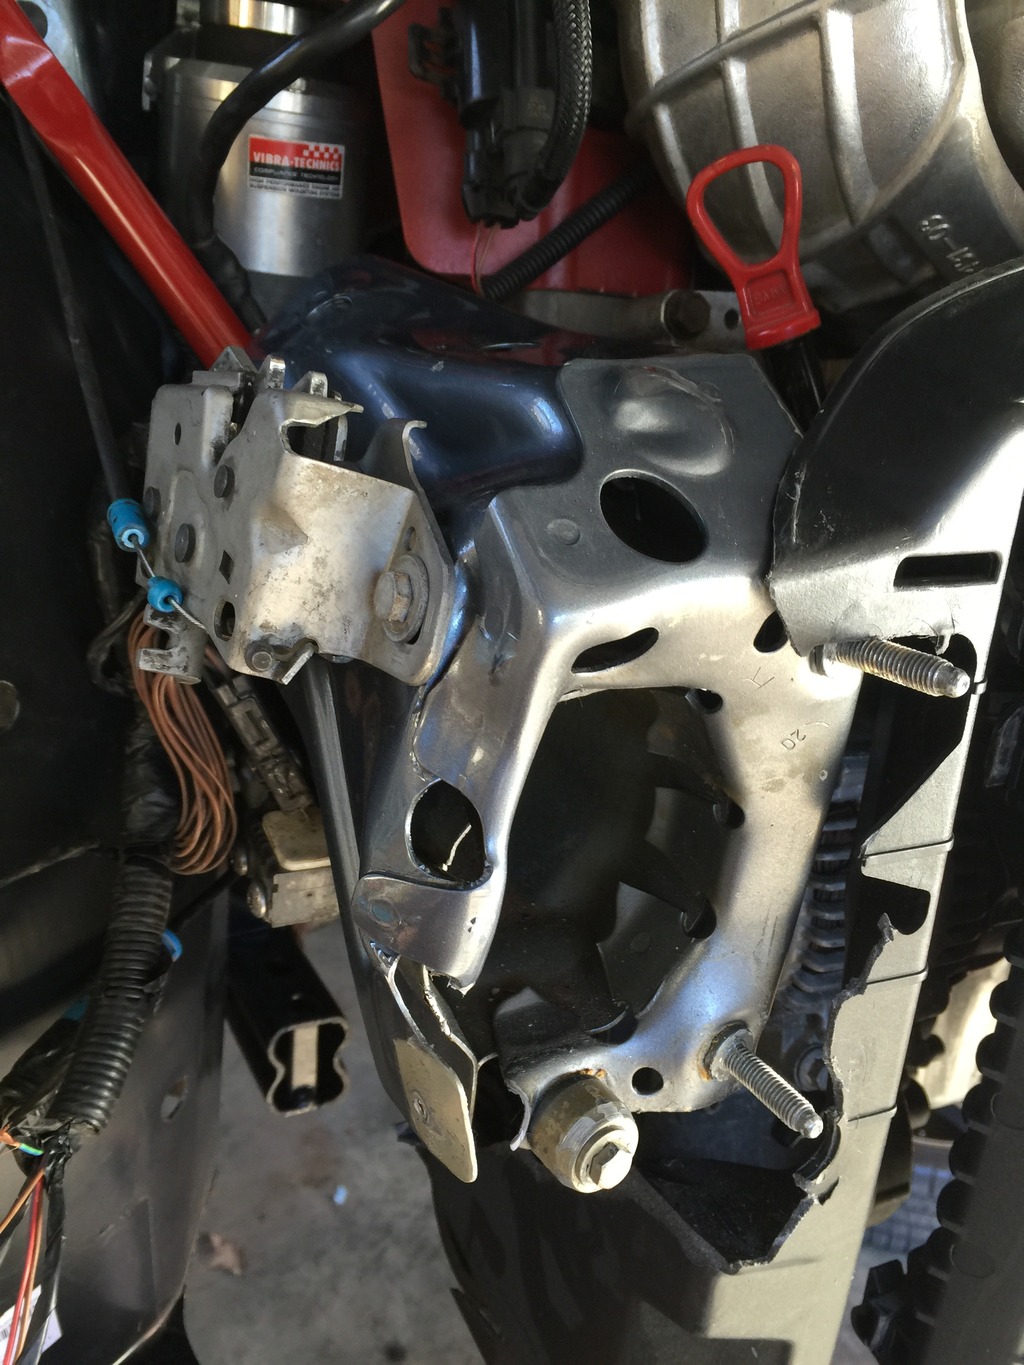
Destroyed the brand new bumper frame, brand new radiator frame, and brand new right wheel liner. Scuffed up the brand new bumper cover and broke some clips that hold in the grille. Broke a couple of tabs off the grill trim strip and the grill base, and tweaked a little corner of the new bonnet. Pretty much destroyed the bumper mount bracket on the right engine rail.
Click the image to open in full size.

Anyway, after going home, drinking a beer, and curling up in a fetal position to sleep it off, I got up the next day and pretty much fixed it. Or at least got it drivable again.

Click the image to open in full size.

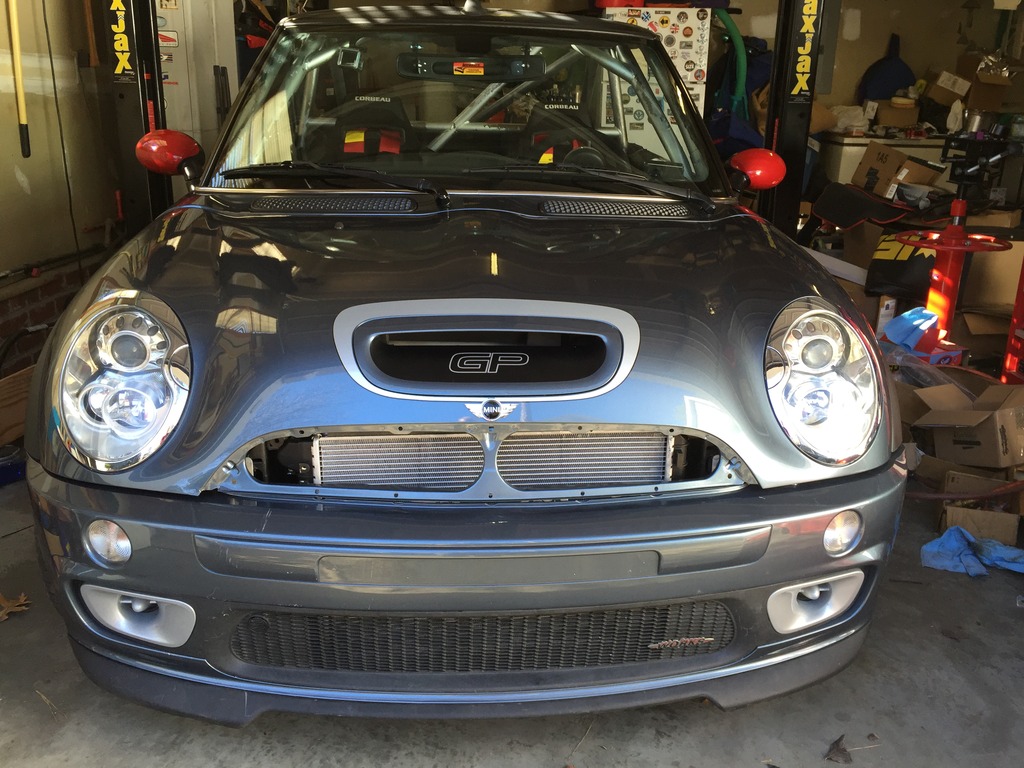
It looks meaner that way, anyway. I have the grilles back on it now, and from 30 feet away, you don’t notice anything. Only flesh wounds, replacement parts are already purchased, I’ll get the paint and body fixed in January and it’ll be good as new.

Just a speed bump in the build. And builds character, or something.

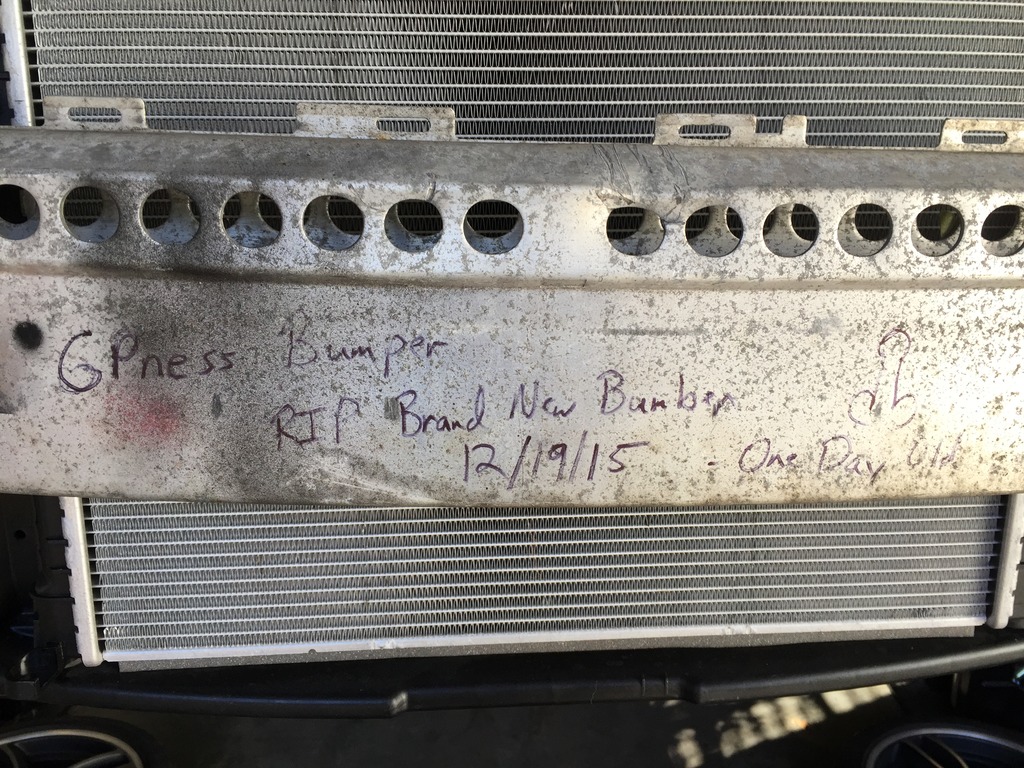
I chose to re-use the original bumper frame from GP0769 (MOAR GPness) and, at Art’s request, wrote a little epitaph on it.
Click the image to open in full size.

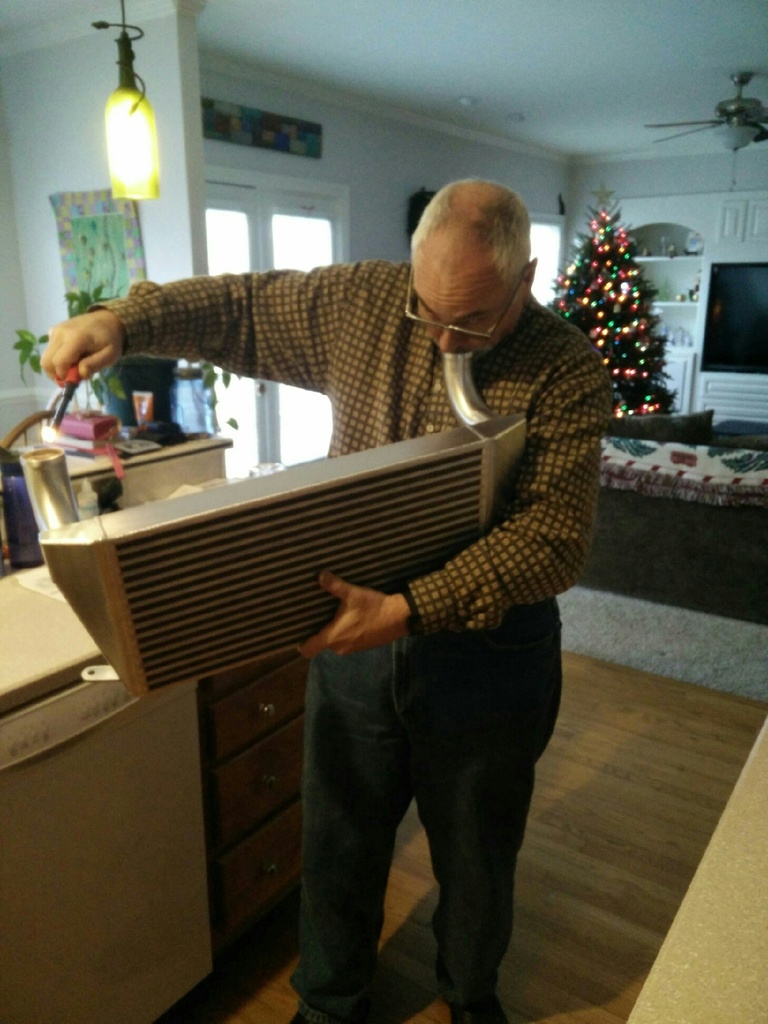
My RMW front mount intercooler for the TVS system arrived direct from Bell. Being in an, uh, INTERESTING mood, I had my daughter snap a pic.
Click the image to open in full size.

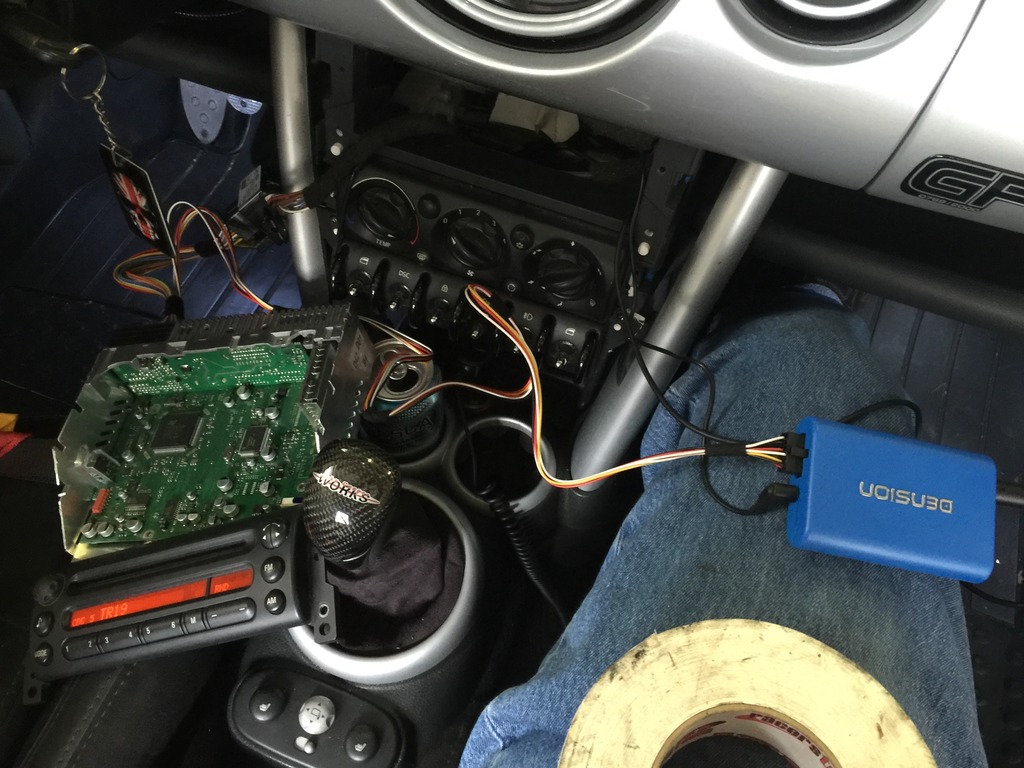
Bluetooth kit arrived, so I installed it. Now the CDless GPness haz bluetooth.
Click the image to open in full size.

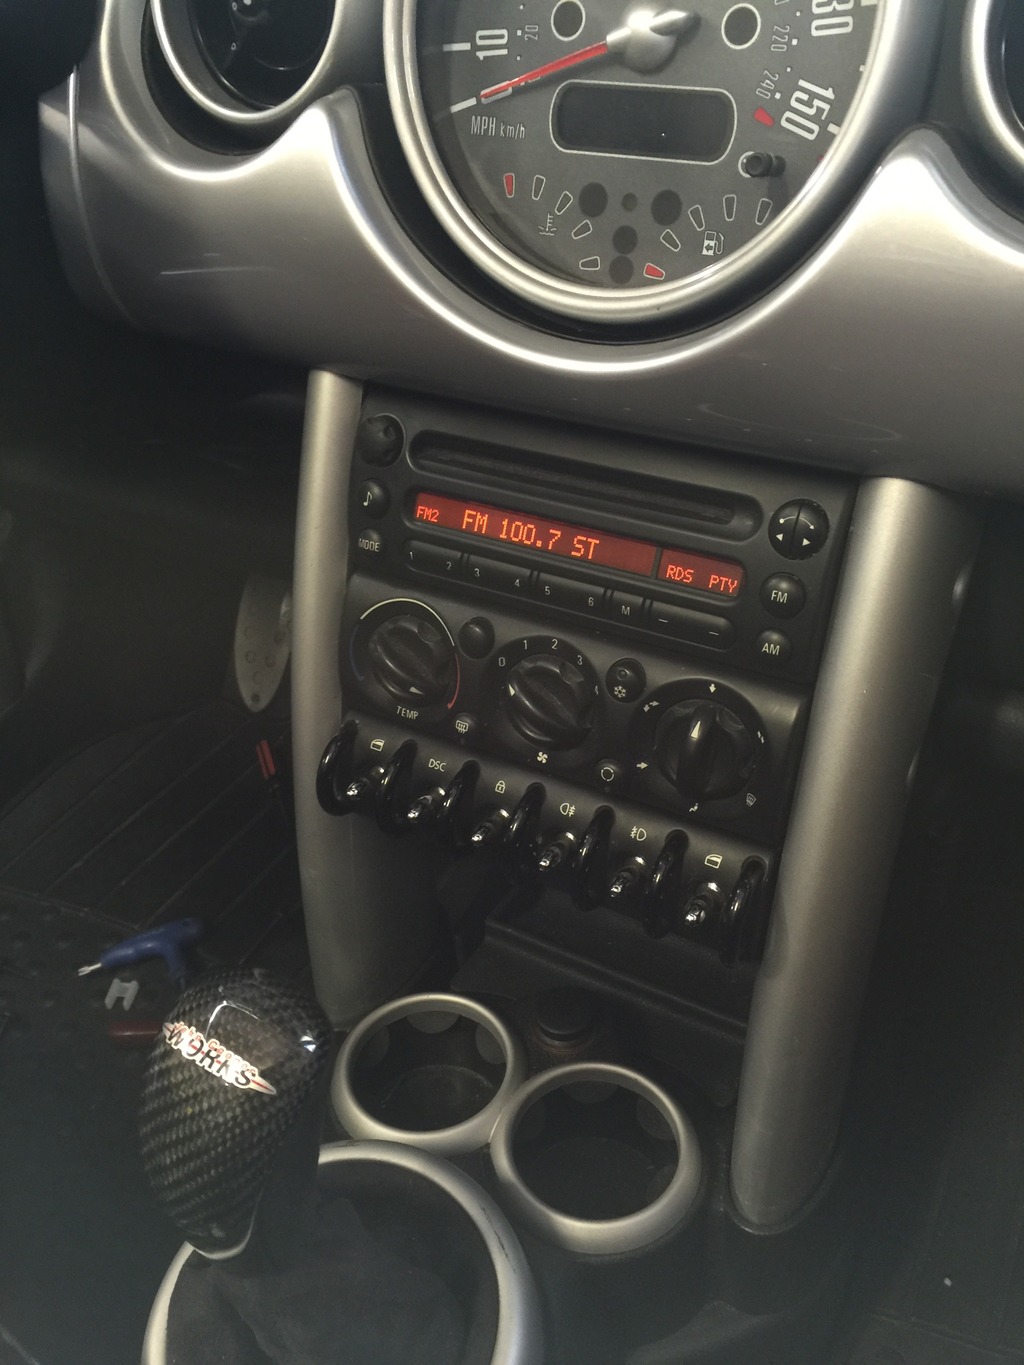
Radio is all back together and looks totally stock.
Click the image to open in full size.

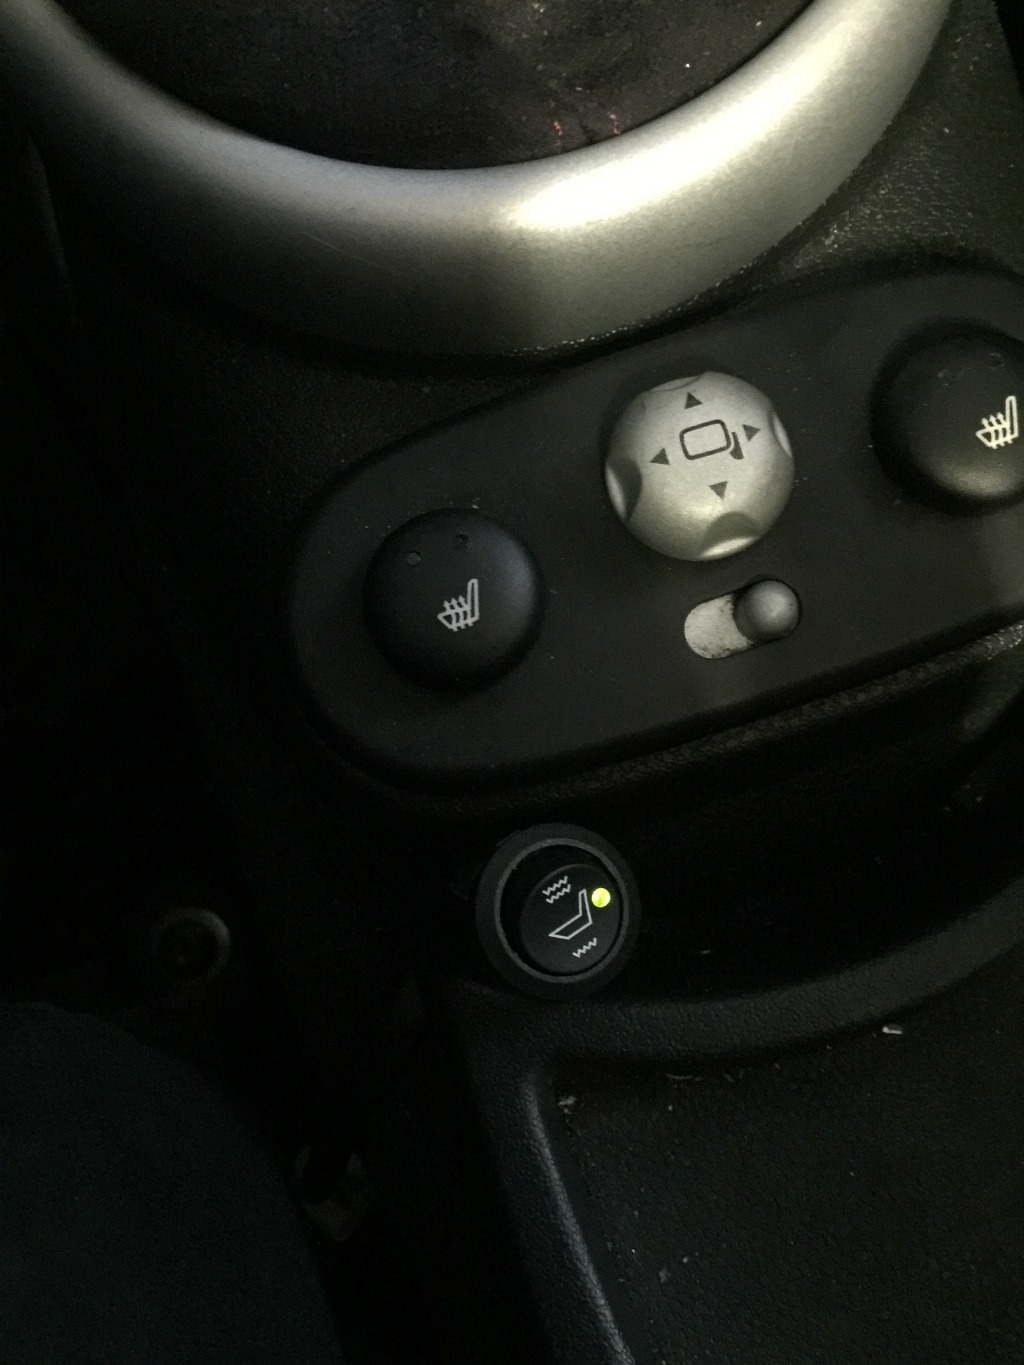
Fixed the fubar passenger seat slider, and also wired my driver’s seat heater. Not possible to control it with the OEM button, the circuit is very different, but it IS wired into the proper switched and fused seat heater circuit. I’ll find the OEM GP mirror control pod and add the new heater button to that. I think it’s at the bottom of my parts mountain.
Click the image to open in full size.

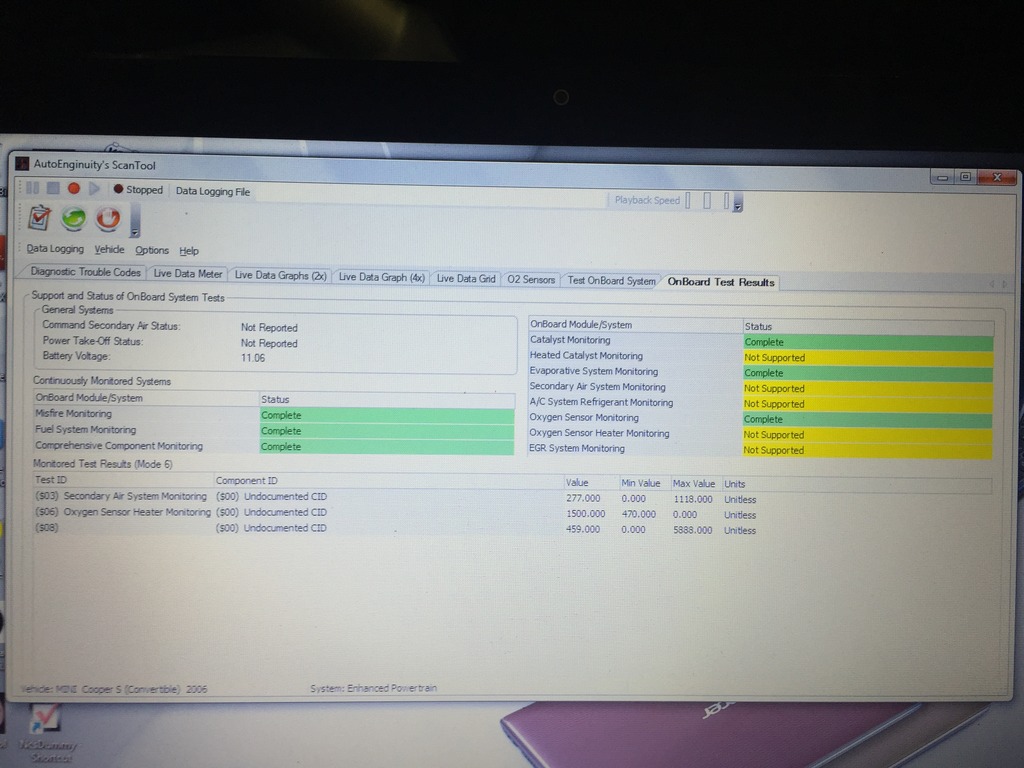
Good news is, I drove the car enough to get all the OBD emissions stuff “green”. So the car is ready to pass inspection, whenever I can get all the paperwork issues resolved.
Click the image to open in full size.

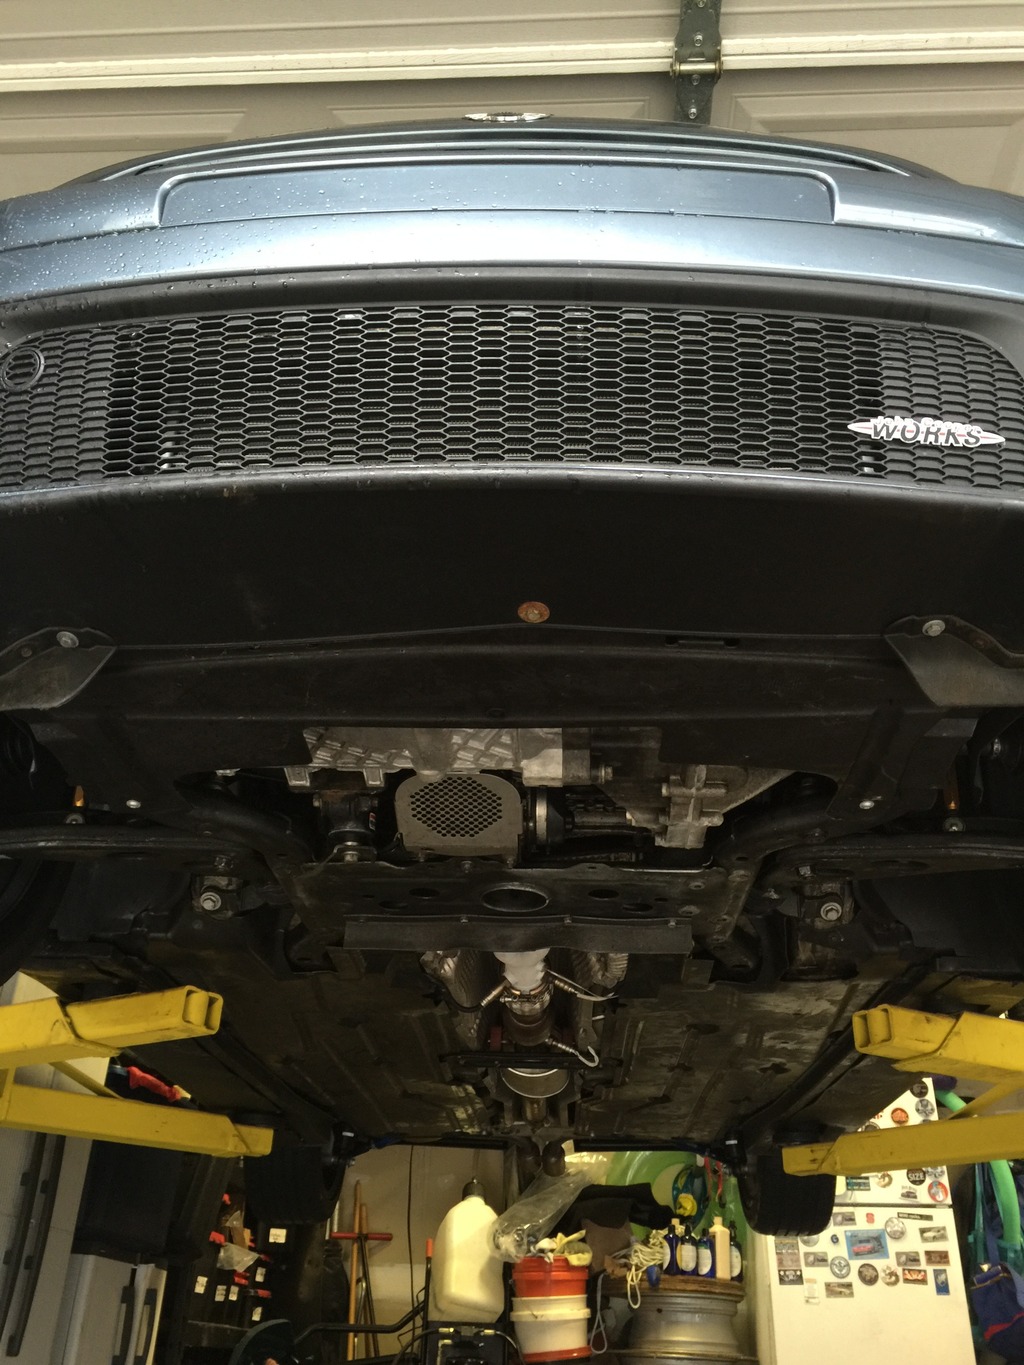
Today, decided to install the GP underbody panels. Figured out how to mod them to coexist with the cabrio subframe (which is different). Done.
Click the image to open in full size.

More replacement parts will arrive tomorrow. Also bought some vinyl upholstery fabric to prototype the tonneau cover. Still waiting on the last of the paint to arrive, to repaint my roll cage. Will work on that stuff over the holidays, when I’m not traveling. And might drive some more, if the monsoon here ever ends.

Bliss

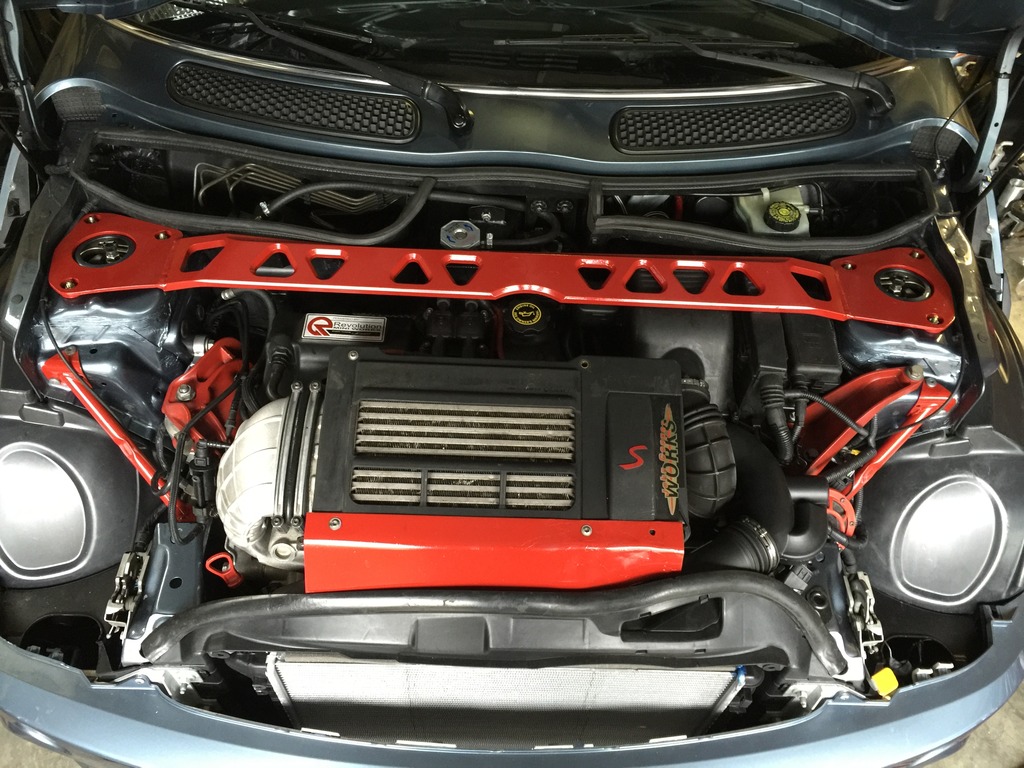
Got up this morning, and buttoned up the engine bay. Header heat shield, strut bar, IC air diverter plate.
Click the image to open in full size.

Then, the rain stopped. 4 months and 175 working hours into this project… this happened…

Bliss. Still have plenty of work to finish things up, and the TVS stuff will be here soon… but I’m loving actually DRIVING again. Drove 50 miles today. Between two drives, I learned to align the car and installed the side skirts.

Click the image to open in full size.

Zero toe front, a little toe in rear, reasonable camber, all good. Learned a lot of alignment tricks. I doubt I’ll pay anyone to align a Mini again.

So it’s still new-to-me… and I’m getting to know it, and babying it a bit (since the newly refreshed clutch started slipping at high revs; I need to let it break in before I destroy it). But, some initial thoughts:

It’s a very raw, visceral car. The OSG diff does all that chattering LSD stuff. The OSG STR clutch rattles when it’s in. At idle, the car sounds like it’s a giant cat purring, ready to slay and eat a wildebeest. Then it pulls like a freight train and sounds like a race car. There’s all manner of little squeaks and stuff from the interior, with the tight fitting dash, door bars, etc. The suspension is stupid firm, but not at all harsh. It steers like a laser scalpel. It requires very little input to do anything… just a thought, really. It demands respect. While it has good manners, you’re constantly aware that if you disrespect it, do something stupid, or give it too much input, it would go ballistic in the blink of an eye.

IMO, it’s the best MINI I’ve ever driven. It should be, given what’s in it… but it’s still a little surprising, because I’ve driven some very nice cars. And this thing was just three totaled Minis, a few months ago, plus a mountain of new parts.

Tomorrow will be cold. And I’ll be driving.

I’m really, really, really happy. 

Making it actually drivable

My TVS FMIC shipped today. 🙂

Spent the whole day grinding toward a drivable car.

Finished up the door armrest pad mods, and epoxied the broken driver’s door handle tube.

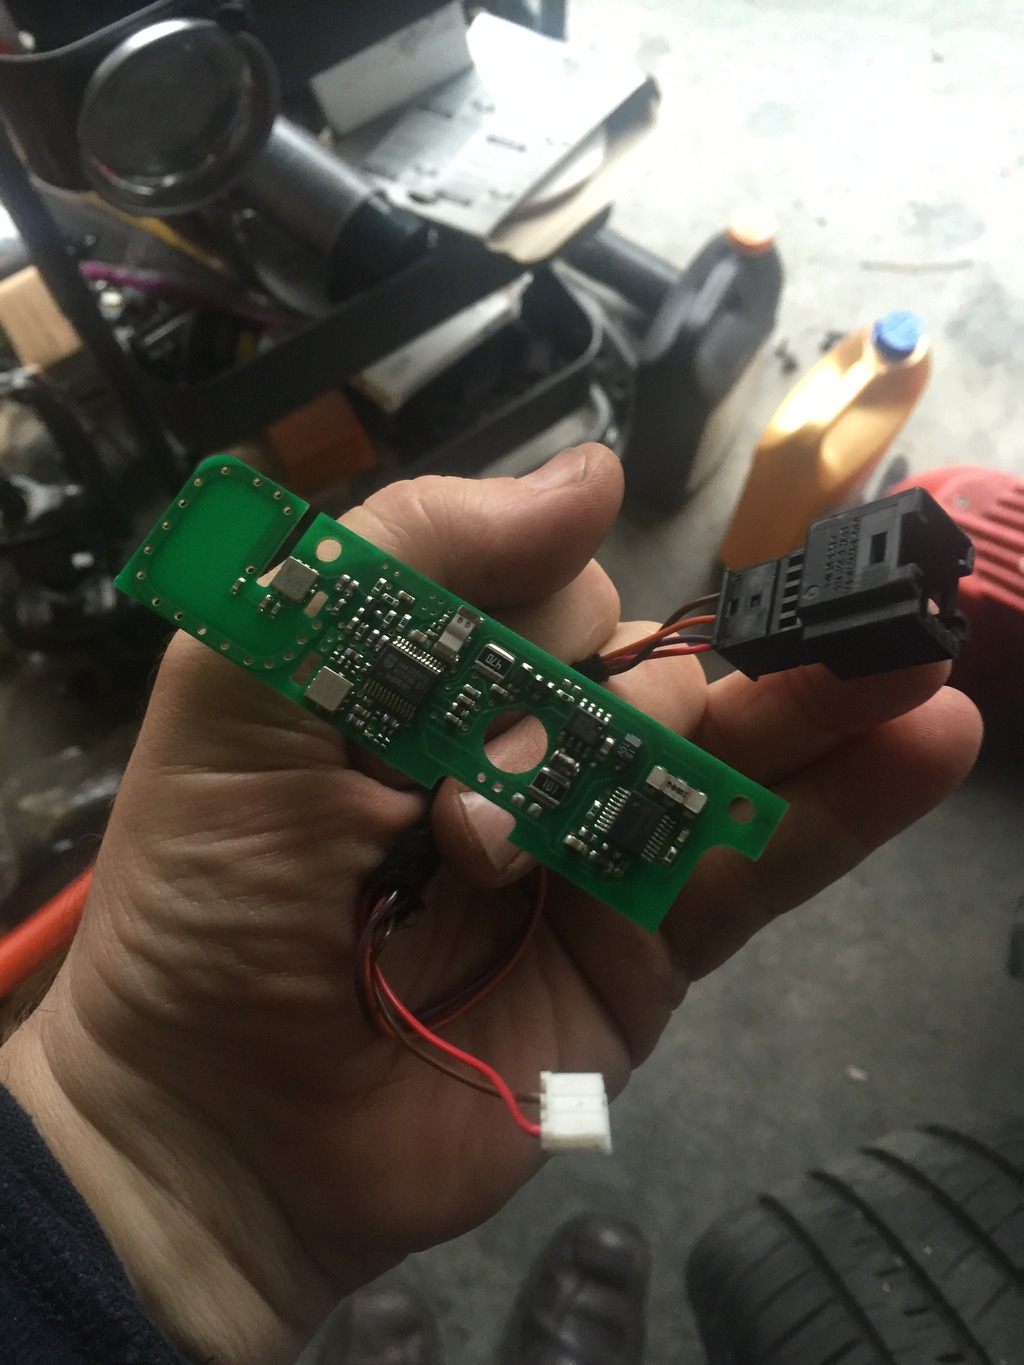
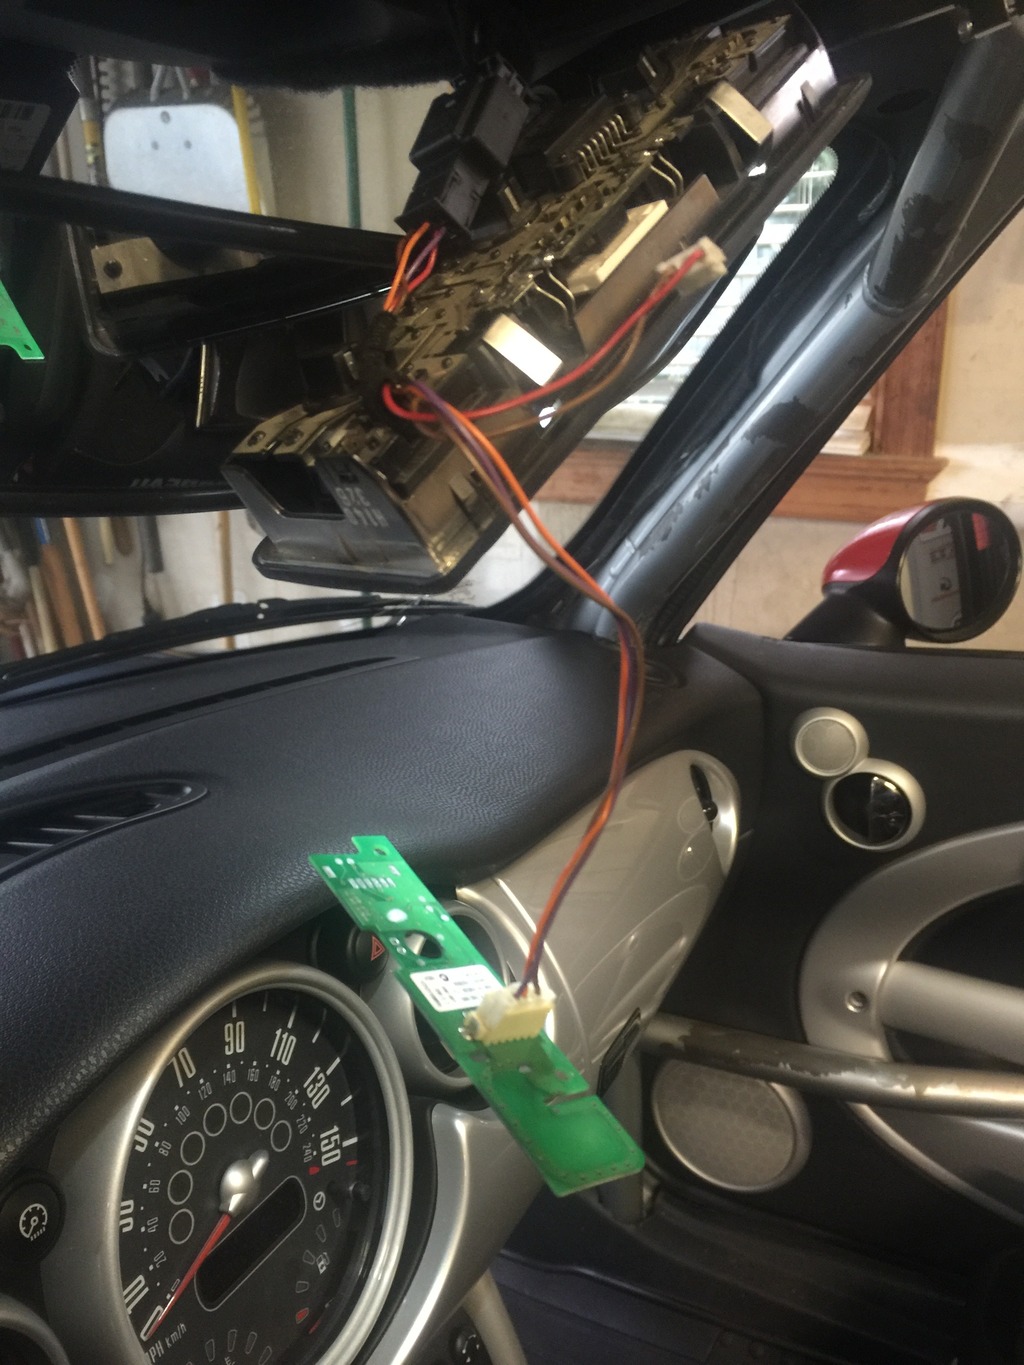
Realized that, if I want the key remotes to work, I needed the receiver from the OEM rearview mirror. So I worked on that for an hour.

Removed this, carefully pushed the small white plugs through the base of the mirror.
Click the image to open in full size.

Plugged it in and tested it. Yep, works.
Click the image to open in full size.

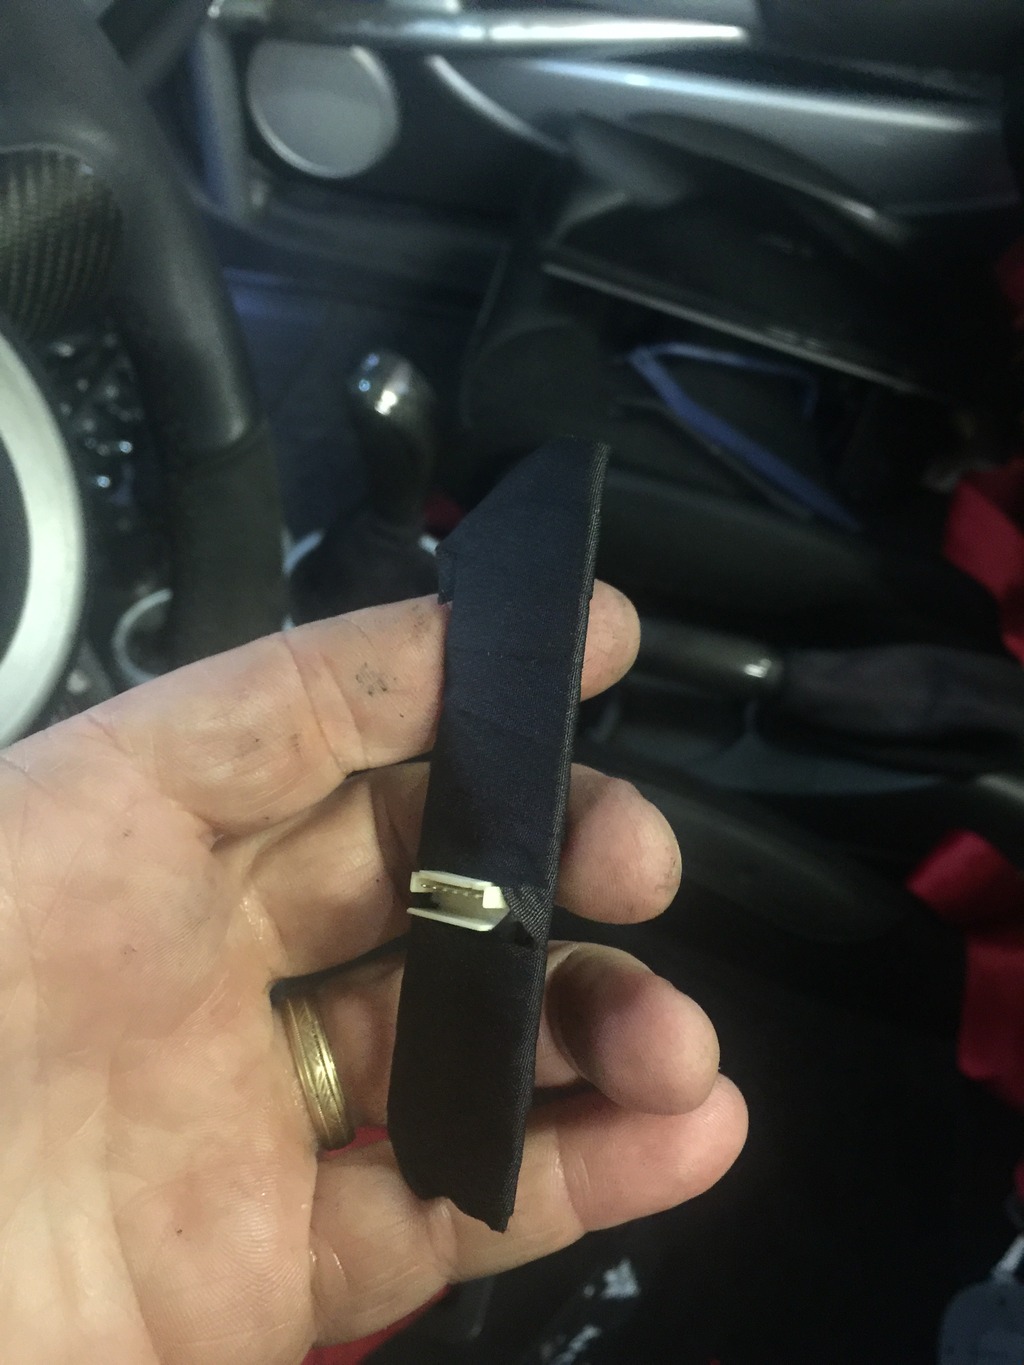
Wrapped in tape and reinstalled. Done! I haz remote locking.
Click the image to open in full size.

Disabled daytime running lights, reviewed other coding with NCSexpert. Reviewed and cleared all codes. Wished I had printed it all out… all the codes from the crash and the aftermath were there… it was A LOT of stuff, on almost every module.

Did the ABS air bleed procedure.

Added some front camber. Dropped the struts and maxed out camber on the BC plates, reinstalled the struts. Since I haven’t cut the strut towers for camber adjustment access (at least not yet).

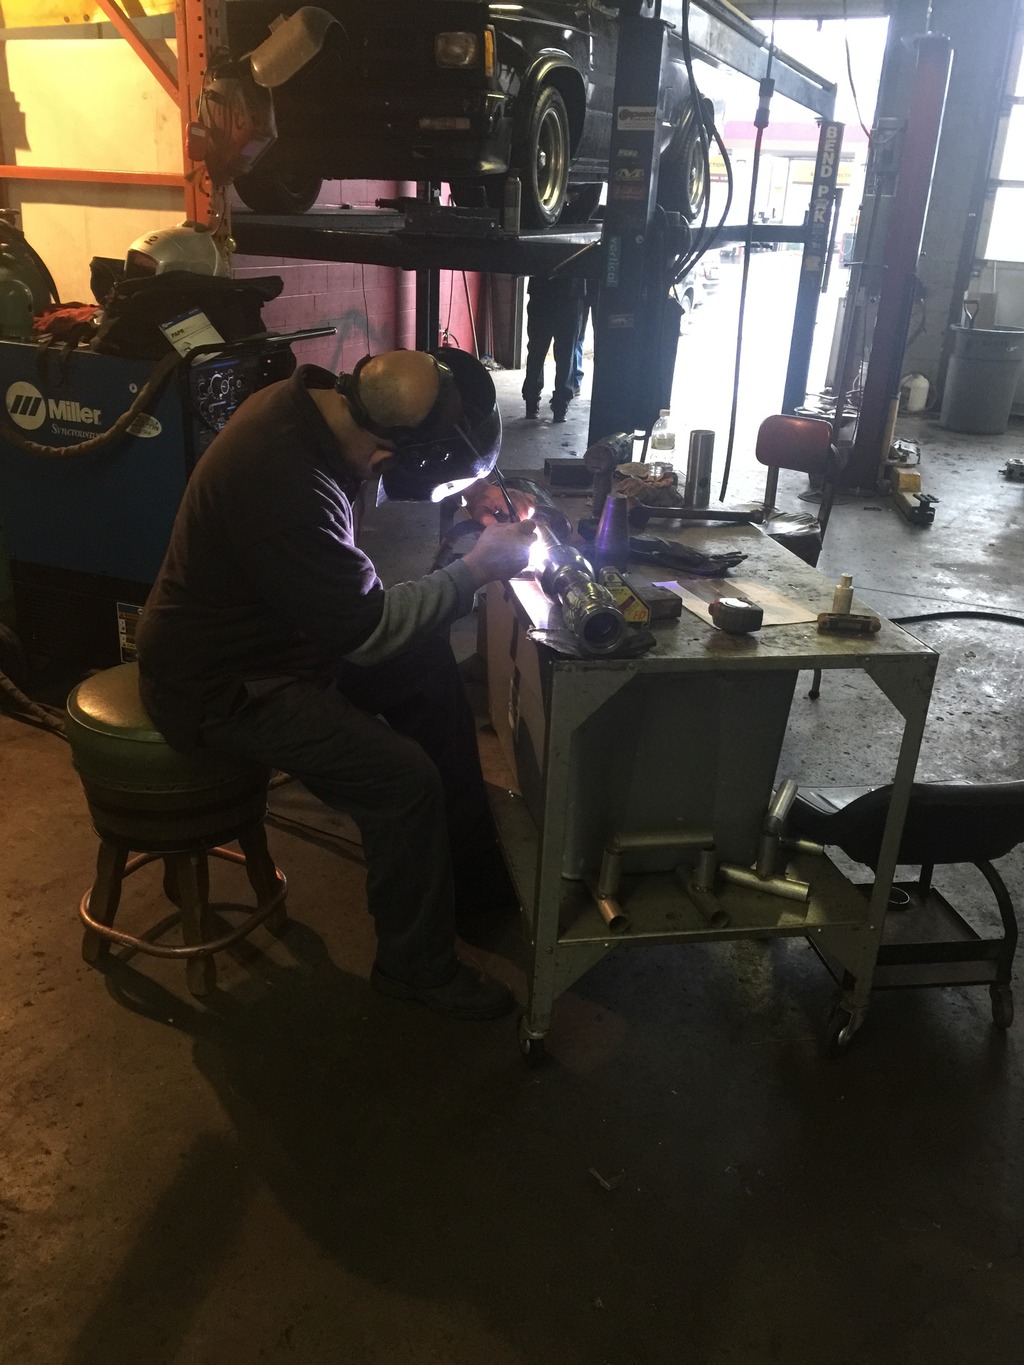
Went to the exhaust shop, supervised having my hangers installed.
Click the image to open in full size.

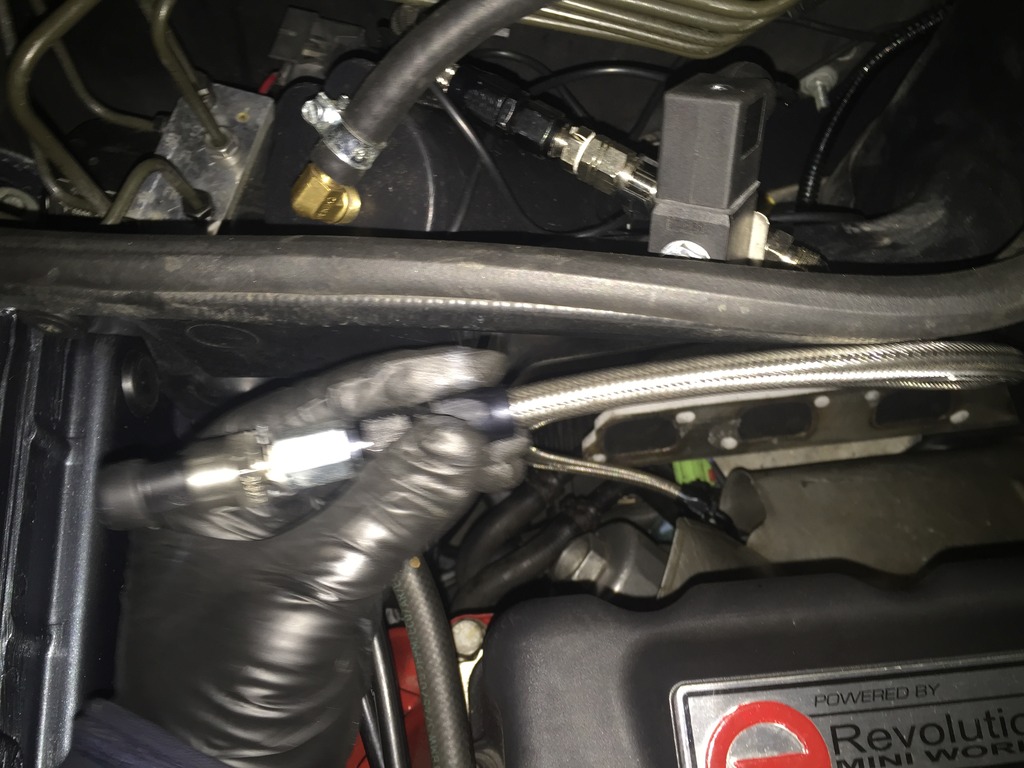
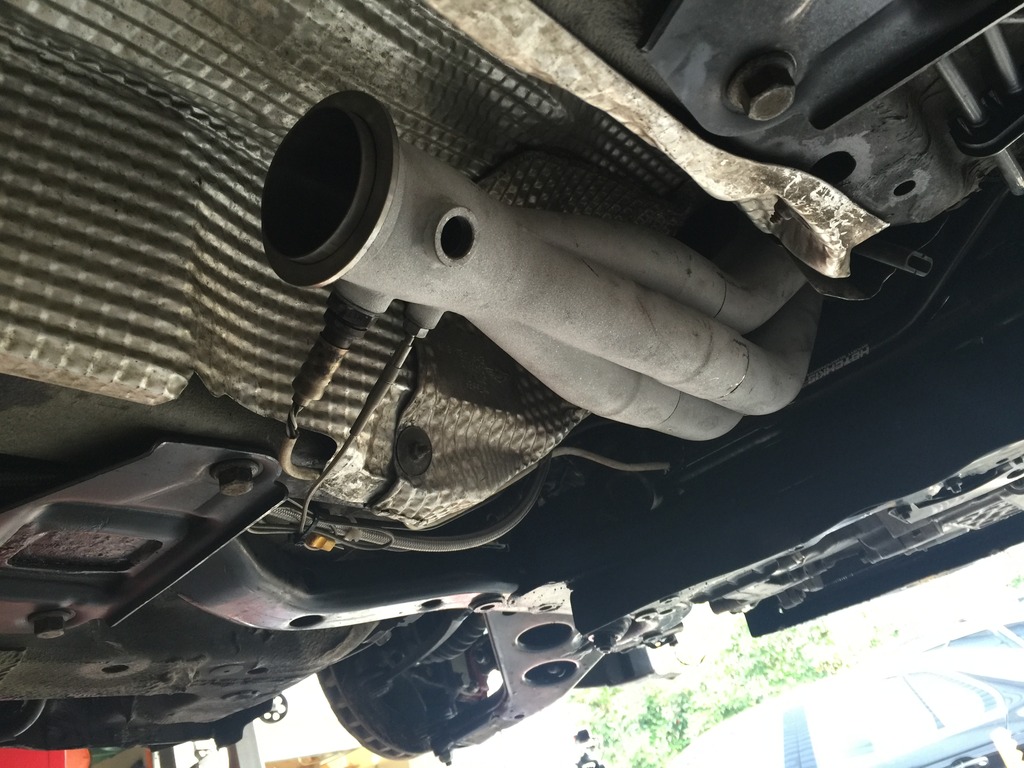
Brought the exhaust mid pipe assembly home. Decided that now’s the time to move my oil pressure sensor onto a remote line, to protect it from engine vibration. Fittings to do that came yesterday. Determined that I was going to have to drop the header partially to reach it. So had to disconnect 2 O2 sensors and the EGT sensor. Made a AN line and routed it into the right cowl.
Click the image to open in full size.

Installed exhaust! It fits! And sounds great!
Click the image to open in full size.

Still need to get the rear section repaired, I’ll take the car to the exhaust shop for that. Lots of rubbing and rattling in the rear where it’s been bent. I have a plan to make this even more special when rebuilt.
Click the image to open in full size.

But this is a terrific sight, idling in the garage. I’ll drive it tomorrow, if the rain lets up.
Click the image to open in full size.

Even more details

Long day cranking on details.

Installed the front bumper for real. Which required as much time hunting through boxes for hardware, as actually working on installing it. First time installing a GP bumper, had to figure out how all the trim and stuff worked. But got it done.

Spent a while working on bonnet alignment. Much better, but still need to tweak it a bit.

Tested windows and lights for the first time. Worked! Installed the knobs that hold the window glass to the regulators. Replaced a couple of bad bulbs in the taillights.

Routed narrowband and wideband O2 and EGT sensor wiring. Have that all buttoned up under the car and in the engine bay. Need to wire the Zeitronix controller in the cabin tomorrow.

Drew up plans for my custom exhaust midpipe. Dropped of exhaust stuff at the good shop across town, showed everything to the dude and explained it. He said “no problem, tomorrow, worst case Wednesday”. That’s what I wanted to hear!
Click the image to open in full size.

Adjusted ride height on my coilovers. Much better, may need to raise the rear a little more.

Adjusted rear toe, I think I have it much closer. Need to adjust camber front and rear.

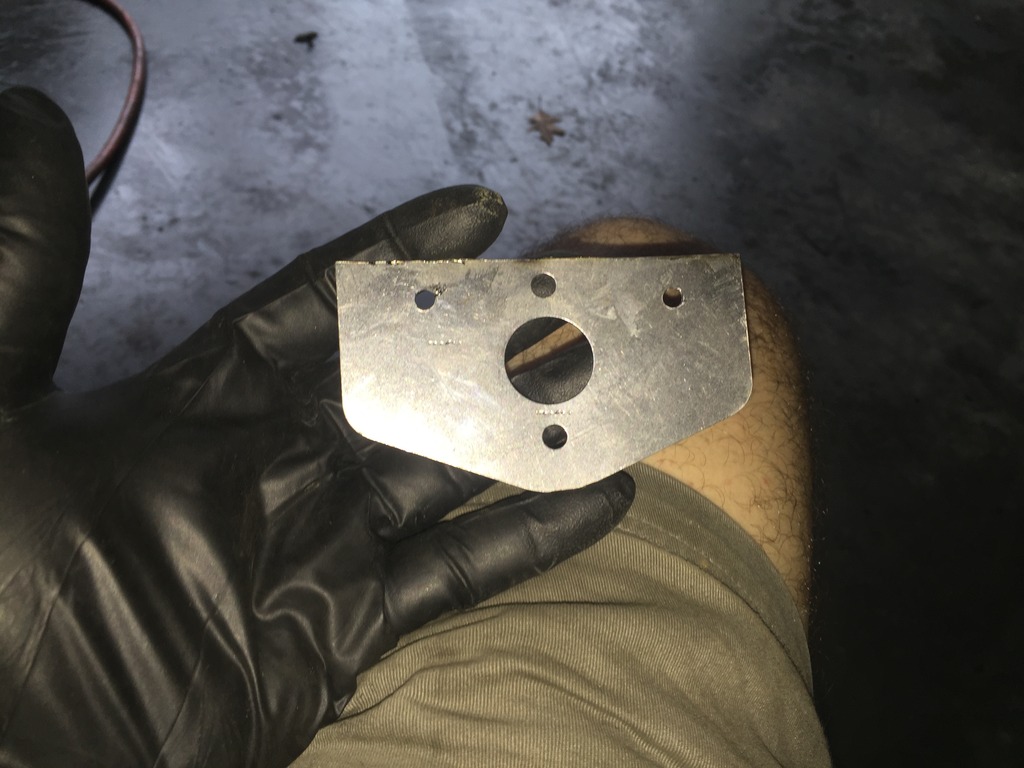
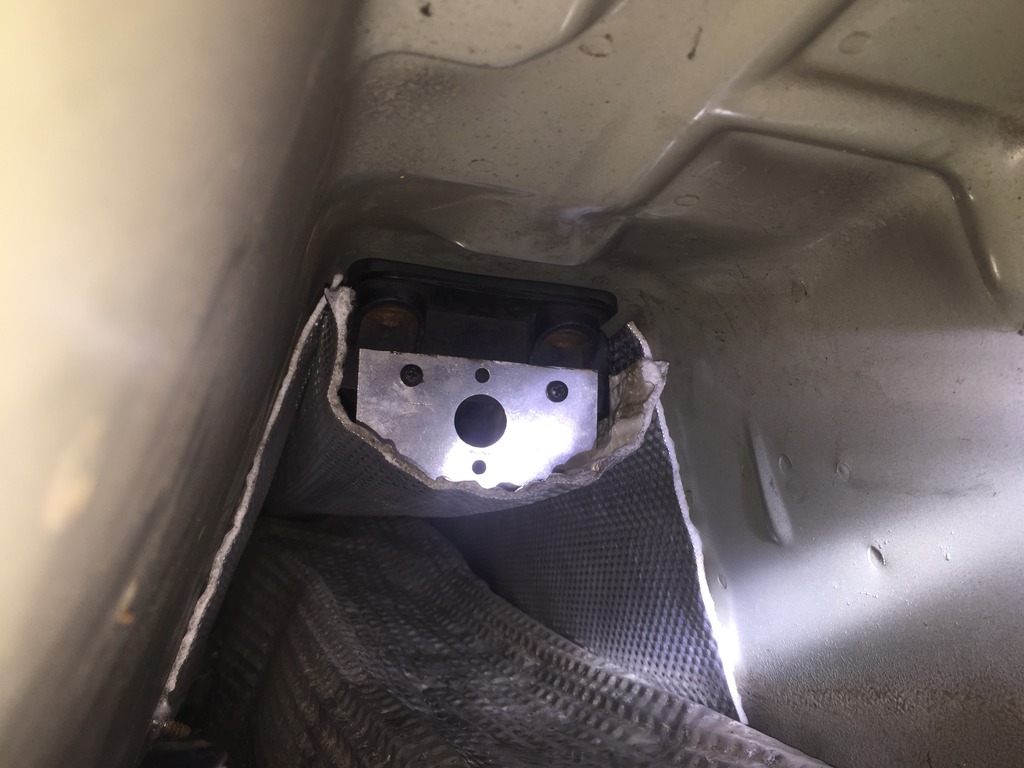
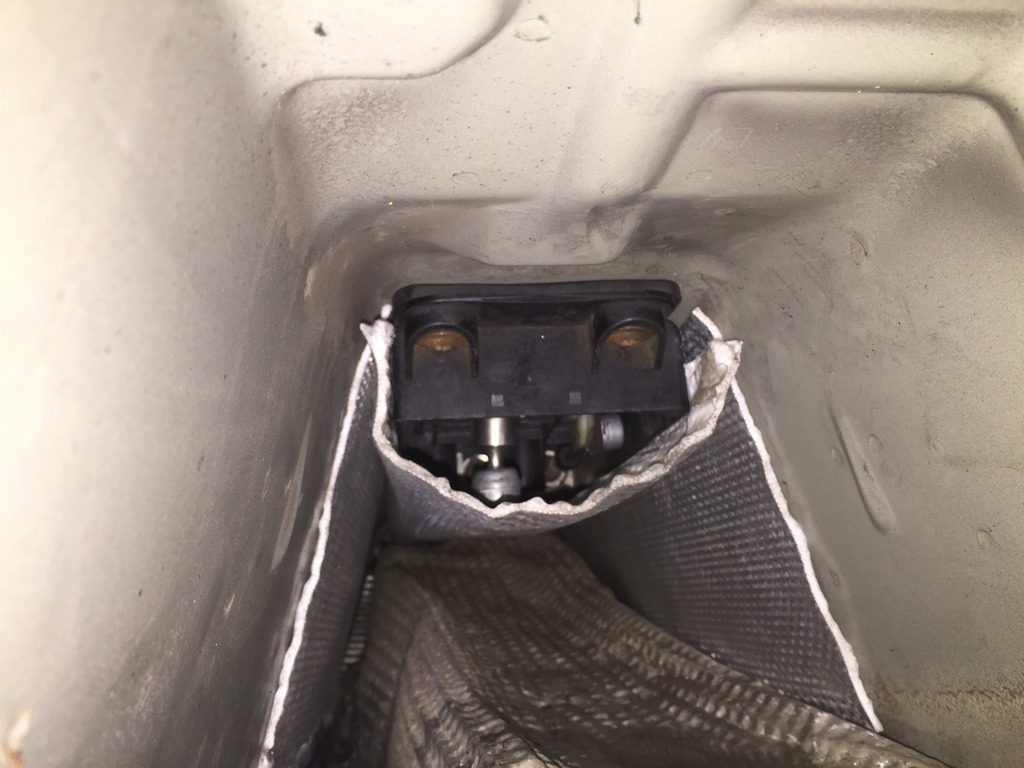
Dropped the long exhaust heat shield. Fabricated and installed a little bracket to help maintain clearance under the short shifter, since there’s no bottom on the shifter box. Made it out of a mounting plate I had bought for the kill switch, that I didn’t need.
Click the image to open in full size.

Modified the battery bracket to fit my lightweight battery. Nice, secure, race-legal metal-to-metal mount. Much better.

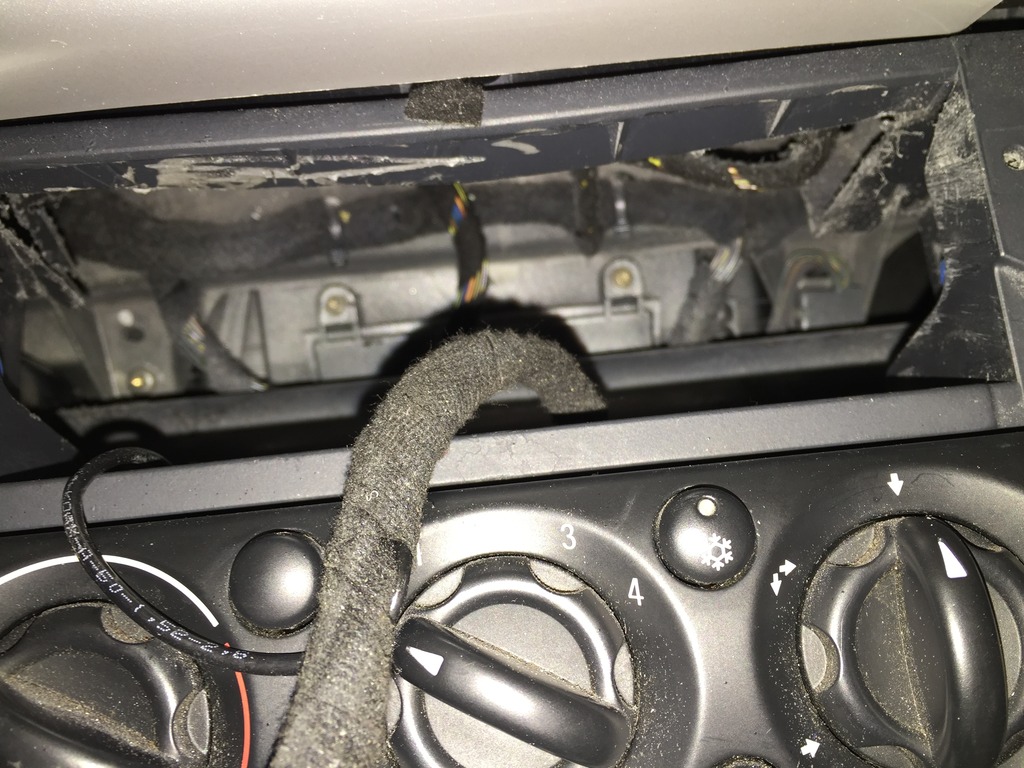
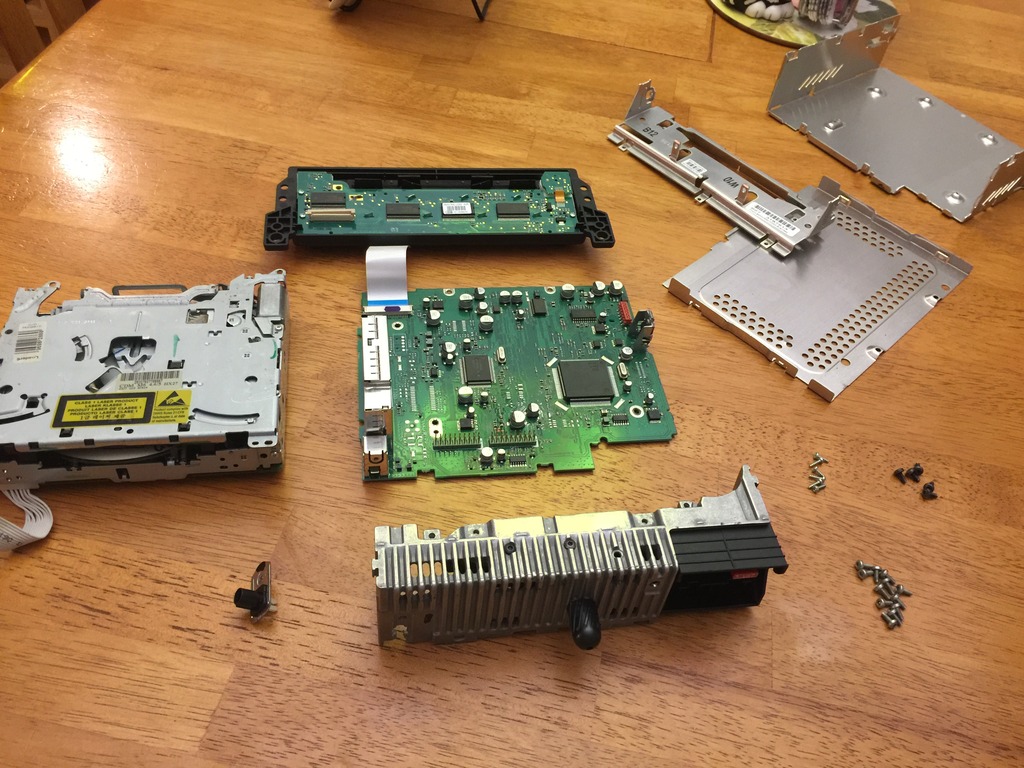
Disassembled my spare stereo headunit to experiment with alternate installation locations. I think I have a plan for fitting the whole thing (less the CD player) in the OEM location. That would be cool. Will work on it more tomorrow.
Click the image to open in full size.

***

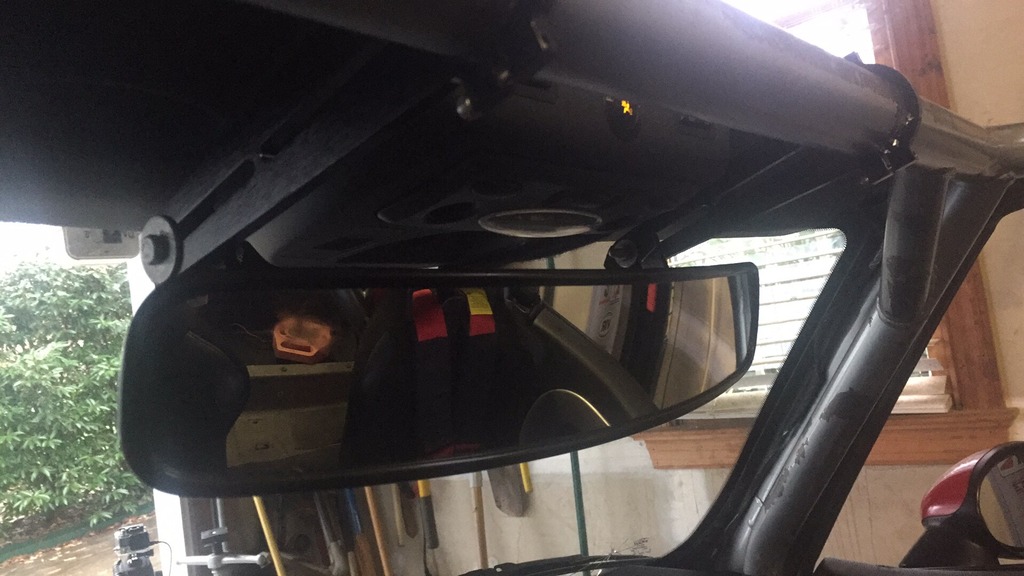
Working on street legal odds and ends today. Installed my Longacre rear view mirror (required fabricating some brackets). Got all four corner lights working. Installed one of my Hella Supertone horns. Bolted in my seats. Installed harnesses.

The horn was one of the more challenging things, actually. my steering wheel was missing the horn wiring harness (got removed by me after the crash). After I replaced that, the horn still wouldn’t work when I pressed on the airbag. But It would if I shorted the steering wheel spring plate with a screwdriver. Finally figured out that the spring plate had gotten bent when the airbag deployed. Replaced it with a spare and all was well.

Car is just waiting on the exhaust now. And some legal mumbo jumbo to get the title.

***

Spent most of the day buttoning up stuff in the cabin, and in the boot.

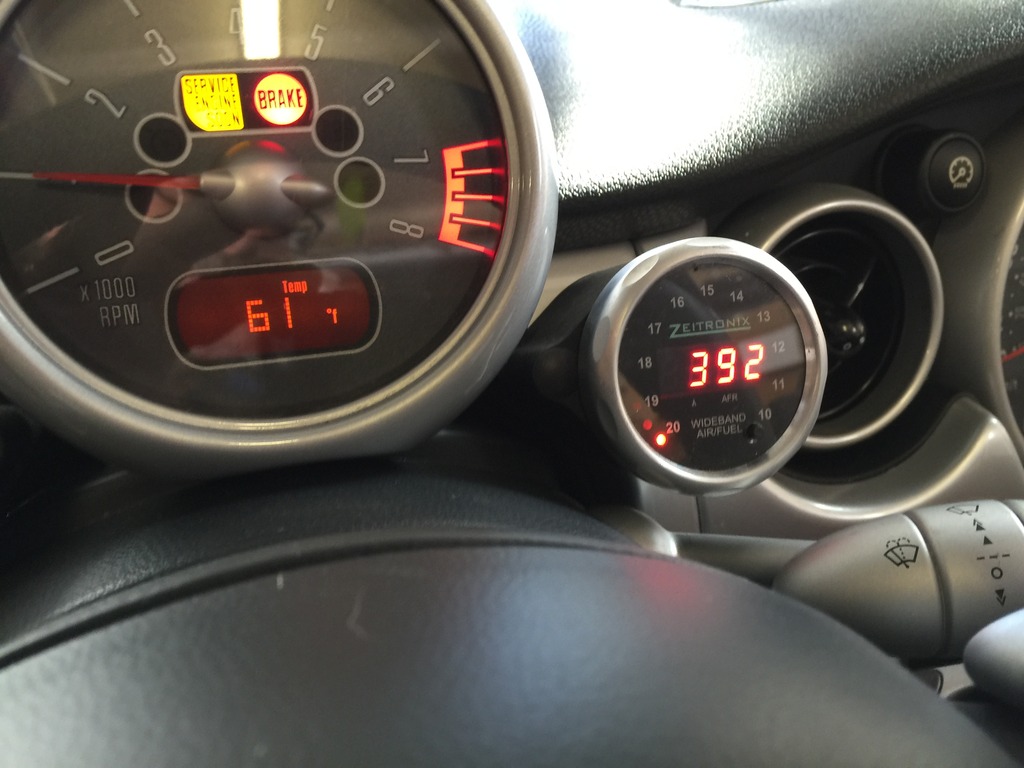
Wired power to my Zeitronix controller, plugged in the wideband O2 and EGT sensors and the gauge display.
Click the image to open in full size.

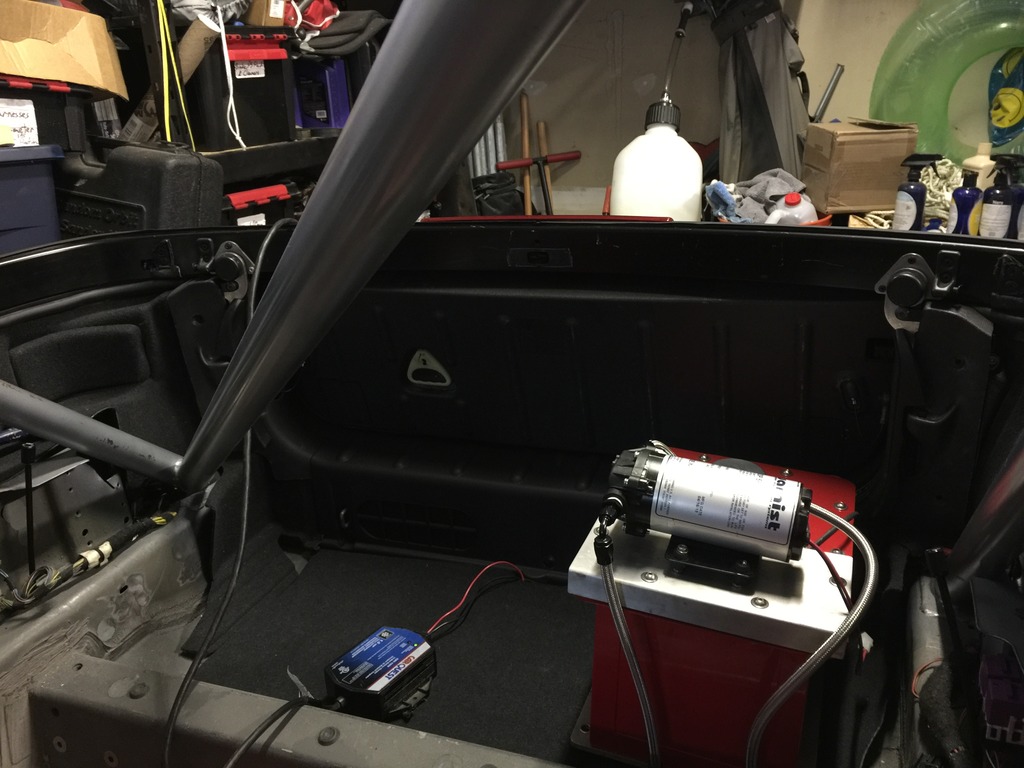
Plugged in my boot hatch, got the plate lights and boot release working, installed trim inside the boot area, cut and drilled new floor panel for the new meth location, cut felt cabrio rear side panels to fit. The rest of the rear will be carpeted, with custom side panels, at a later date. And the whole thing will be covered with the custom tonneau.
Click the image to open in full size.

Experimented with the stereo headunit, determined that it would work with the CD player removed, and that the faceplate is easy to reposition, one ribbon cable.
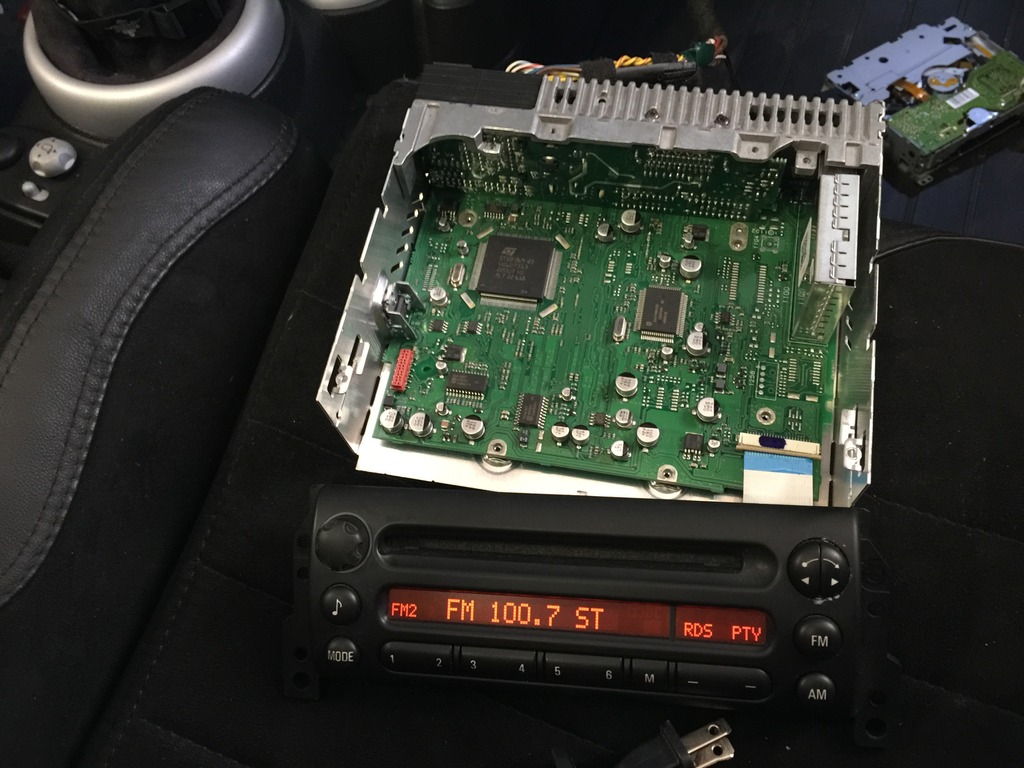
Click the image to open in full size.

Cut the “ceiling” out of the mounting slot, to free up space to angle stuff upward over the roll cage crossbar.
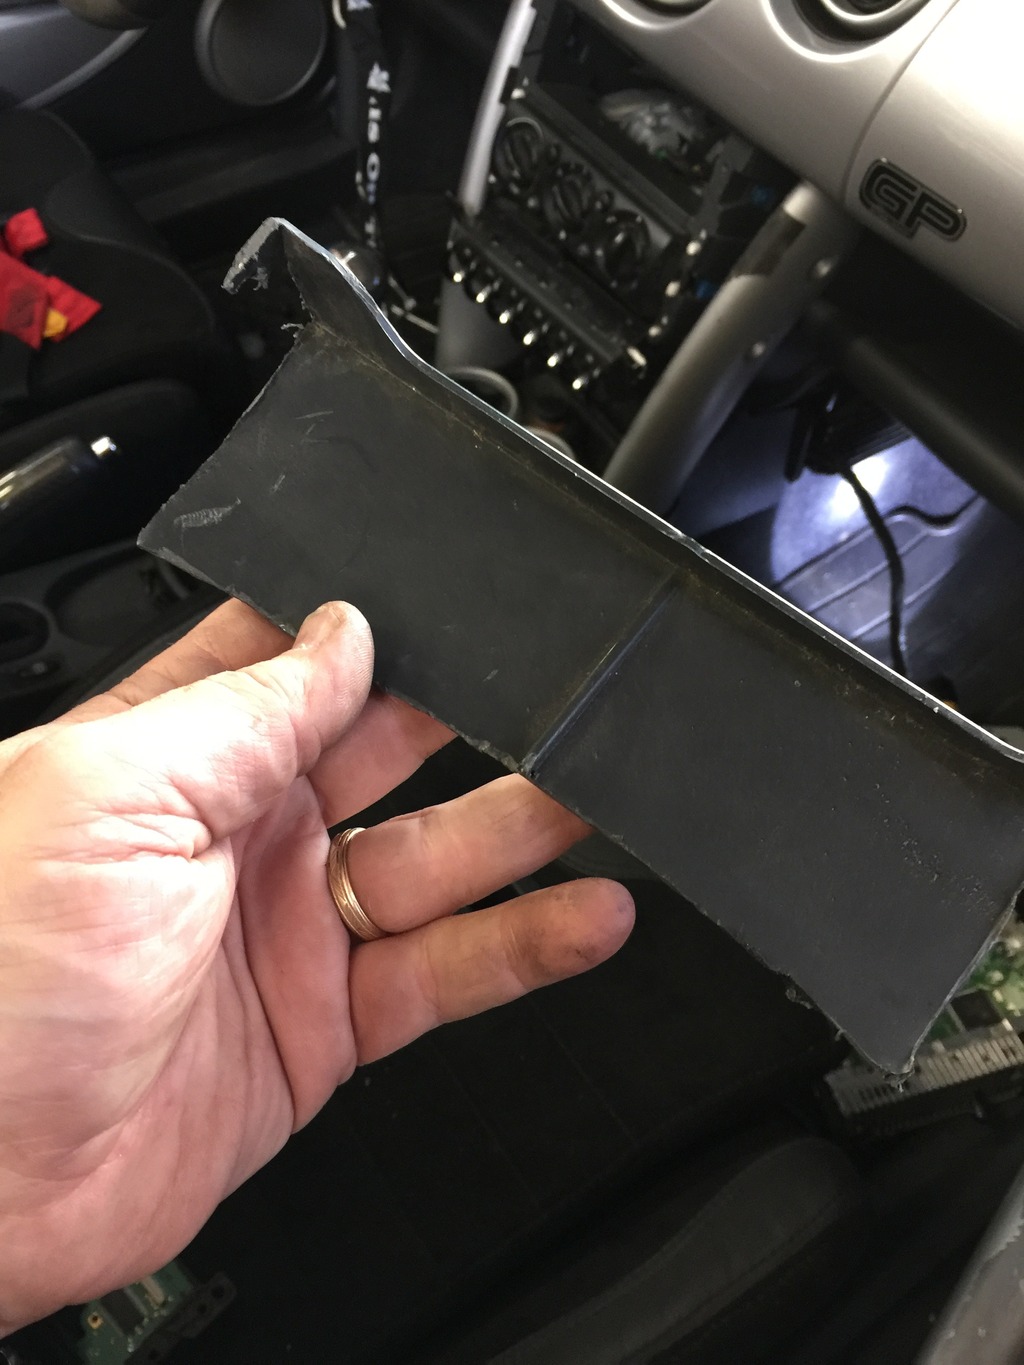
Click the image to open in full size.

Chopped the chassis so there would be clearance when it angles upward.
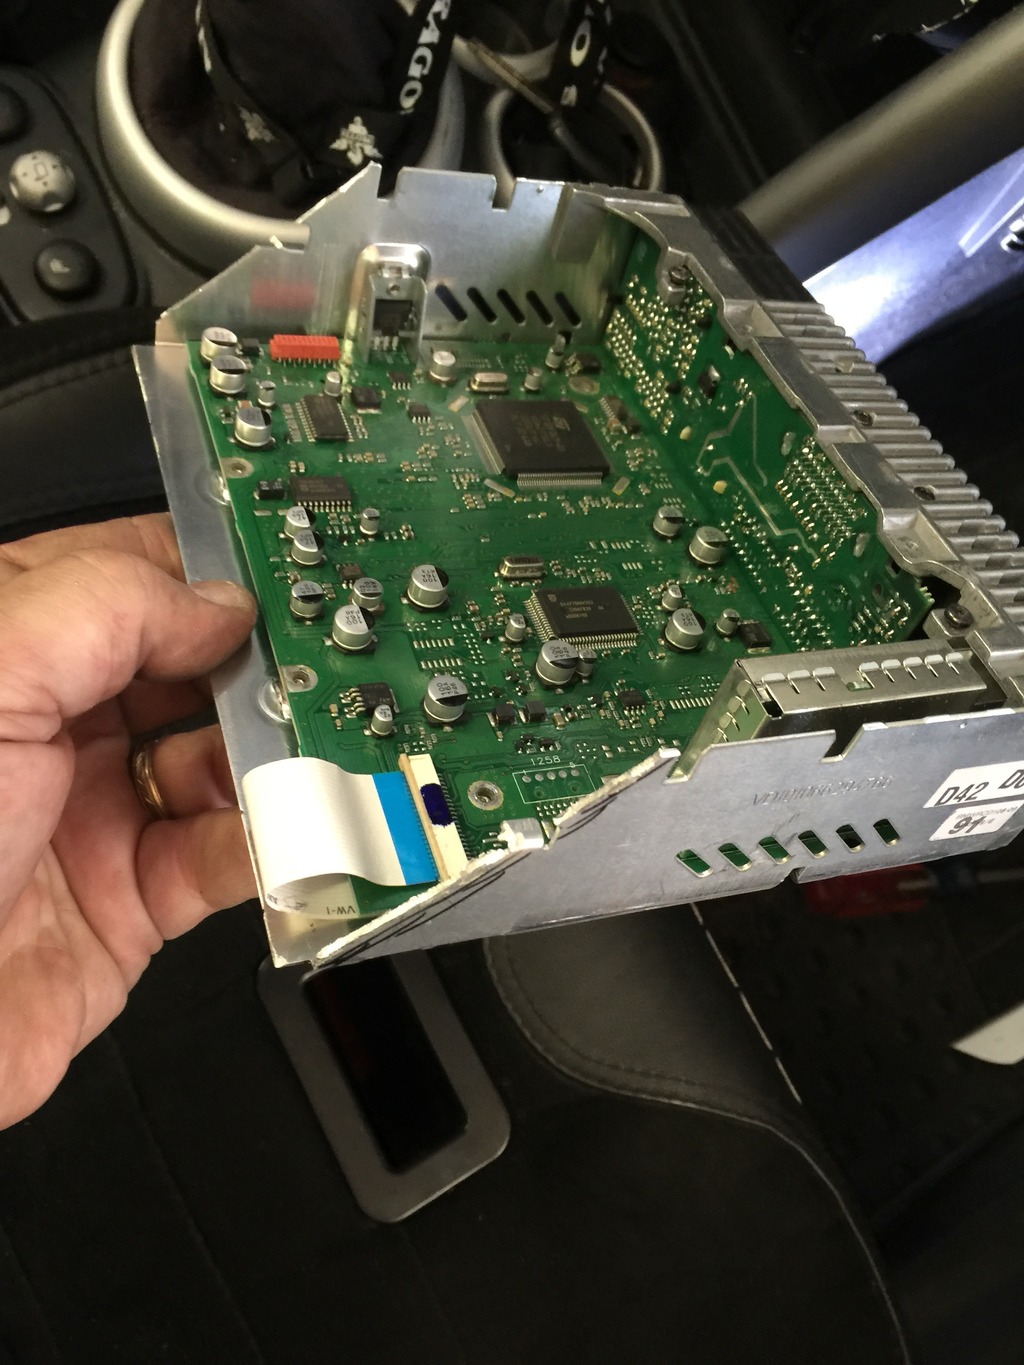
Click the image to open in full size.

Cabled it up and slid it into place.
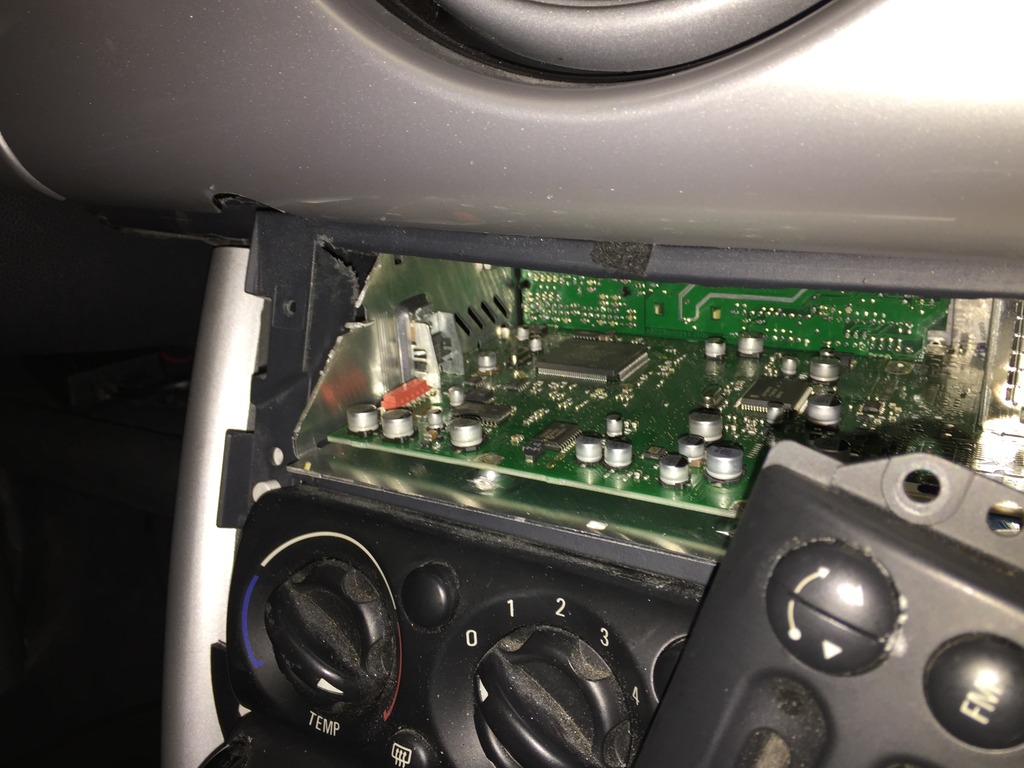
Click the image to open in full size.

Install faceplate, and it looks totally OEM, but isn’t.
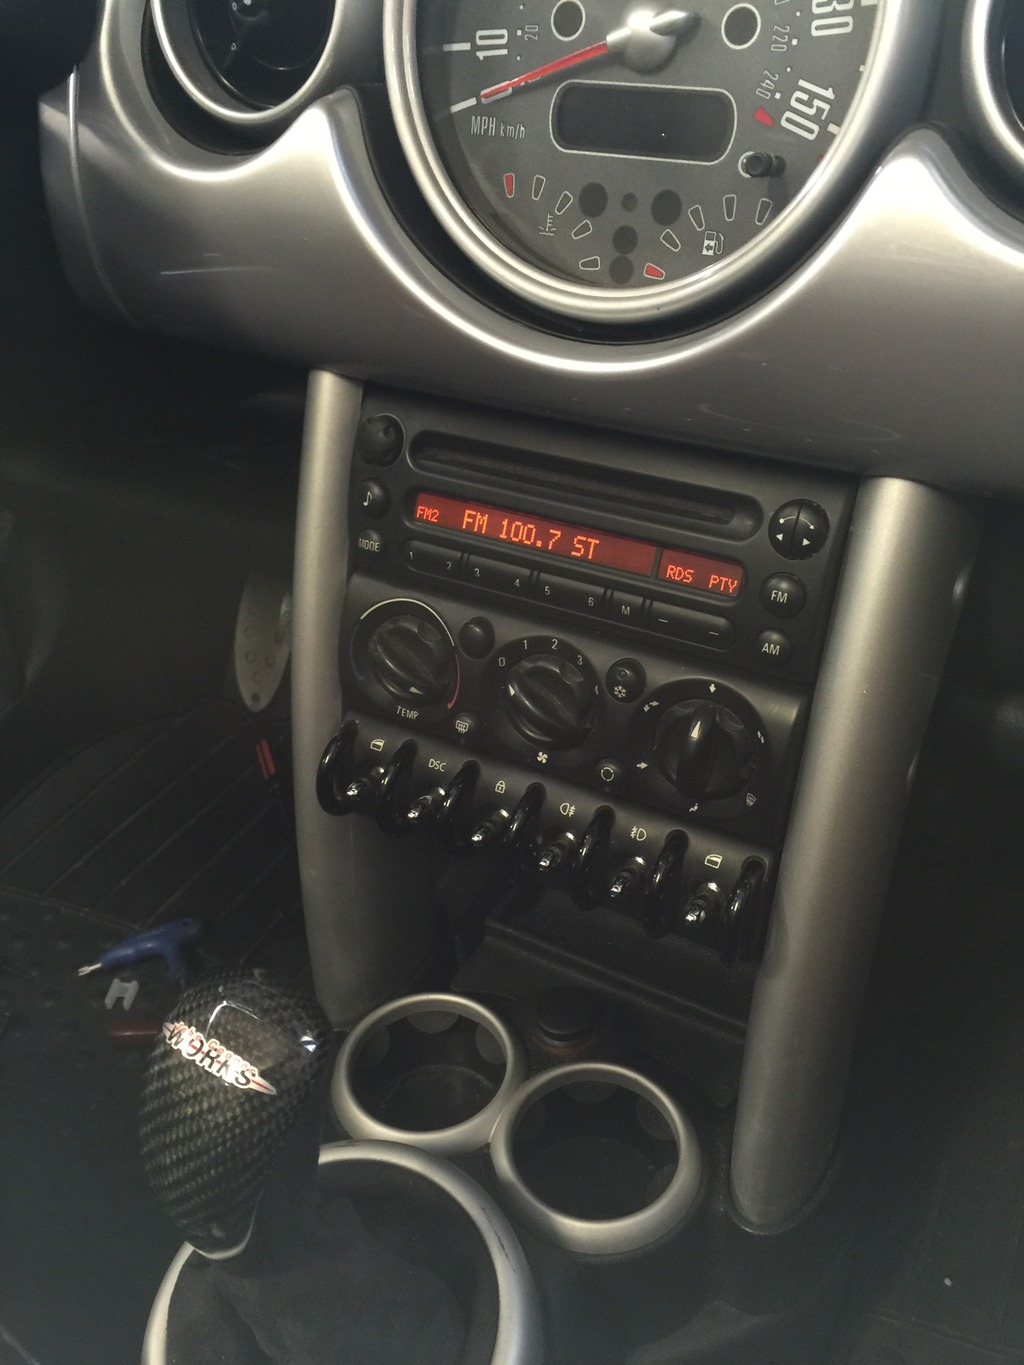
Click the image to open in full size.

Cockpit is pretty much done, except for trimming the bottom edge off the door pads, so they clear the door bars.
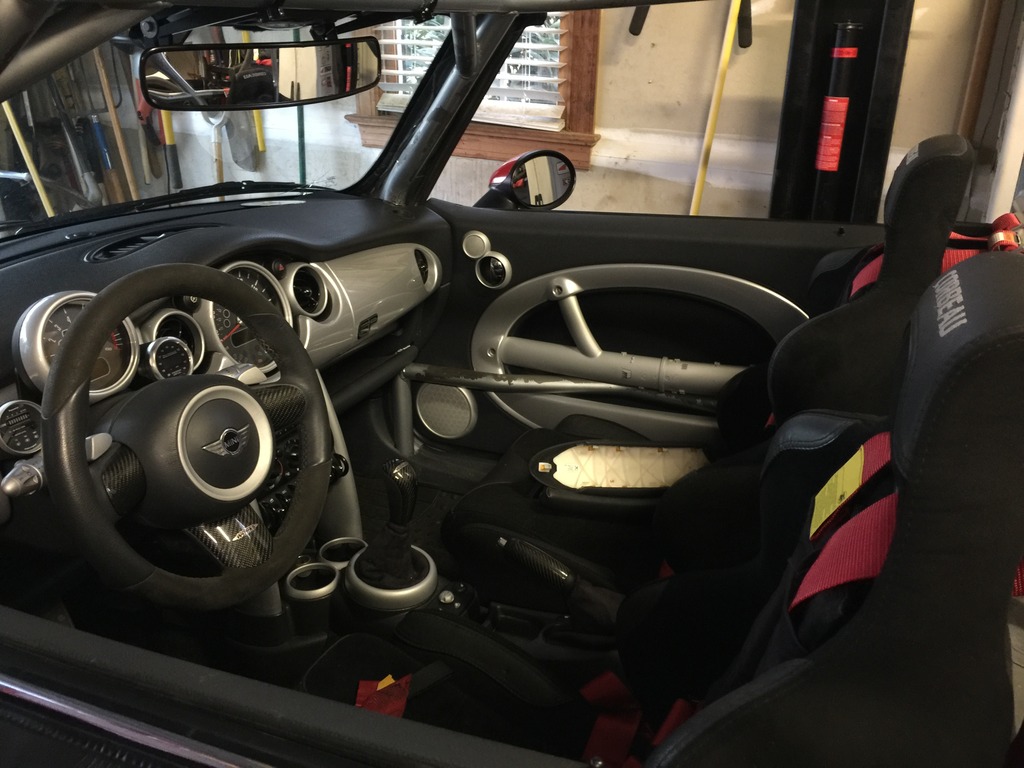
Click the image to open in full size.

Partially unwrapped one of the armrests and trimmed the foam and plastic, then trial fitted it. Looks good. I’ll finish both of them up tomorrow. I’ll shave the exposed bosses on the bottom of the door handle tube, so it’s smooth when you grab it, and will figure out how to affix the pad securely without the lower row of clips.
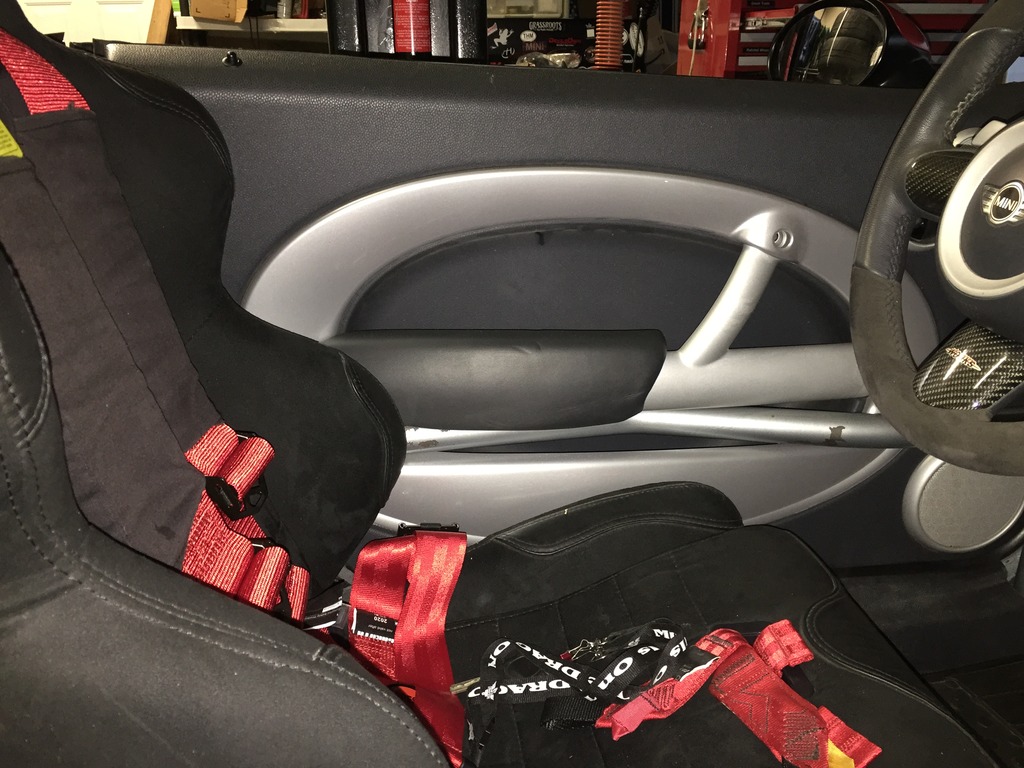
Click the image to open in full size.

Joy Ride, and time for beer

So, this happened.

Soooooooo happy. Lots of stuff to still work out, but this is what I’ve been working toward for 4 months. OK, actually more like 18 months. OK actually more like 9 years. 
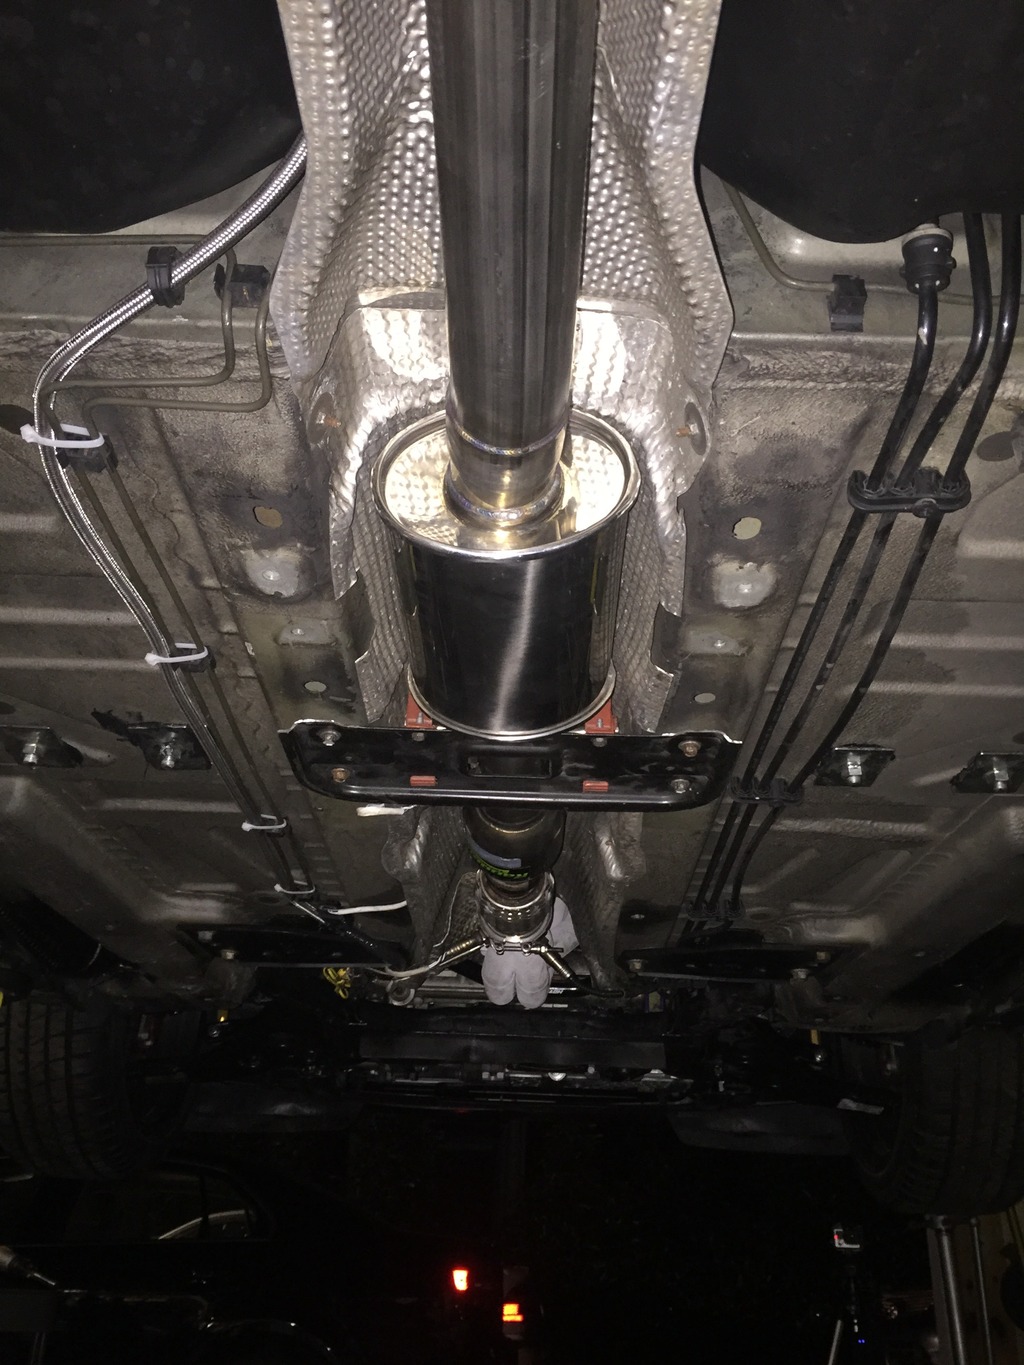
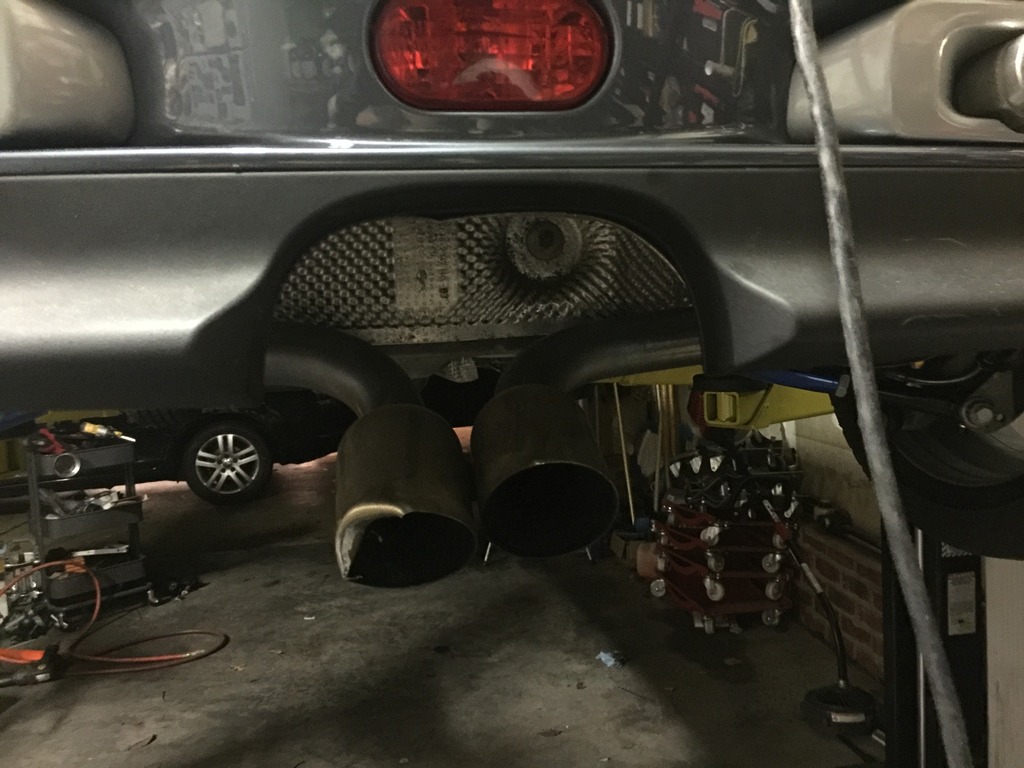
It sounded like a tractor pull was happening in the hood, and my neighbors gave me dirty looks, because this is my exhaust.
Click the image to open in full size.

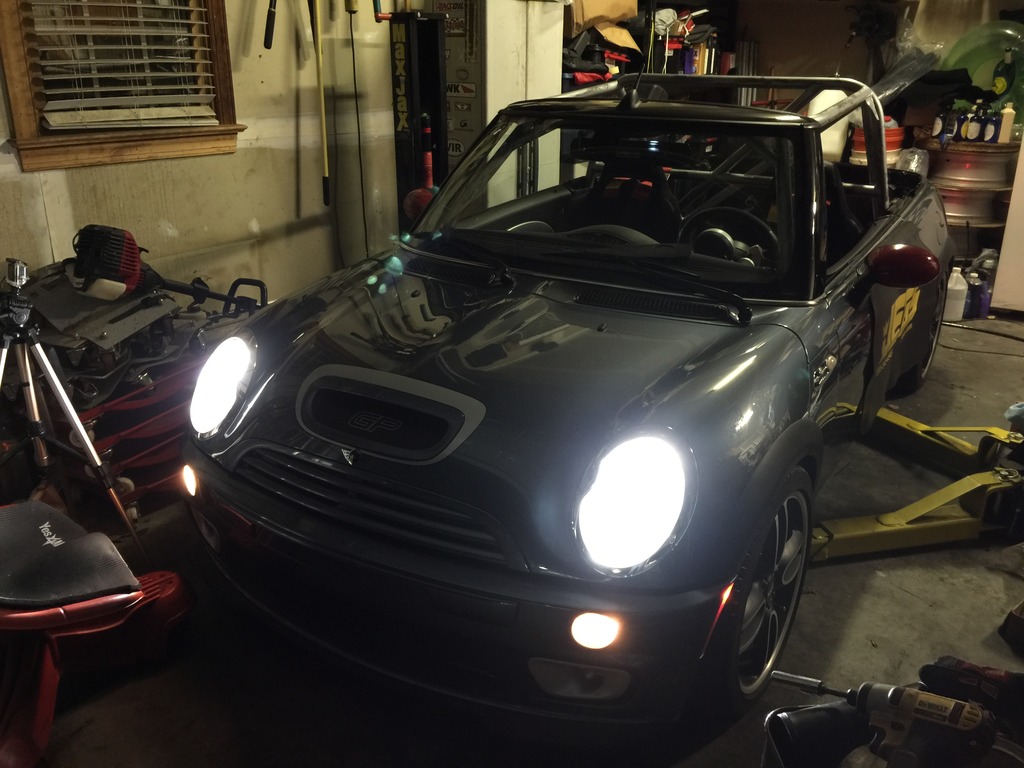
Before I drove it, I spent a few minutes hanging the bumper and a side skirt, just so I could see what it looked like. OMG I’m in love. Still needs tonneau and the cage needs repainted… and the ride height is all wrong… but it’s still beautiful.
Click the image to open in full size.

But when I drove it around the hood, it looked like THIS….
Click the image to open in full size.
No seat belts, no airbags, no roll bar padding, seats not bolted to the floor, loose wiring dangling all over the cabin… but I DID NOT CARE.

Spent most of the afternoon remediating various things that drug, made noise, etc. Needed to grind the new lower ball joints (touched the DT big rotors), needed front wheel spacers (tire was touching height adjustment lock ring on the BC coils), needed to grind down some corroded spots on the rotors (dragging brakes). Now the car rolls easily and silently, as it should!

Also made an attempt to adjust ride height. My first experience adjusting coilovers, I didn’t quite understand that 1″ of coilover adjustment does NOT equal 1″ of ride hight adjustment. But now understand that, and (duh) it’s obvious why.

Anyway, need to work on that some more tomorrow, as I overshot raising the front and lowering the rear, now it’s slammed in back and too tall in the front. Quick fix tomorrow, now that I know what I’m doing. Also did several complete cooling system flushes as that was NASTY from the motor sitting on a dolly for several months. Now nice and clean, and full of nice clean new coolant.

Every time I start the car, it sounds healthier. Again, a motor sitting still on a pallet for months isn’t a great thing. But I think I’ve about gotten it rejuvenated.

Time for beer.

It lives!

It’s ALIVE!!!!!

I’m a very happy camper.

Crazy loud right now. The video doesn’t do it justice. The whole house shakes on its foundation when it’s just idling. When I rev it, every dog in the neighborhood goes nuts. But it has an open RMW race header and no exhaust connected right now… so, figures.

Got everything plugged up, new radiator and surround and fan assembly put together and hung, fluids in, brakes and clutch bled (still need to do ABS bleed), and turned the key. Turned over first try, but wouldn’t start.

Checked fuel first… no fuel pressure at the rail. Unplugged the line, and cycled power a few times. I could hear the pump cycling normally, but no fuel was coming out of the line. Usually, if you disconnect it and do that, fuel GUSHES out. So something was amiss. Checked the pump install, looked fine. Checked the fuel filter, and the canister wasn’t screwed together right. Corrected that, and fixed!

My one salvaged and one eBay Xenon both work. Car has DRL’s enabled, because I’m using the BCM from the shell I just bought. Will be interesting to see what else is coded in that. I’ll get all that straightened out.

Tomorrow I’ll button up the engine bay, front wheel well liners, bumper and wheels and roll it around the block. I hope the police don’t come. 

Assembling and hanging the motor

Big day today…

Finished front suspension bits (ball joints, tie rods). Still need to tighten and adjust everything, after the axles are in.

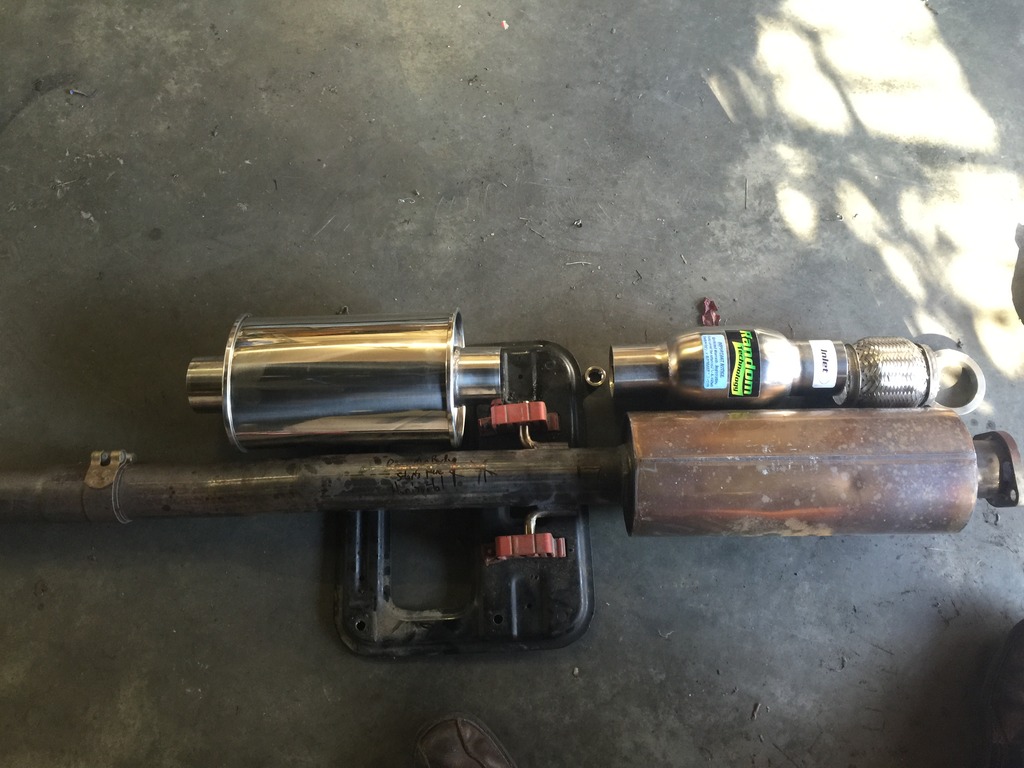
Played around with the exhaust mid pipe, confirmed that the flex joint, cat and new resonator can all fit in where the current Milltek mid pipe goes. Will need to cut the center exhaust hanger plate for clearance.
Click the image to open in full size.

Will take final measurements after the engine and header are installed, and have this fabbed next week.

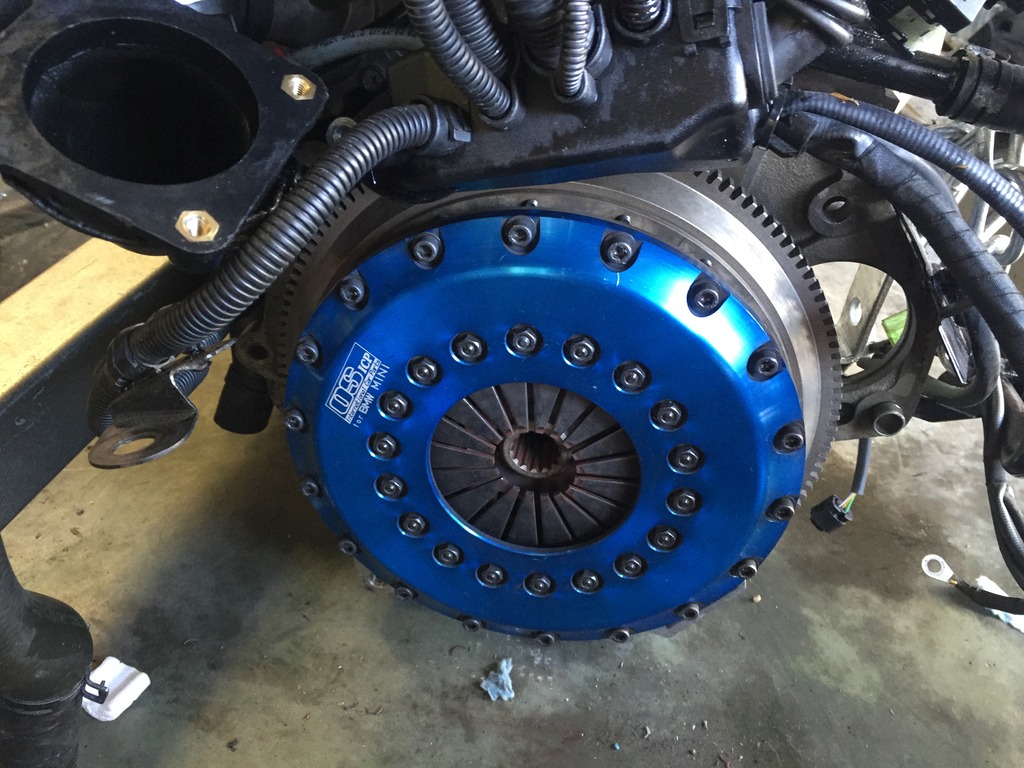
Pulled the transmission and installed OS Giken clutch. It’s pretty.
Click the image to open in full size.

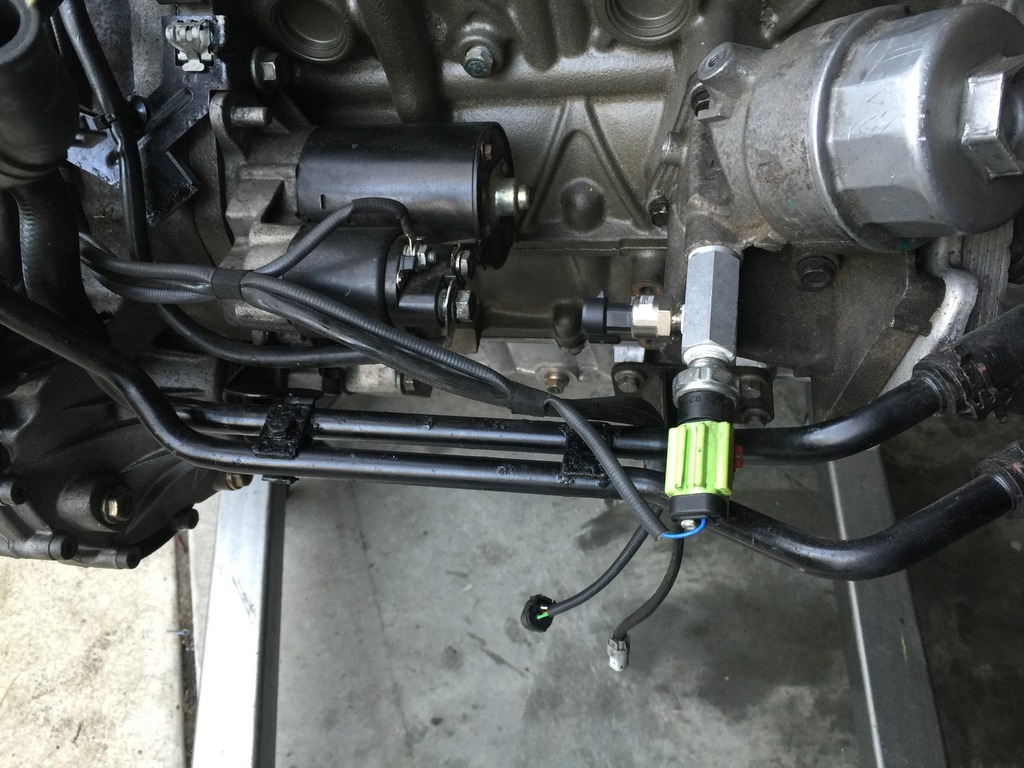
Installed oil pressure sensor.
Click the image to open in full size.

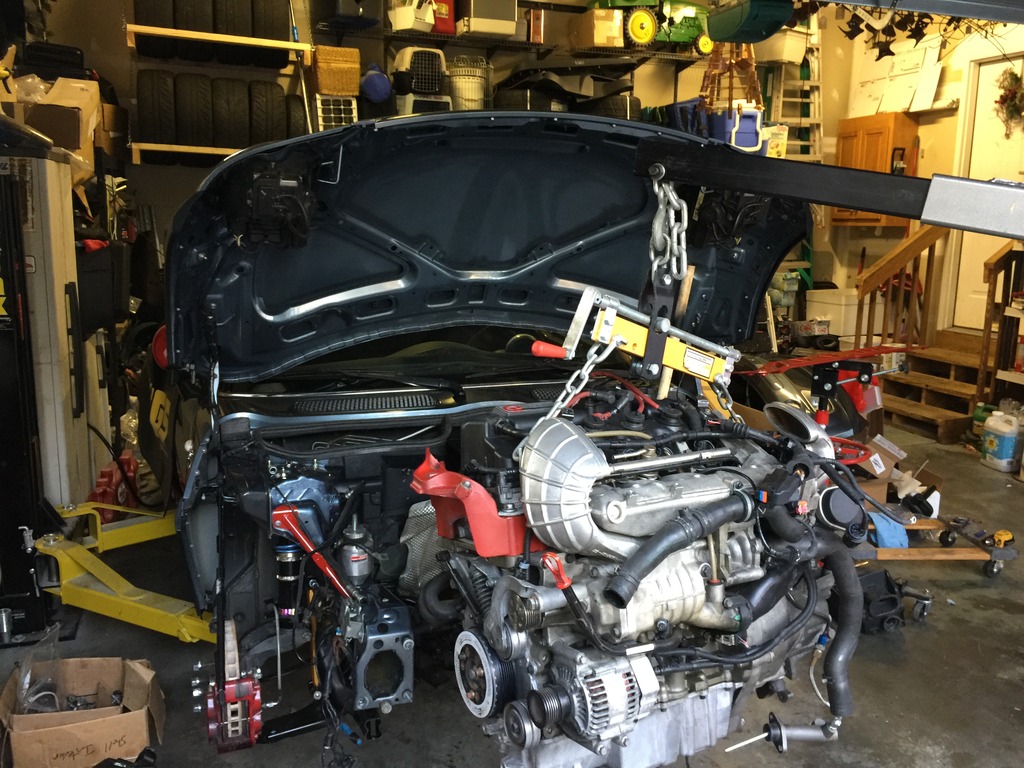
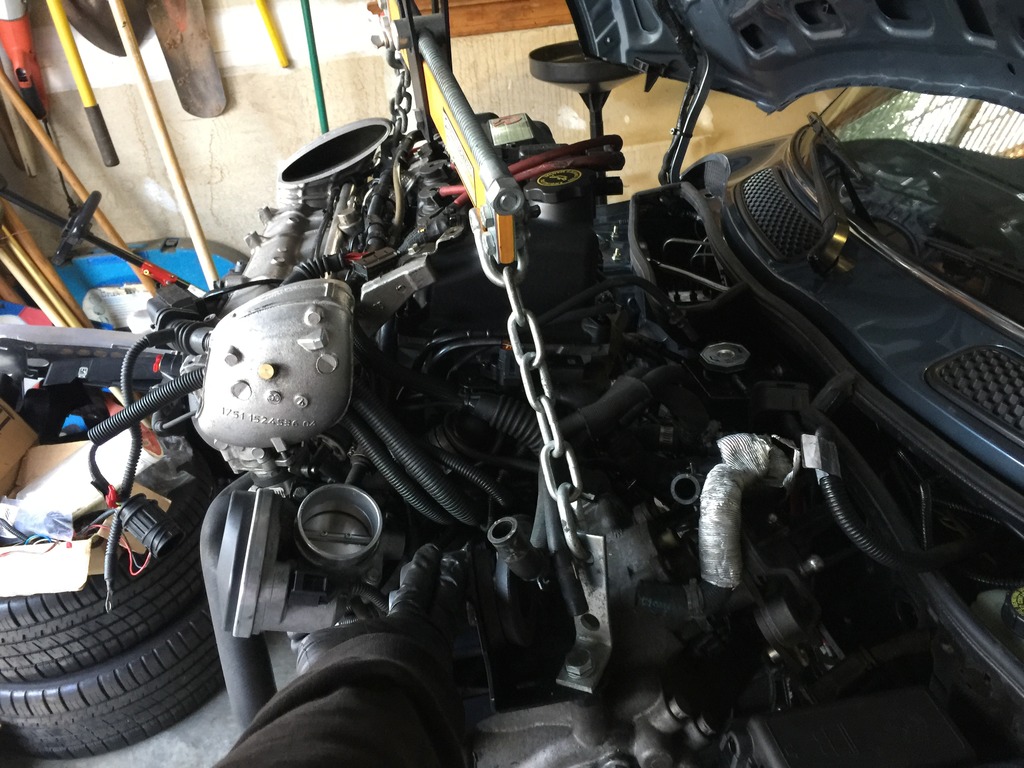
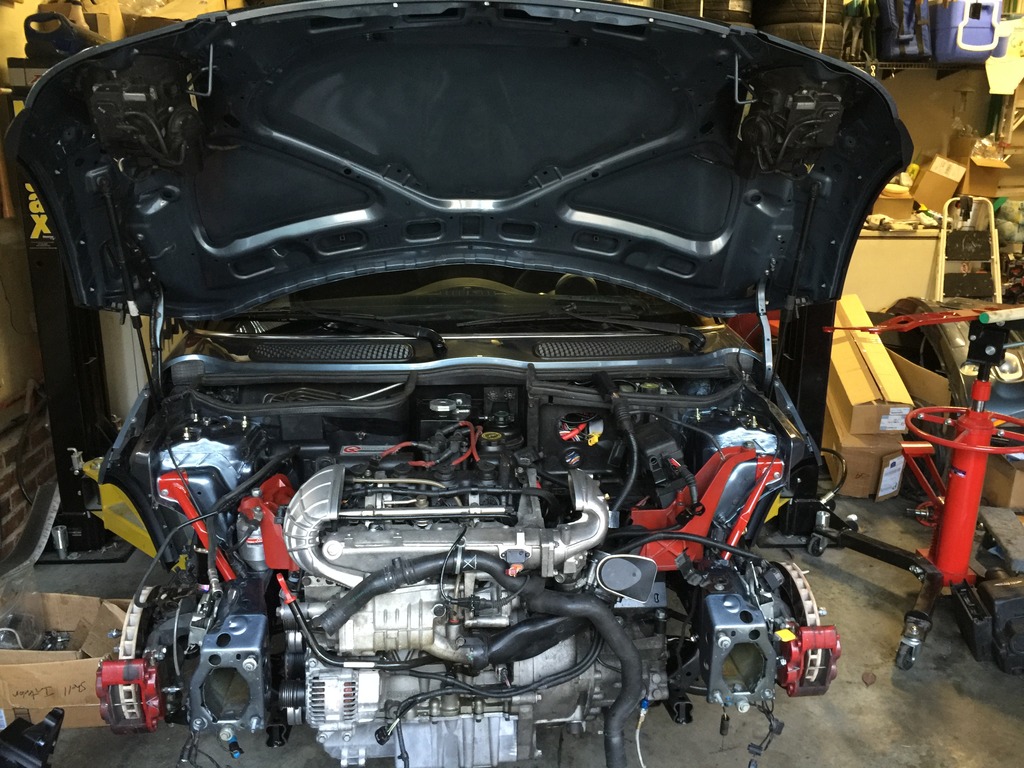
Hung the motor! I’m getting pretty good at it.
Click the image to open in full size.

Tomorrow, need to hook everything up, install new radiator, fill with fluids, bleed brakes and clutch, install axles, tighten up all the front suspension bits, and fire it up! Might put the bumper and wheels on it and drive it around the block…

Colin reminded me… I need to move my oil pressure sensor and connect via a hose, so the vibration doesn’t kill it. I have lots of extra AN lines and fittings, just need to get some adapters for it and I’ll move it somewhere before I wire it.

By the way, this was the easiest iteration yet in re-mating the transmission to the motor, after a clutch swap. Method I used was I sat the motor on a couple of 2×4’s laterally under the oil pan to raise it off the floor 1.5″ and hold it stable, and straddled it with the engine crane (so the crane tower was on the pulley side of the motor, and the legs and boom were coming toward me, I sat on the transmission side). Hooked a chain from the crane up to the upper outboard transmission mount hole on the transmission so it could just swing freely. Then was able to easily get the height exactly right and twist and jiggle it until the shaft slid right into the clutch plate, and the bell housing slid right onto the dowels. No drama, and no manual lifting effort. About 5x easier than the methods I had used previously.