Suspension Sunday!
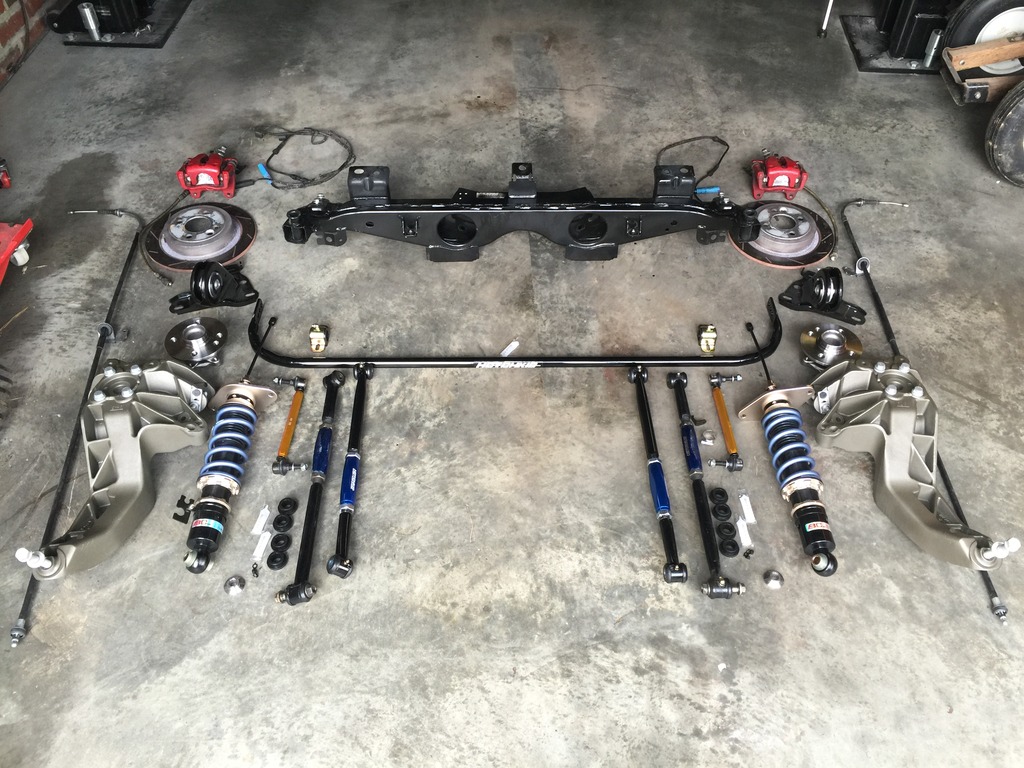
A bunch of parts:
- Blimey/Locutus Mk1’s old rear subframe (with rust converted and painted), H-sport control arms, Gen2 JCW rear brakes/cables, sensors, and a bit of hardware
- GP0769’s trailing arms, blasted and painted
- New wheel bearings, front suspension pivots, and lots of hardware, from eMINIparts
- A new pair of H-sport control arms and headlight leveler sensor attachment from Detroit Tuned
- New custom-valved BC coilovers with adjusters and Swift springs, GP shock adapter bushings, and Whiteline end links, from Greene Performance
- New 25mm Hotchkis comp sway bar from somewhere 🙂
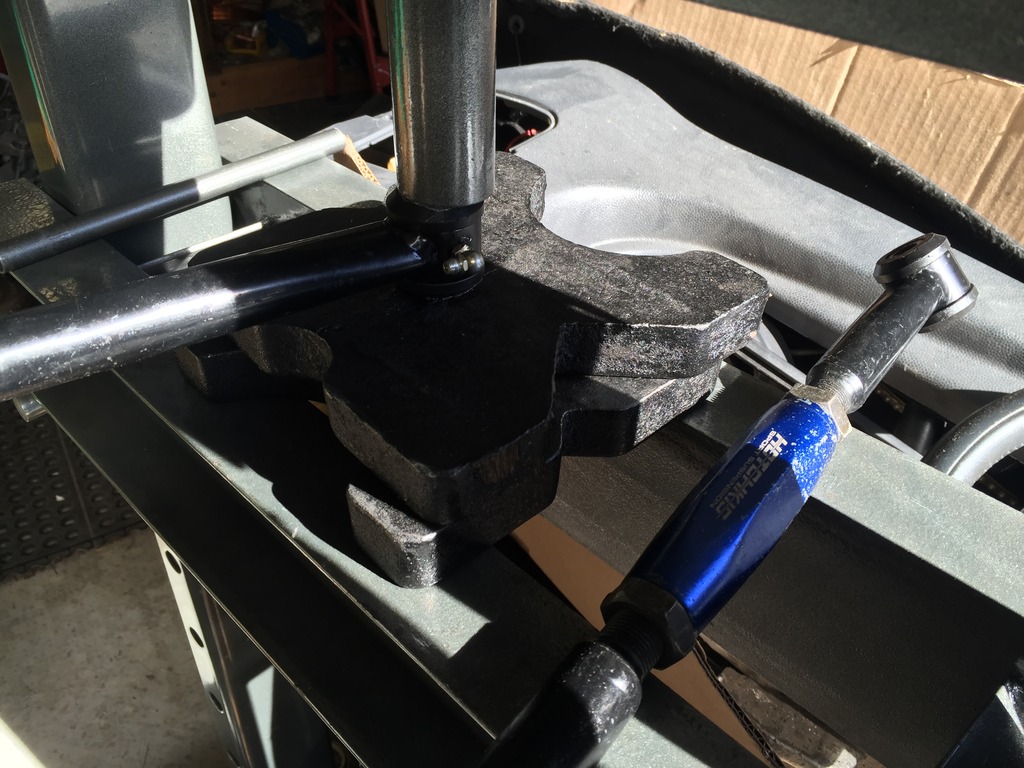
First refreshed my old H-sport adjustable control arms, with new bushings. the old bushings were showing some age, after about 100k miles. Boy, a press comes in handy for stuff that calls for it.
Then took a lot of pictures of the existing rear suspension, to ensure I could remember where everything went after I took it apart.
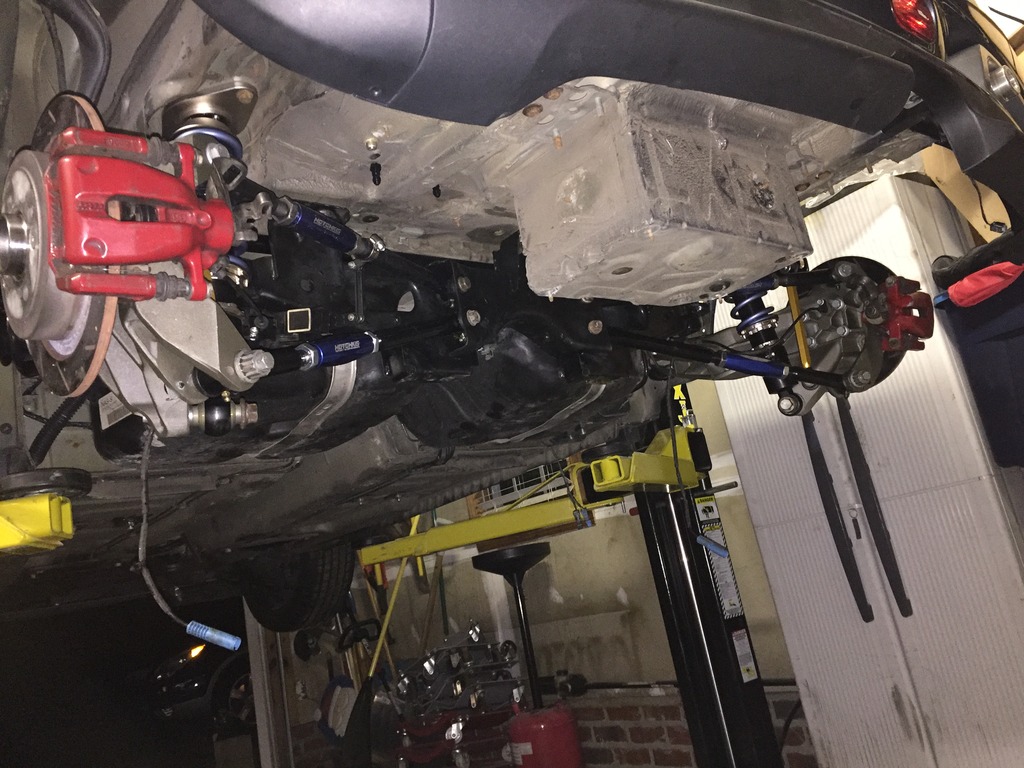
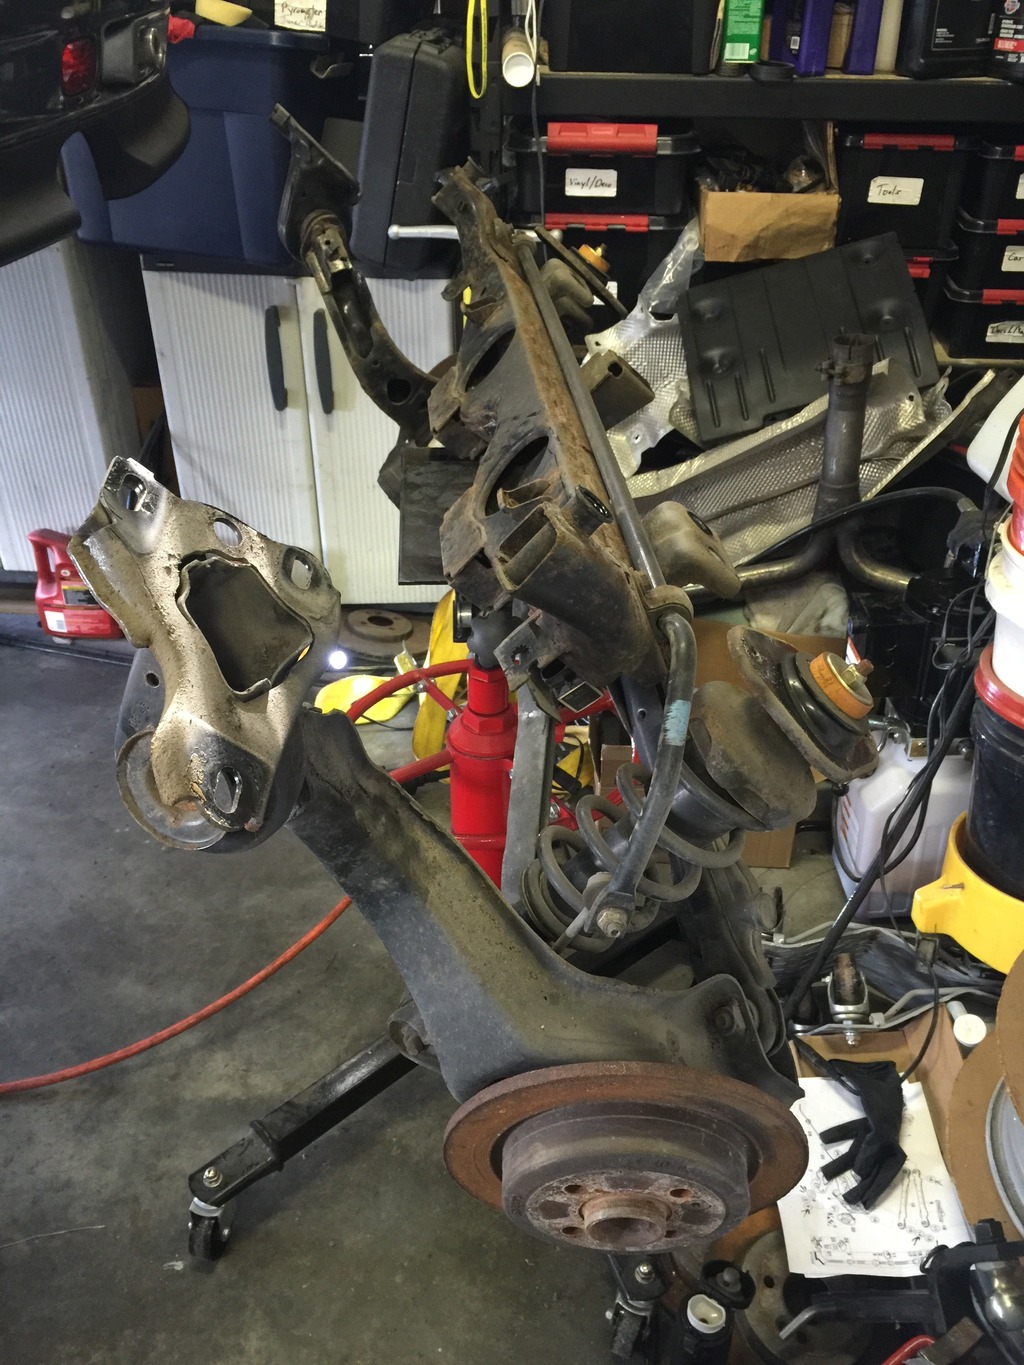
While looking at it, I concluded that it would be easiest to just drop it intact. I bought the high-lift transmission jack for just this kind of thing, after all. Determined that it’s only 5 bolts for the subframe, 4 bolts for the shocks, and 6 bolts for the front pivots… then it’s all free. The Harbor Freight Earthquake impact gun made quick work of a bunch of rusted bolts that had never been loosened before. Only took about 10 minutes, and it was off! It IS very heavy, don’t attempt to drop it intact without either a similar lift to hold it up, or a couple of strong friends.
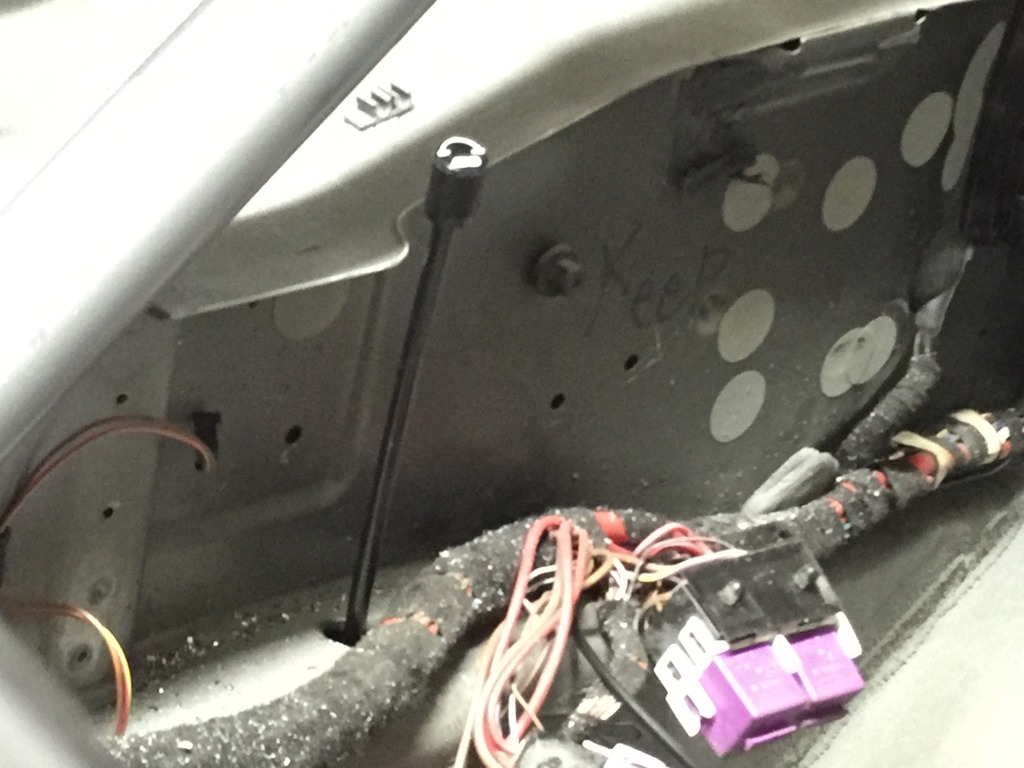
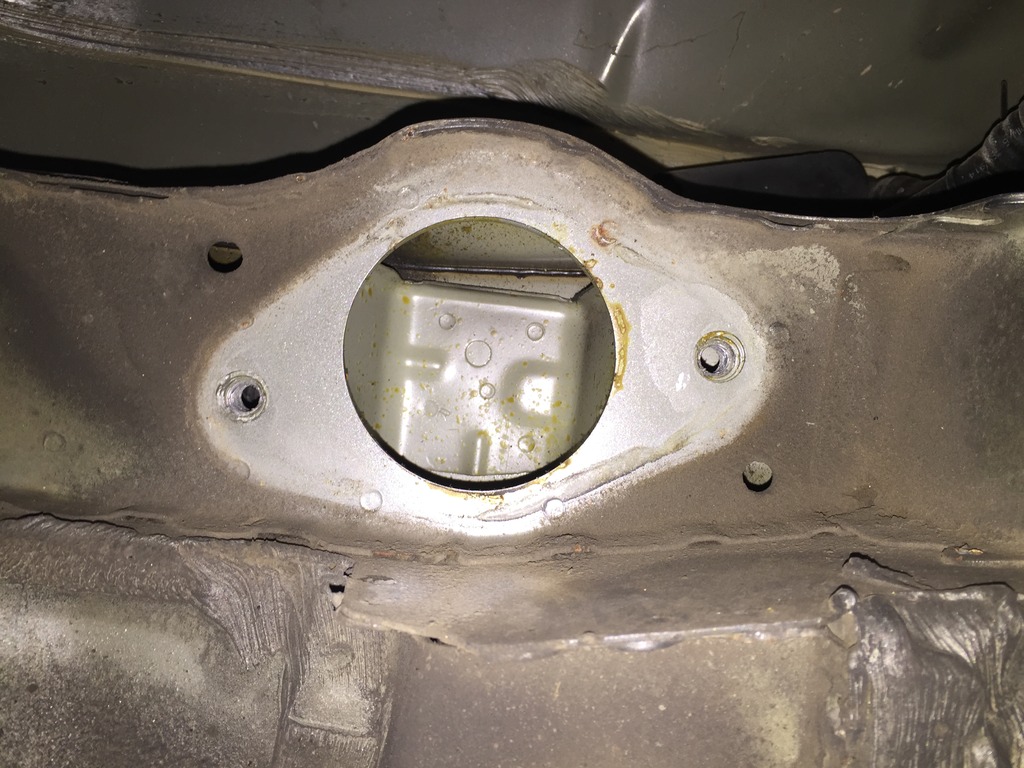
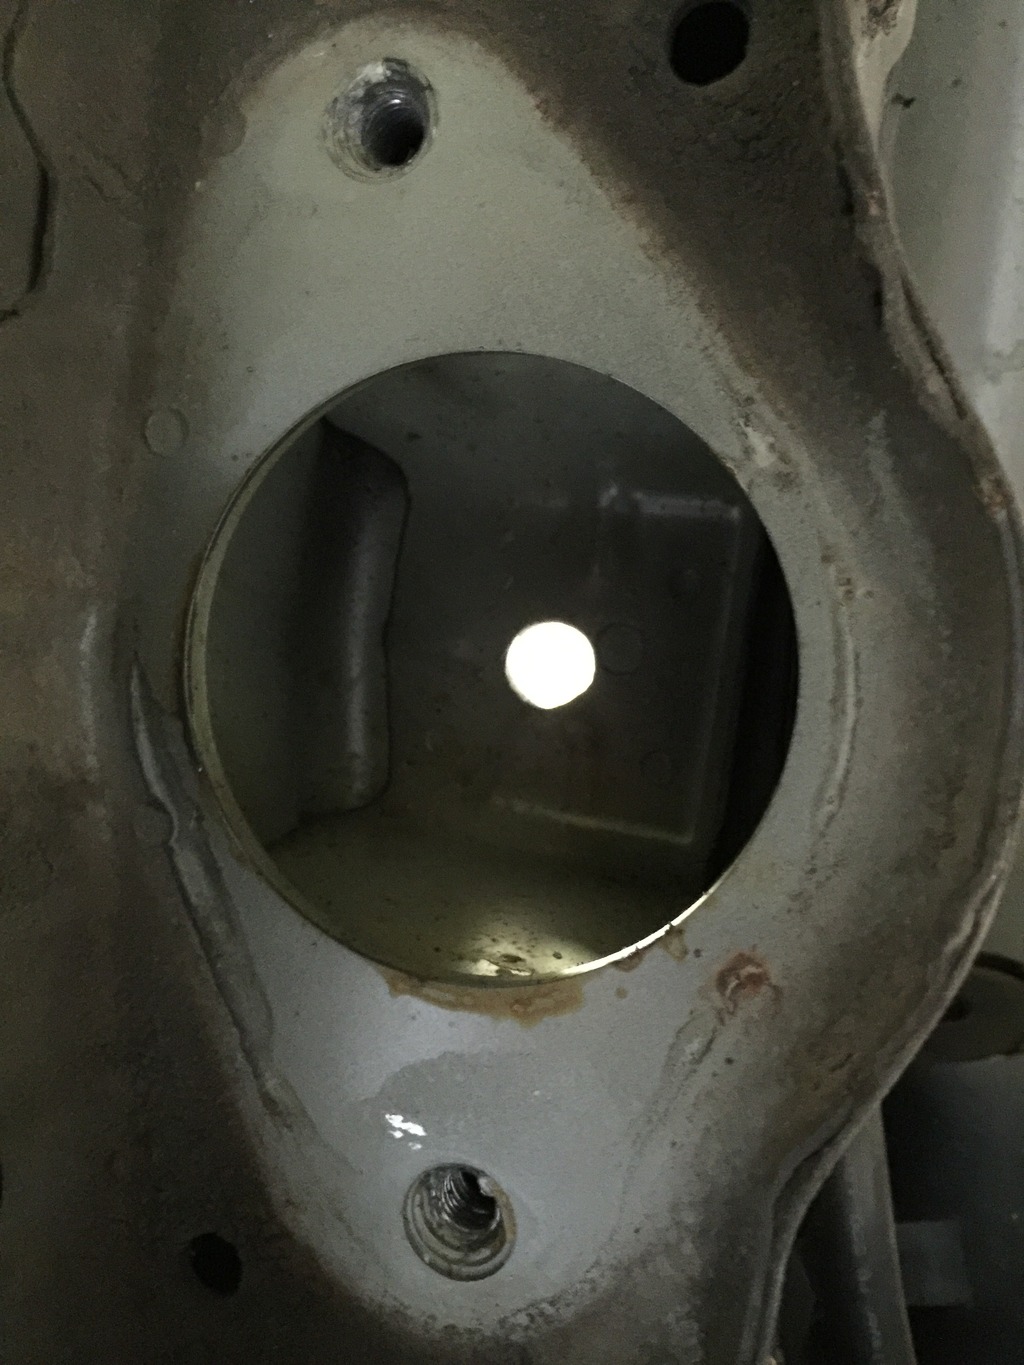
Then, time to drill the shock towers for the extended adjusters. Figured out what size I needed, scouted a hole location, was pretty sure it would emerge at a good place above, and drilled a pilot hole. When I was sure the location was right, I expanded it with a couple of step drills, until it was just large enough to pass the top knob of the adjuster through.
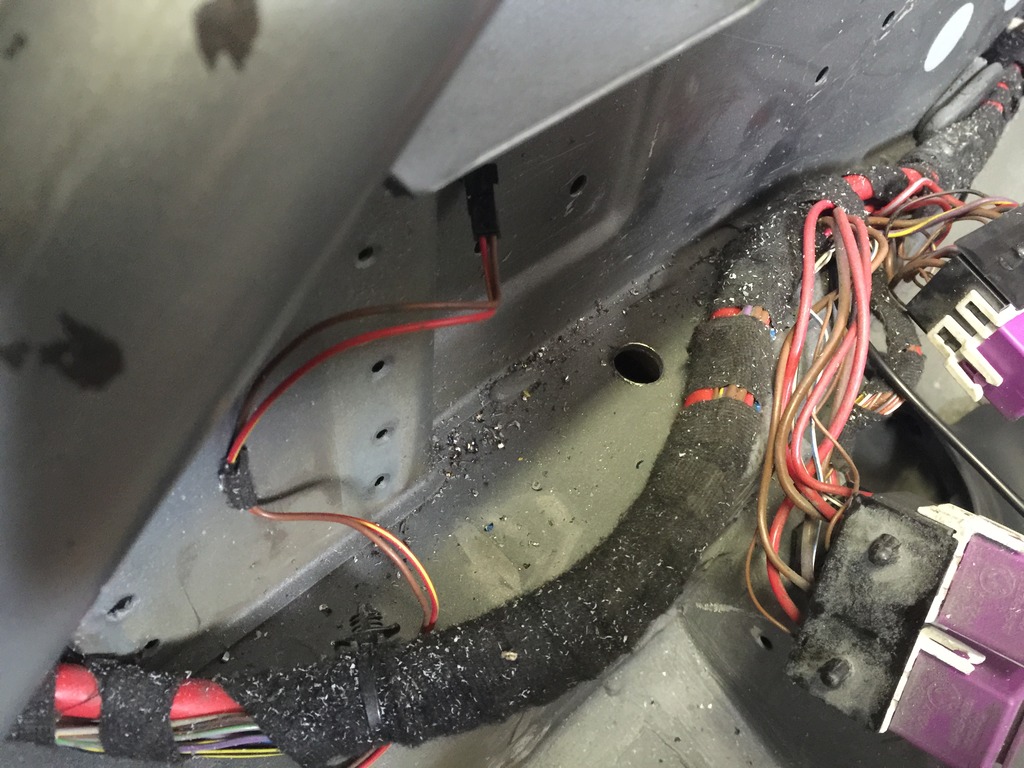
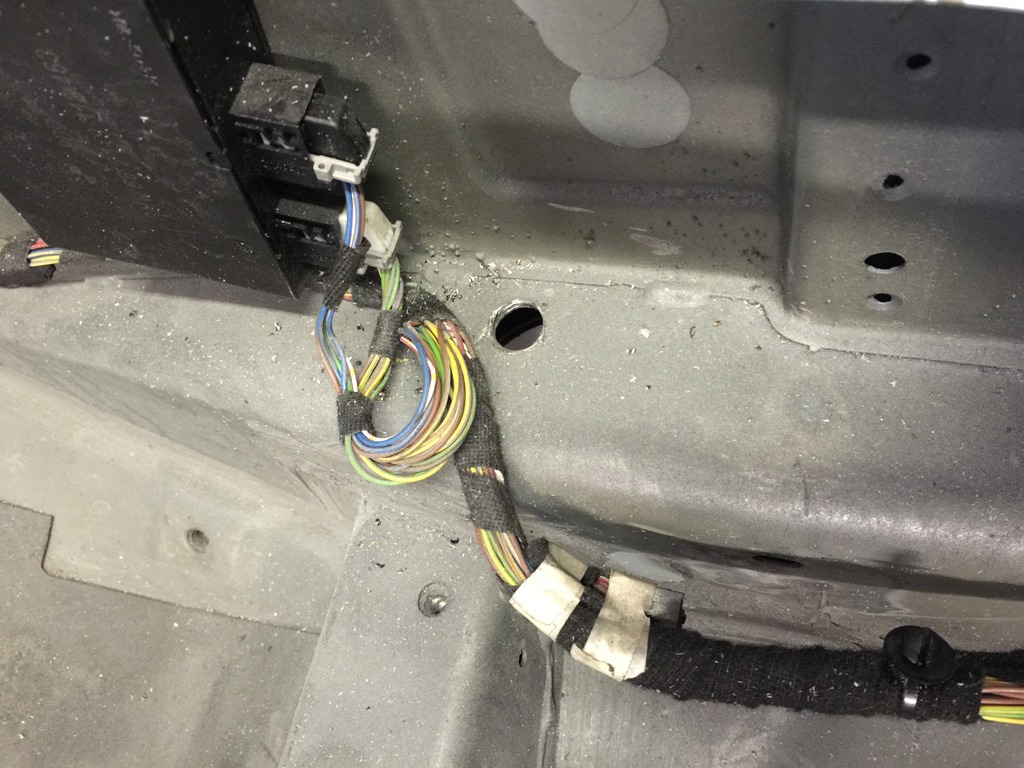
The long rear brake hard lines were badly corroded.
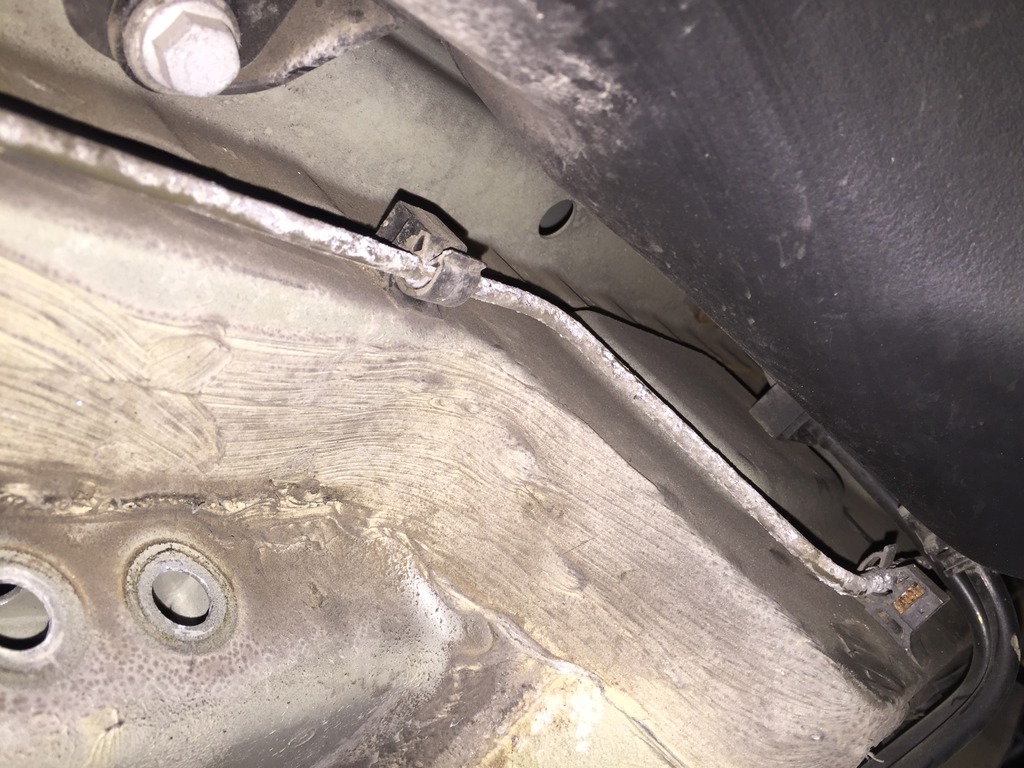
I had salvaged the ones off the old car, which were like new. It’s a pain, but I swapped them while I was at it. Much better, and one less thing to worry about later.
Hung the fresh subframe, and built the new suspension piece by piece. Set the new adjustable control arms (my new lowers) to the same length as the old ones, then adjusted the old ones to match the length of the OEM upper arms. Used copious amounts of anti-seize on everything. Measured the position of the headlight adjuster sensor on the old left upper control arm, and mounted the bracket on the new arm at the right spot.
Really love how the whole thing looks, especially the painted GP trailing arms.
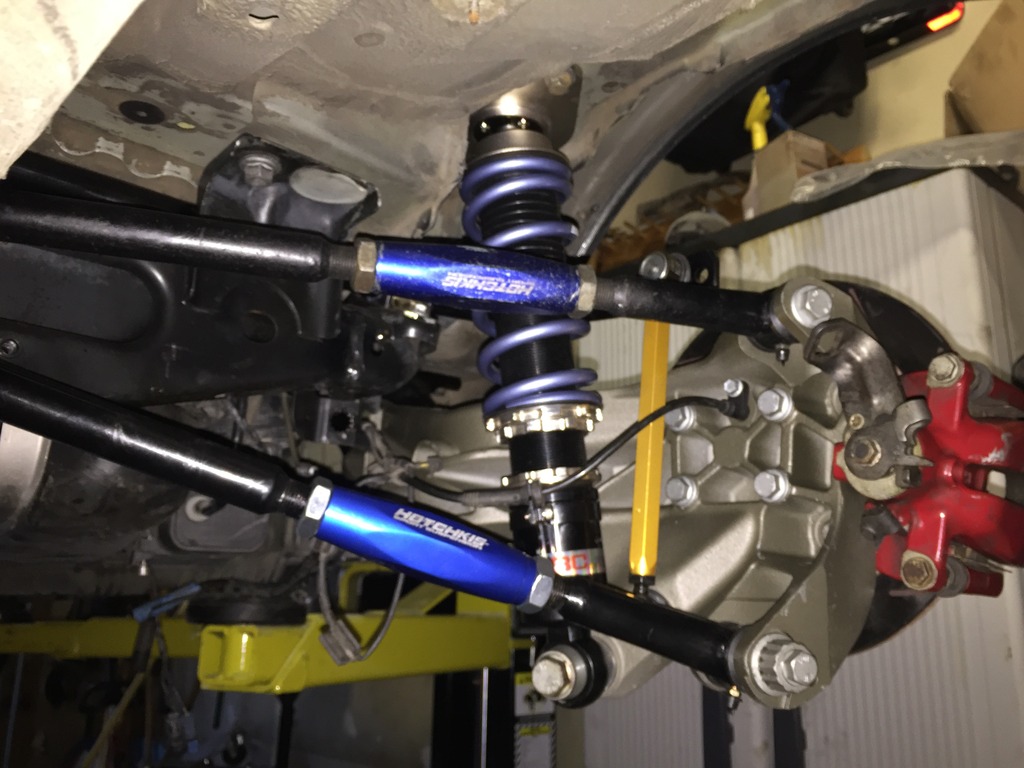
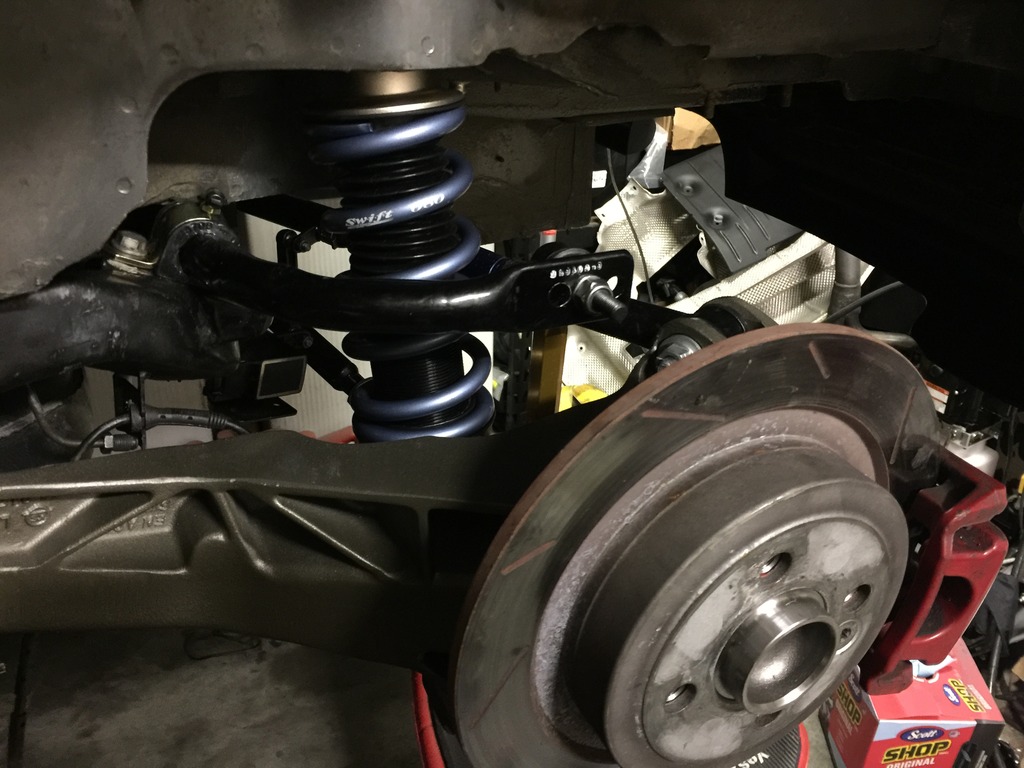
It’s basically done. A little more cleanup to do on cables, brake lines, wheel well liners, battery cable, etc. another day.
