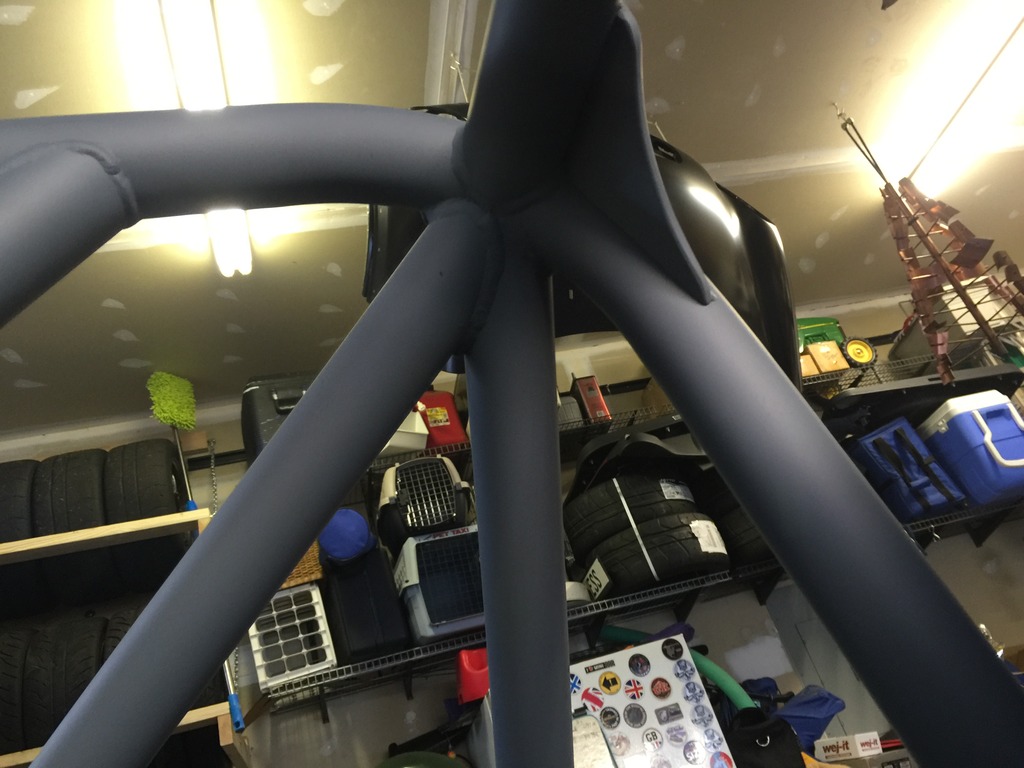
Finally, PROGRESS!!!!!
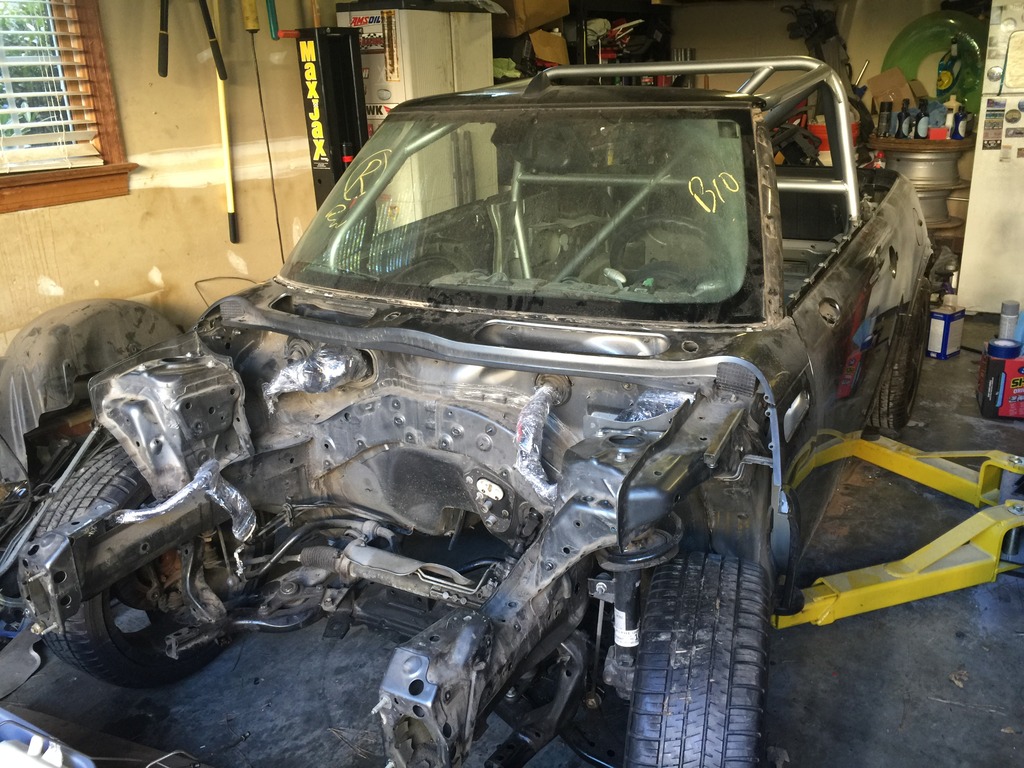
Picked up the shell from the cage fabricator today. The cage is EVERYTHING I had hoped for. Mark Cooper at Performance Motorsports Fabrication outdid himself, as usual.
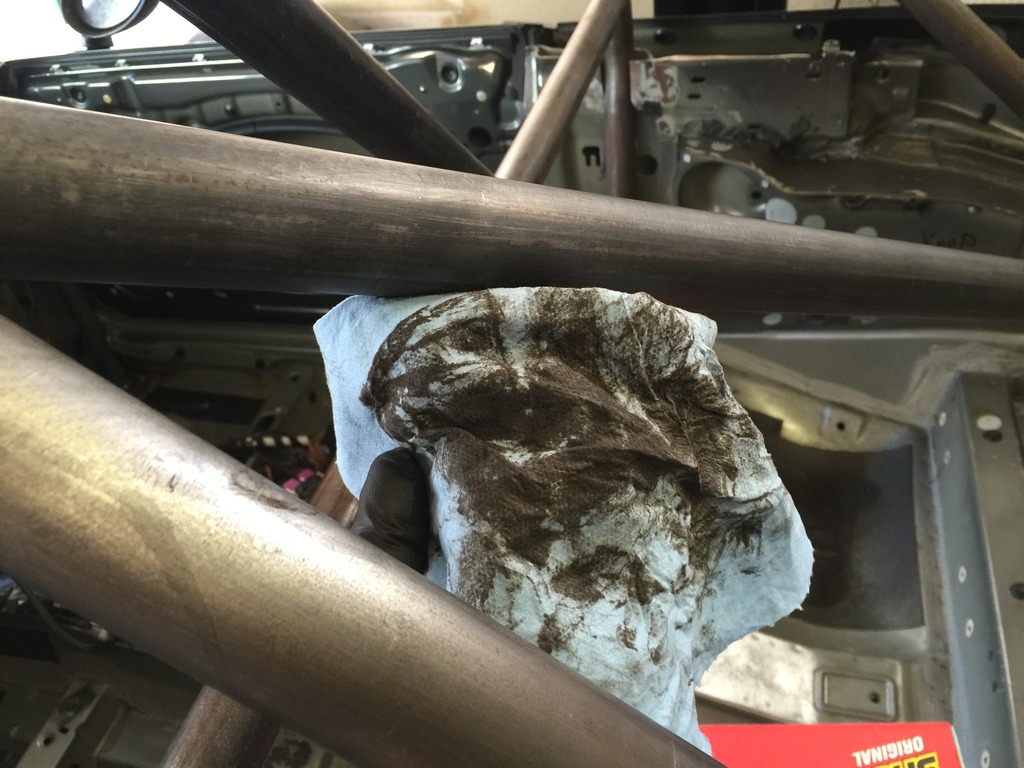
It looks rusty, because it’s been raining here for the past two weeks and this raw steel rusts just from being in the humidity, but the oxide wipes right off. Easy to prep and paint.
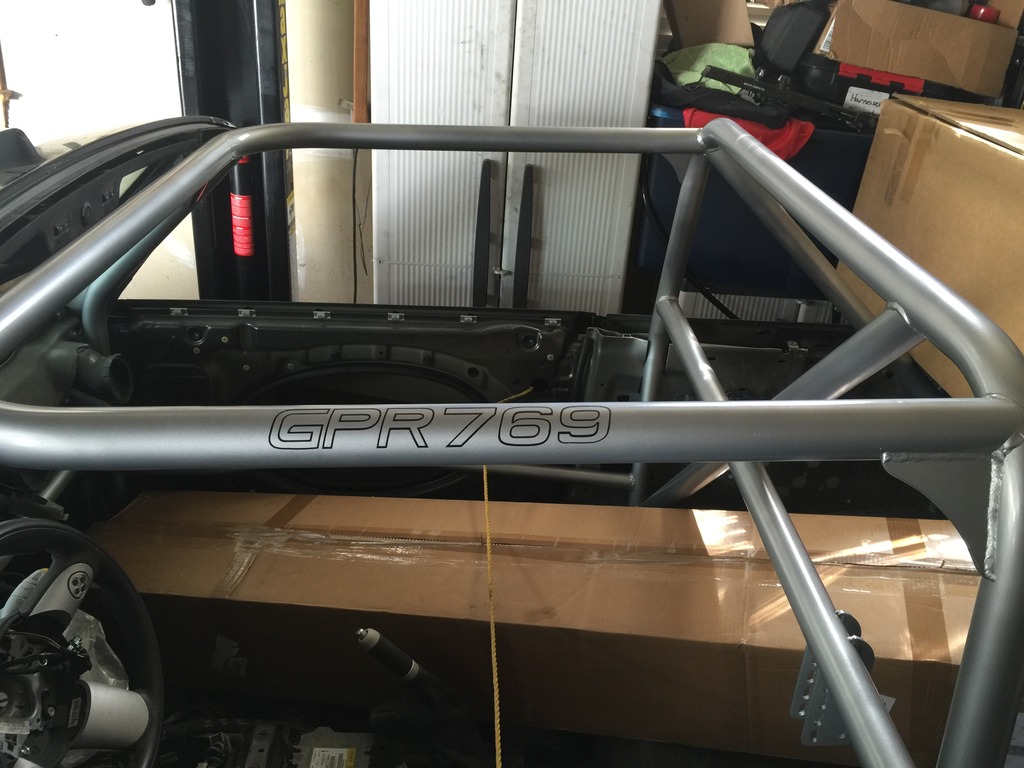
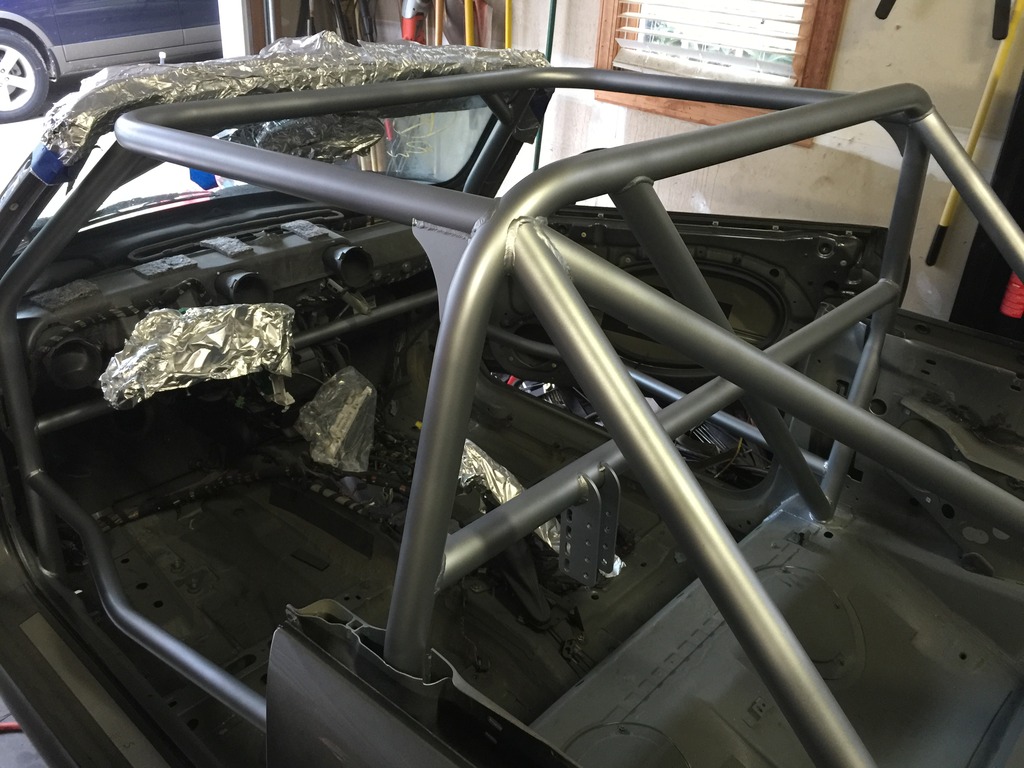
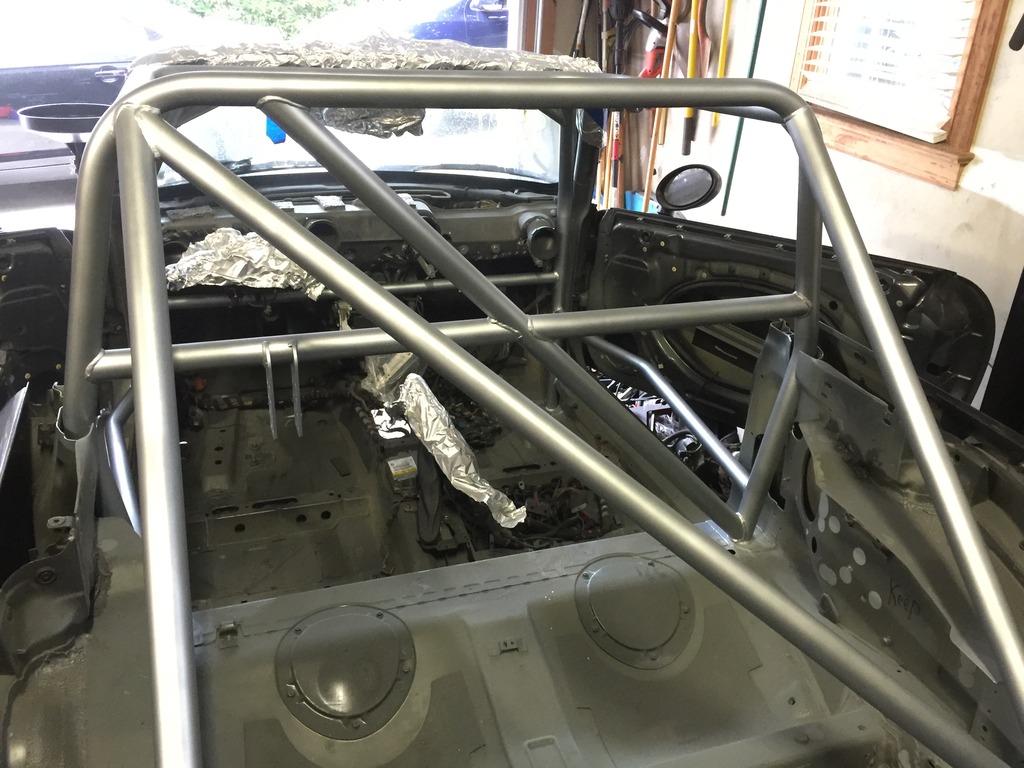
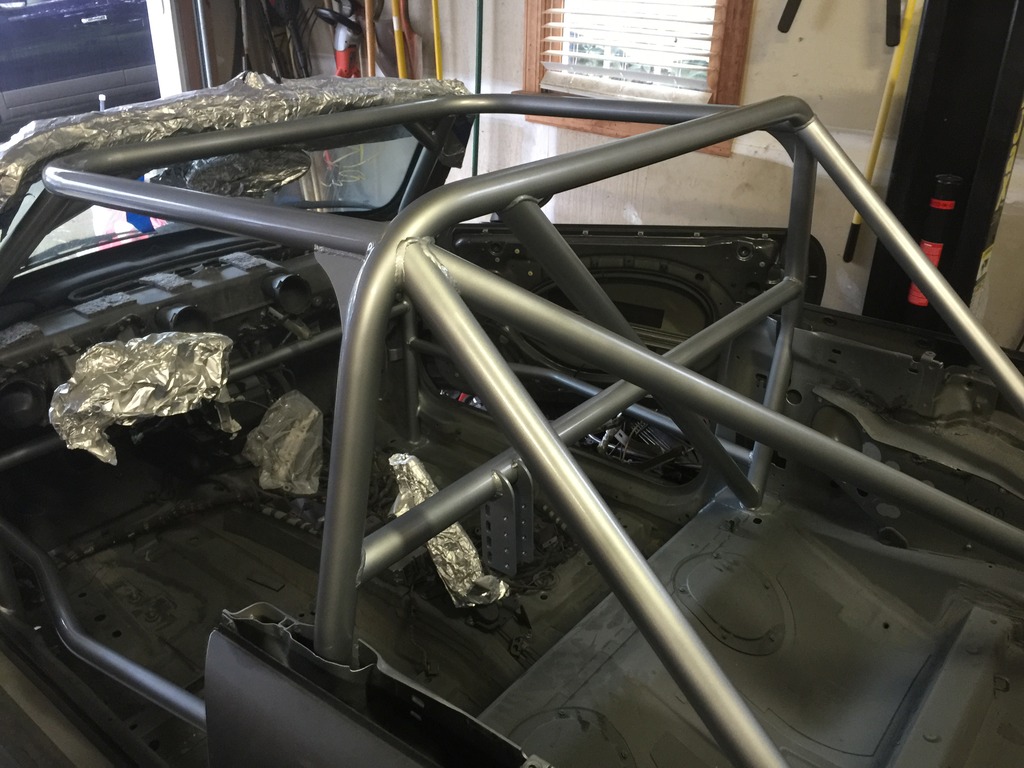
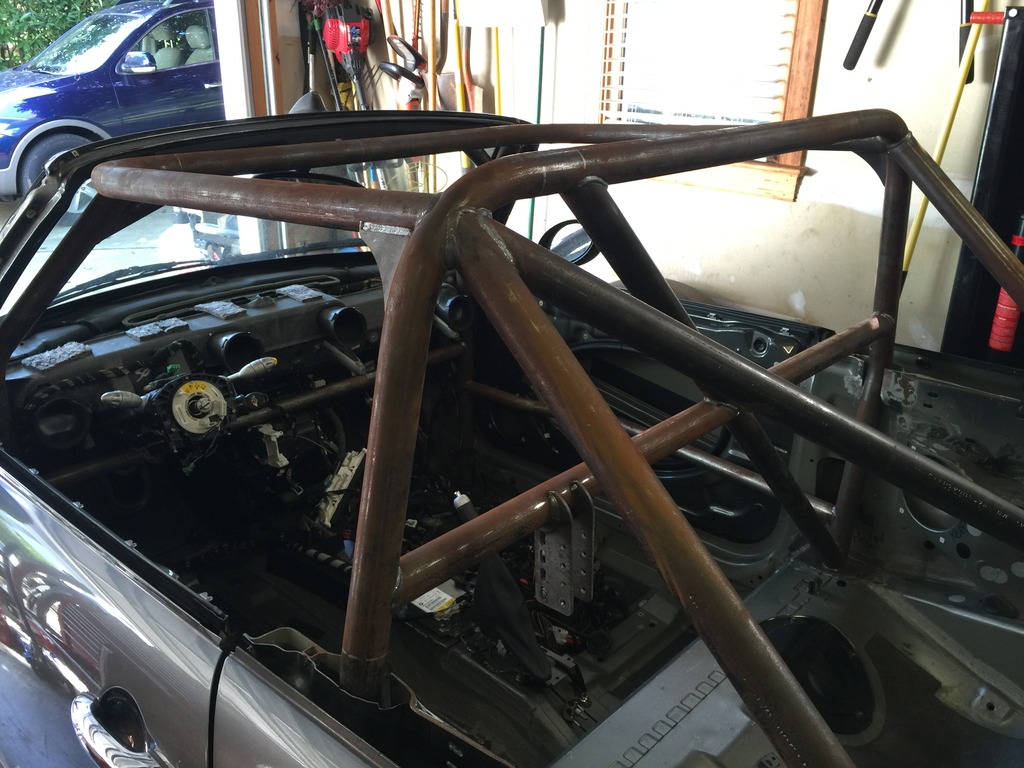
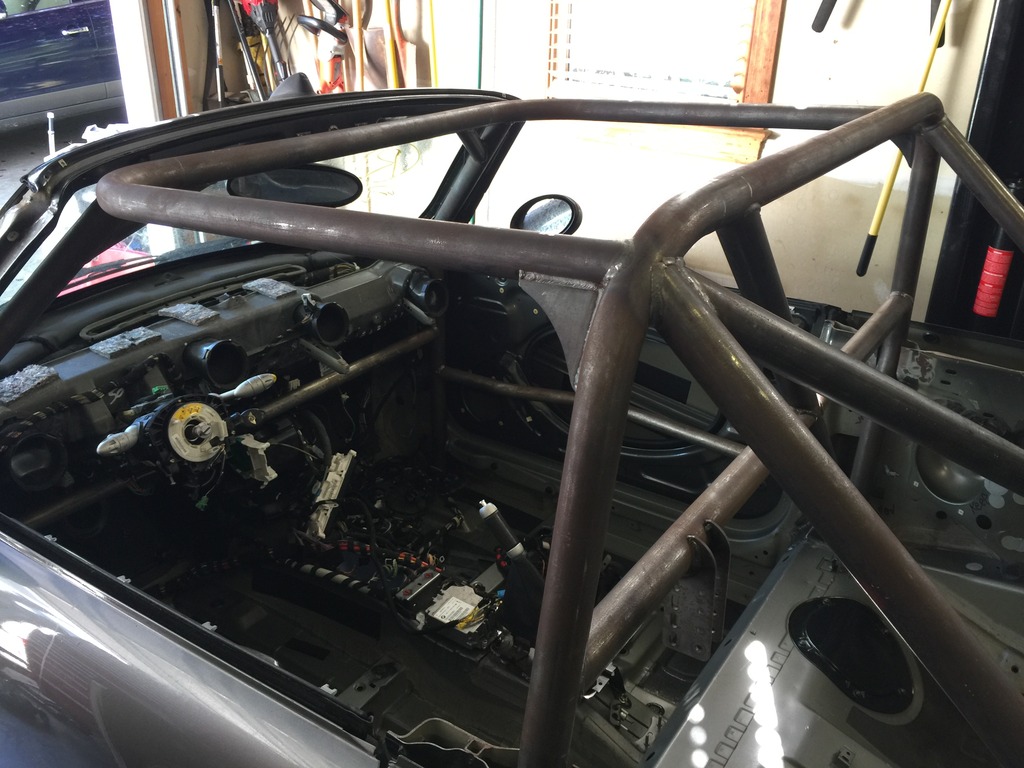
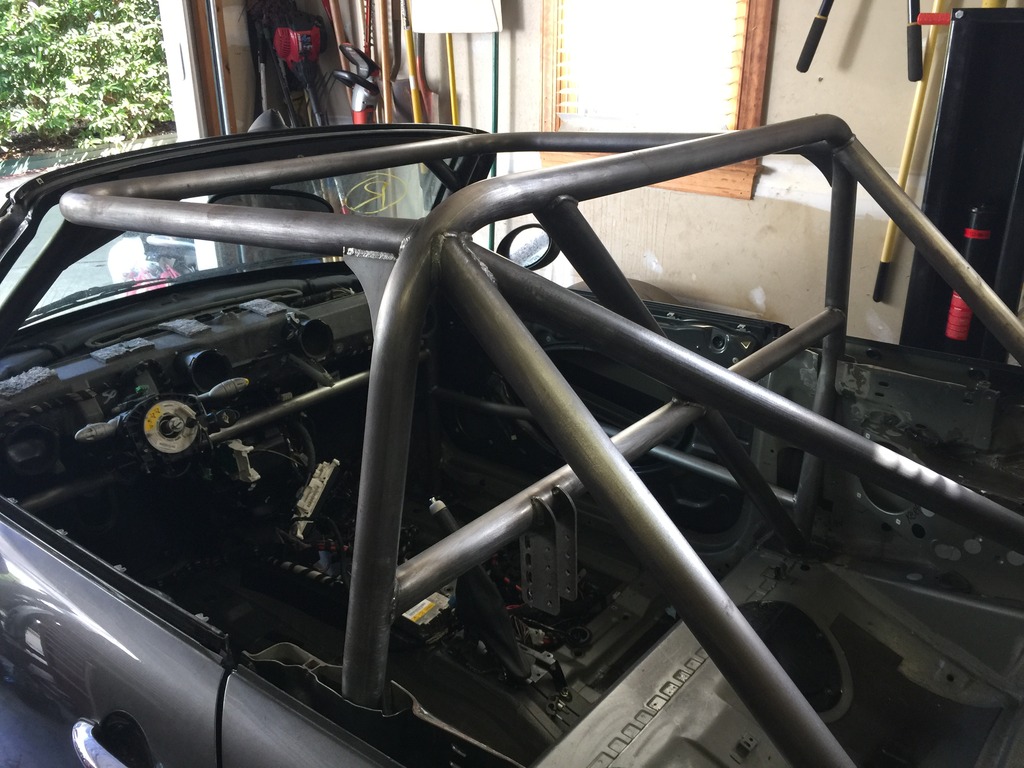
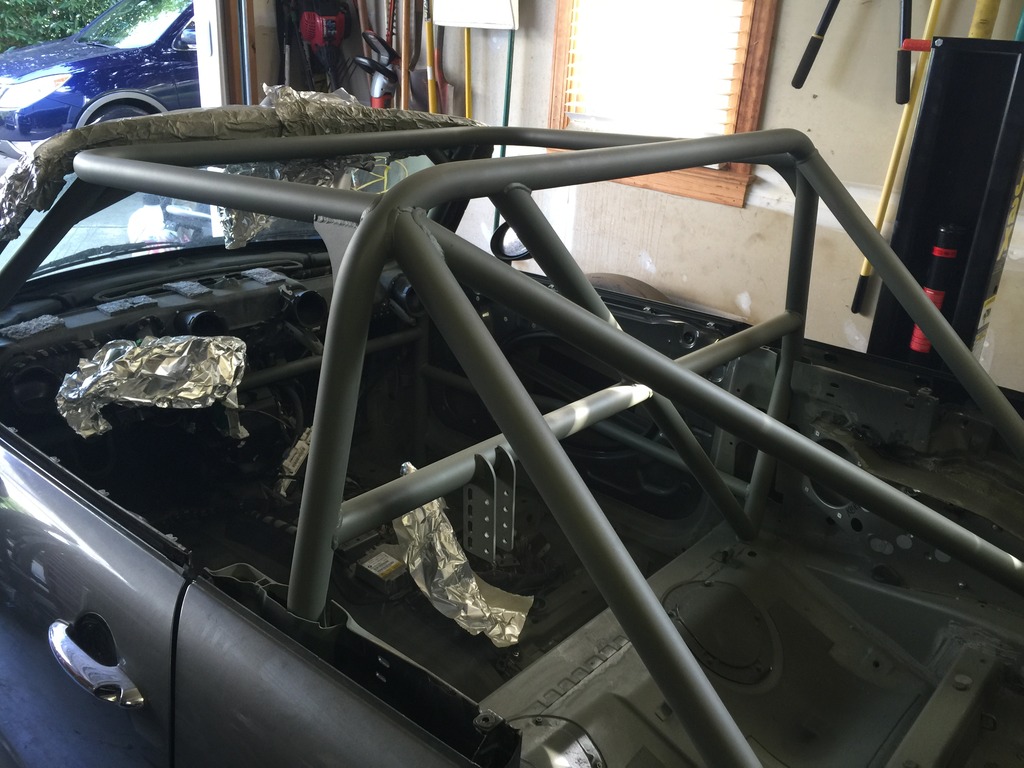
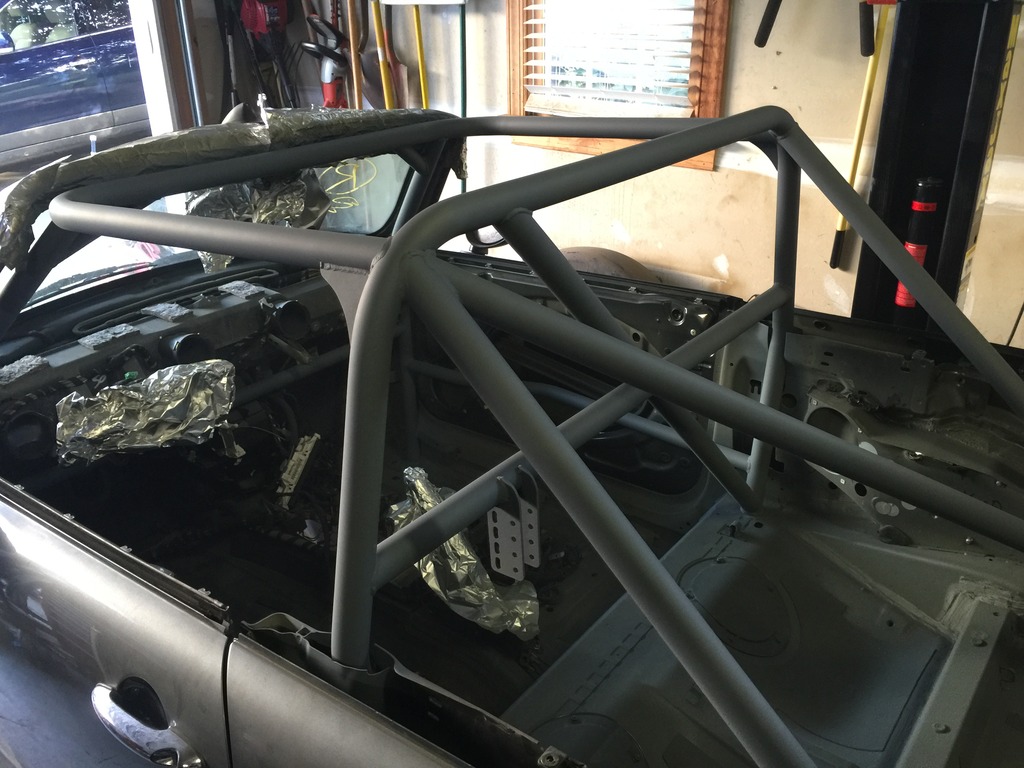
But here’s the cage porn, of (AFAIK) the only 6-point caged MINI cabrio in the universe.
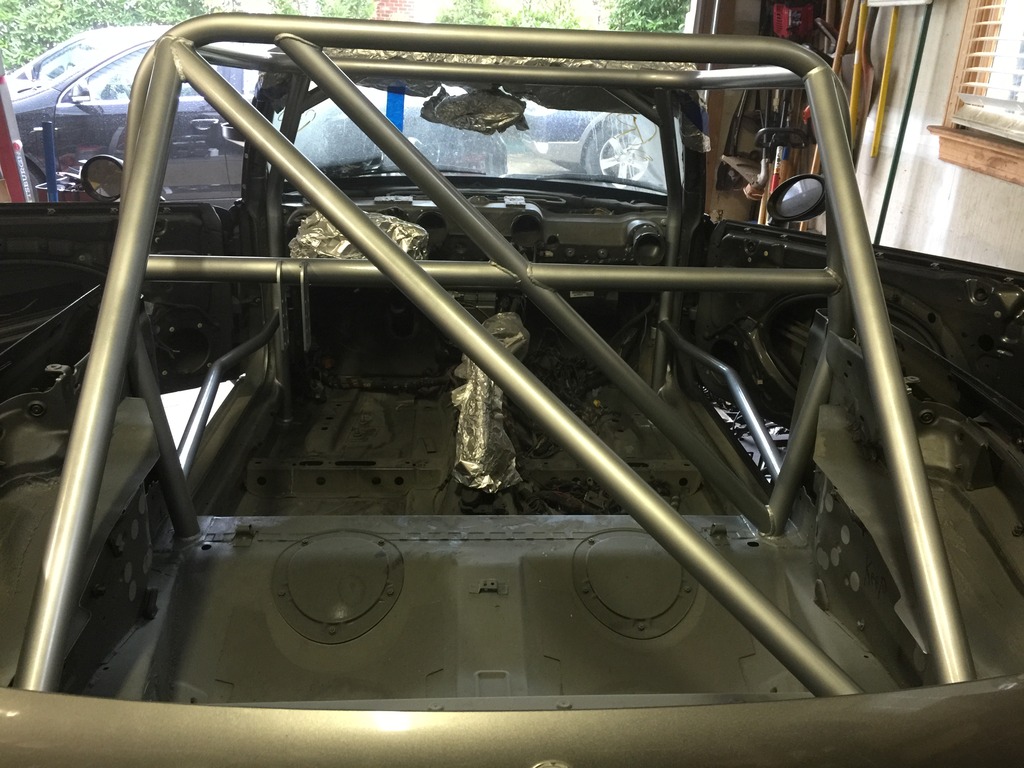
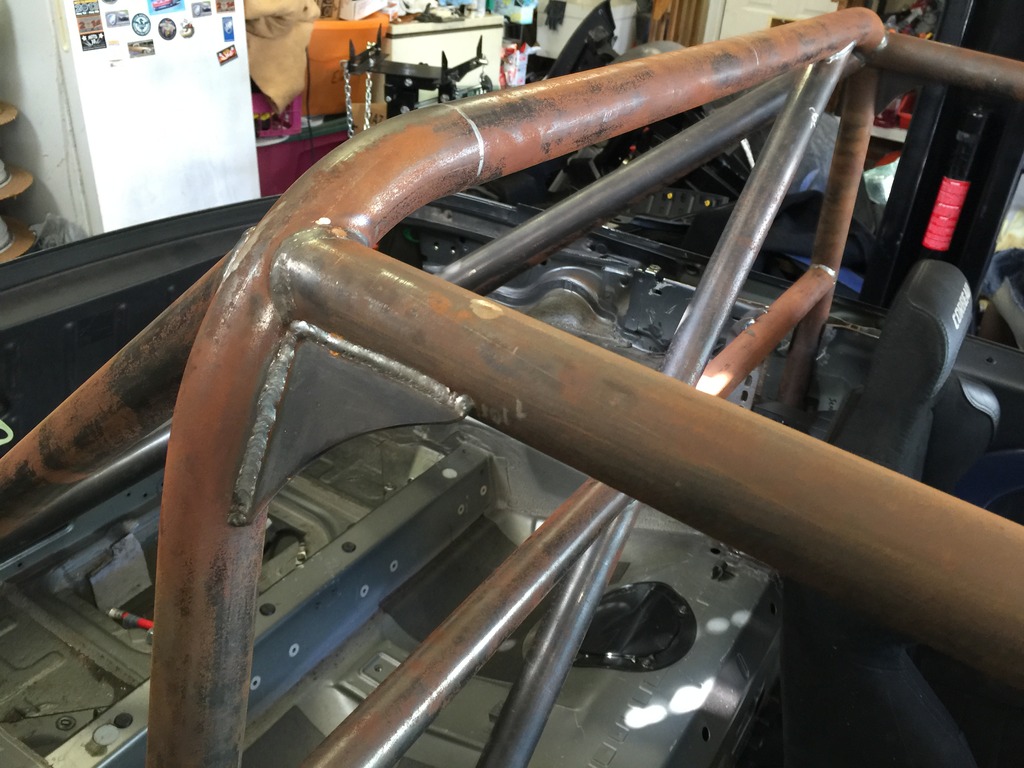
The big picture view. Six point cage with dual diagonal bracing, harness bar, adjustable seat back brace, overhead halo, gussets, knee bar, and recessed door bars. Knee bar and halo braces are 1.5x.120, door bars are 1.5x.095, everything else is 1.75x.095.
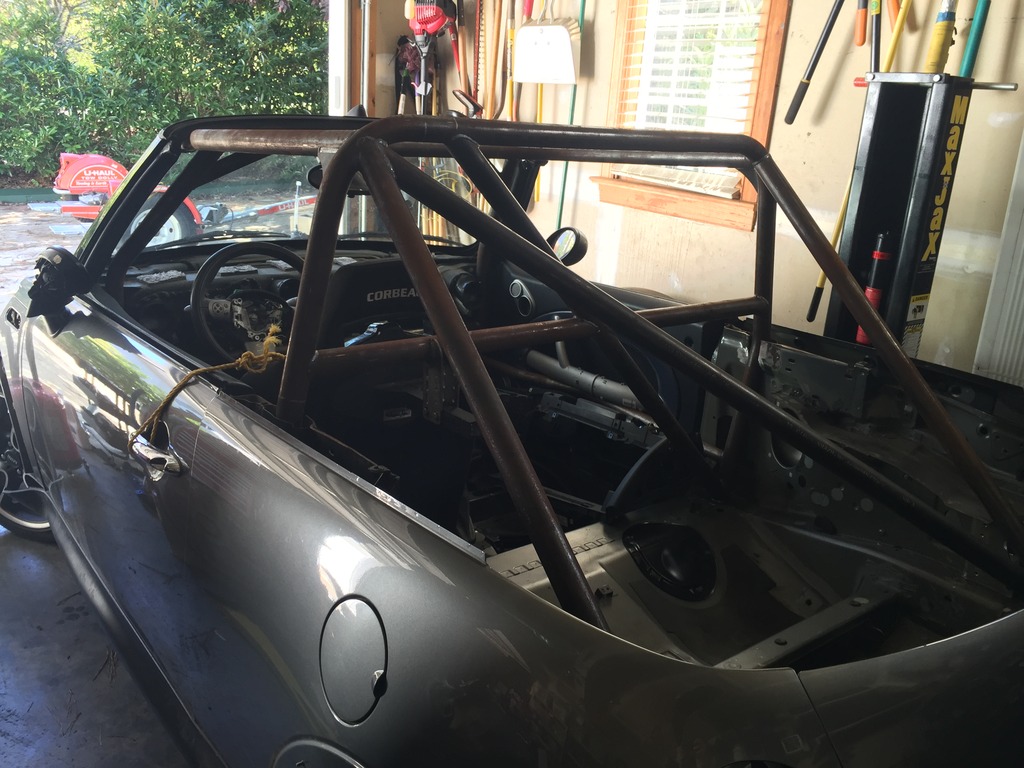
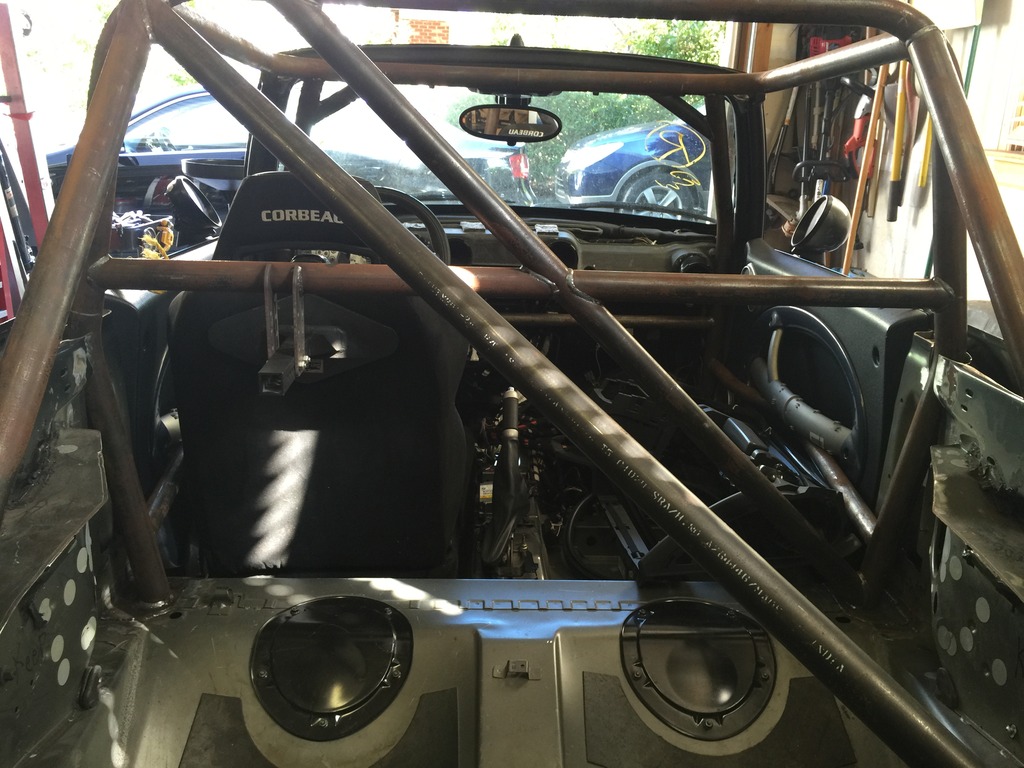
The rear brace points are wide and all the way back, for maximum strength and rigidity.
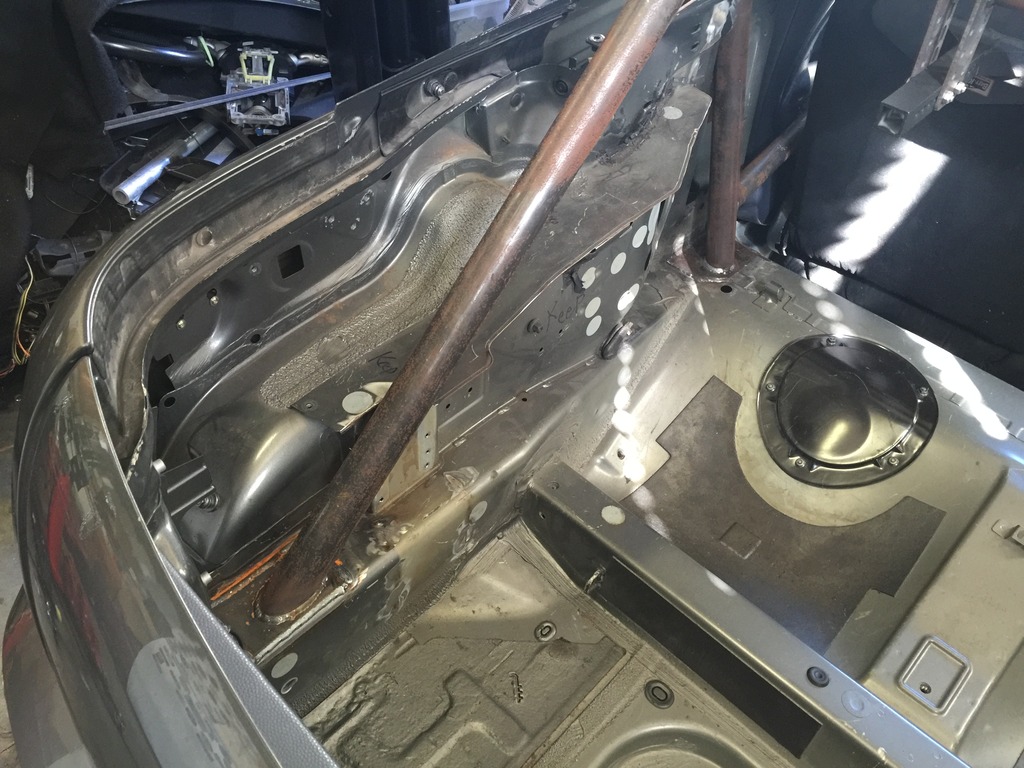
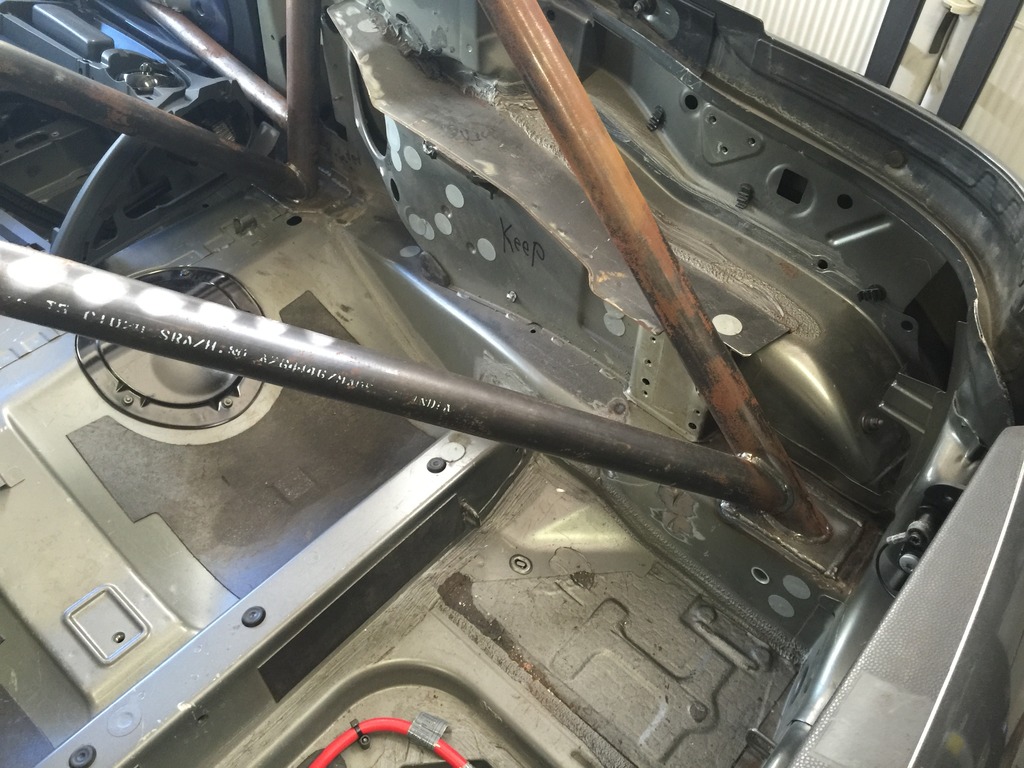
The main hoop sweeps outward as far as possible, to maximize the width of the envelope for my noggin. Several inches wider than my old rollbar, as wide as possible to fit within the windows. Important to me, since I managed to hit my head on the pavement in the crash… The reinforcement plates tie into the reinforced seat belt B-pillars.
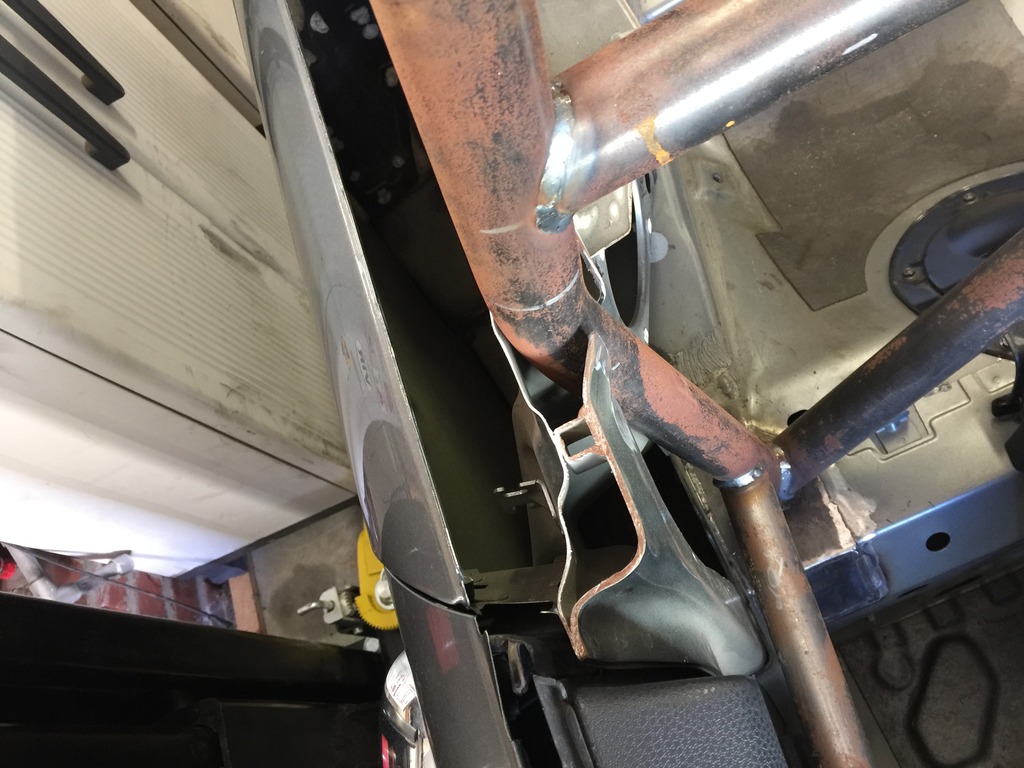
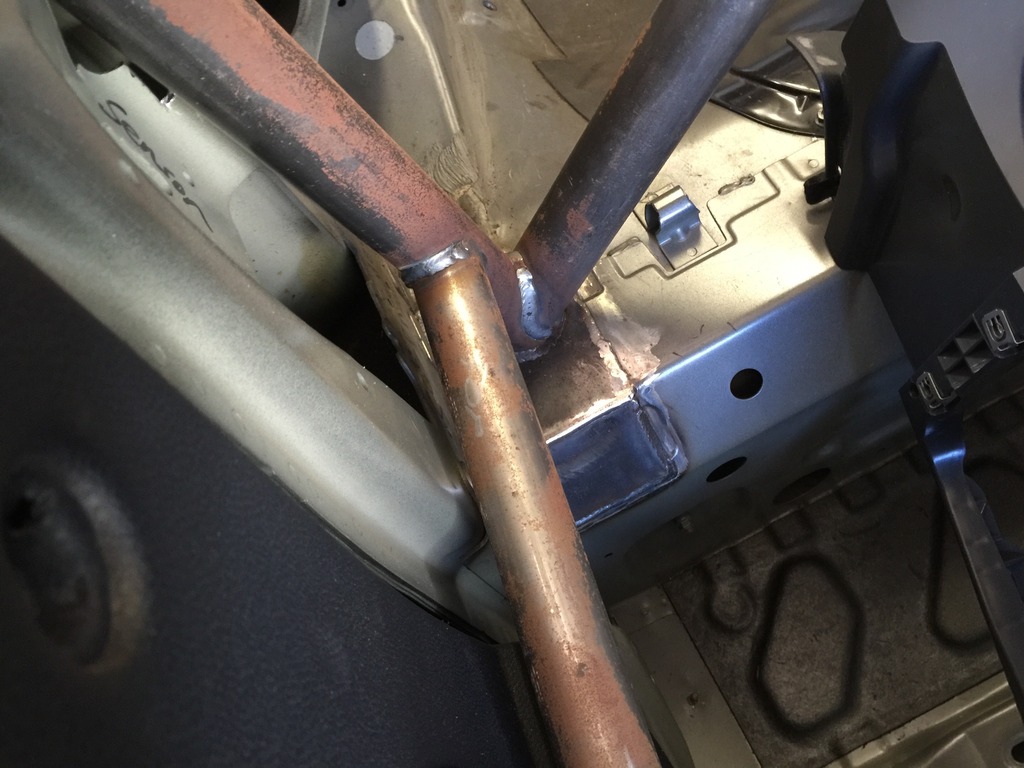
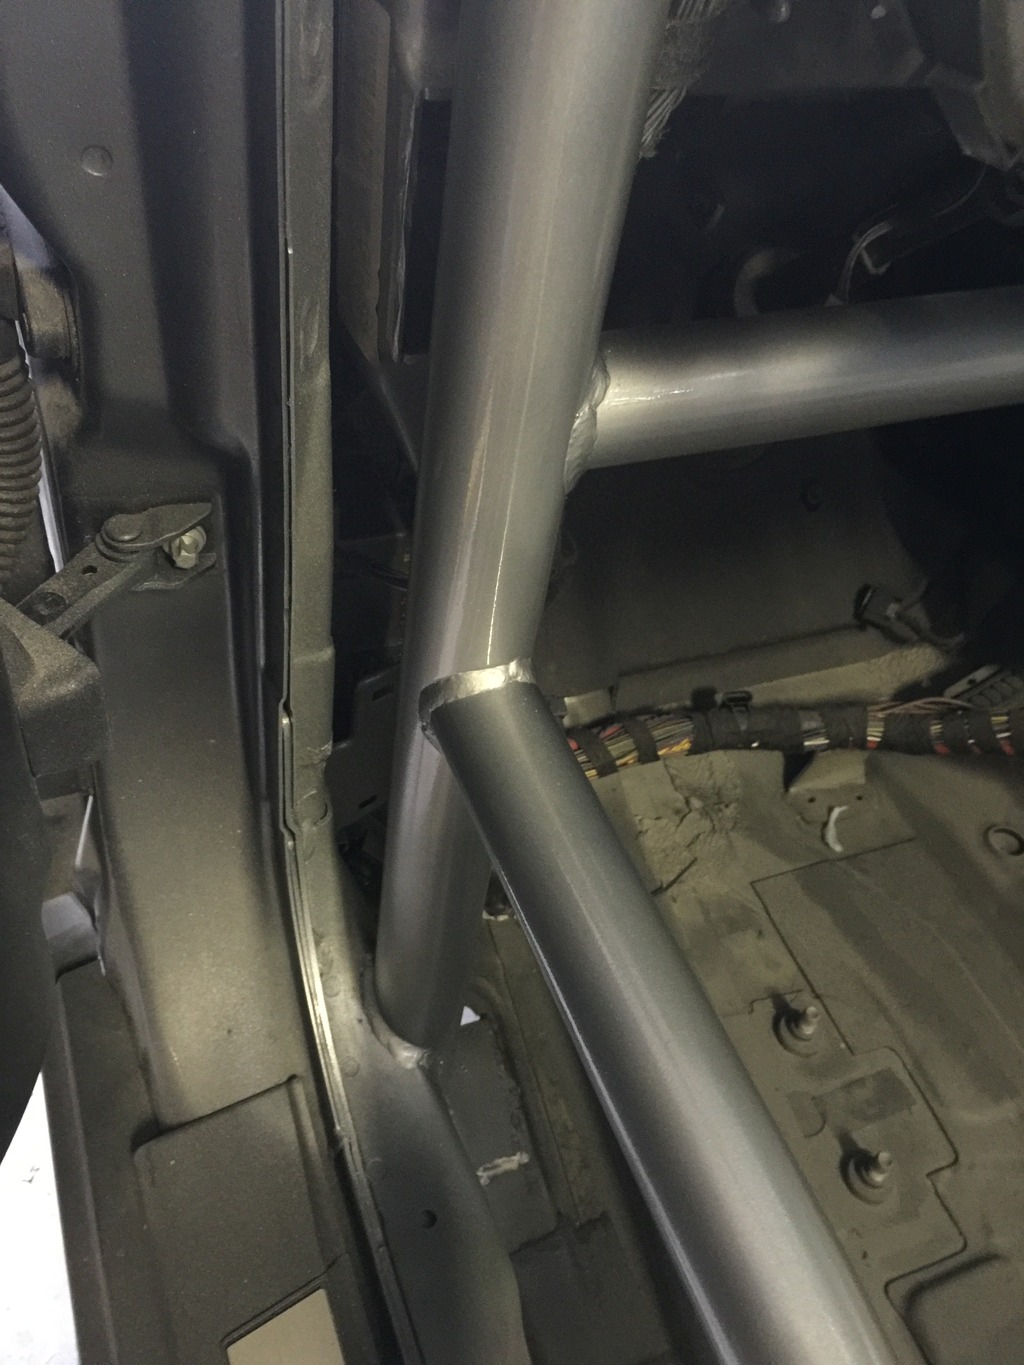
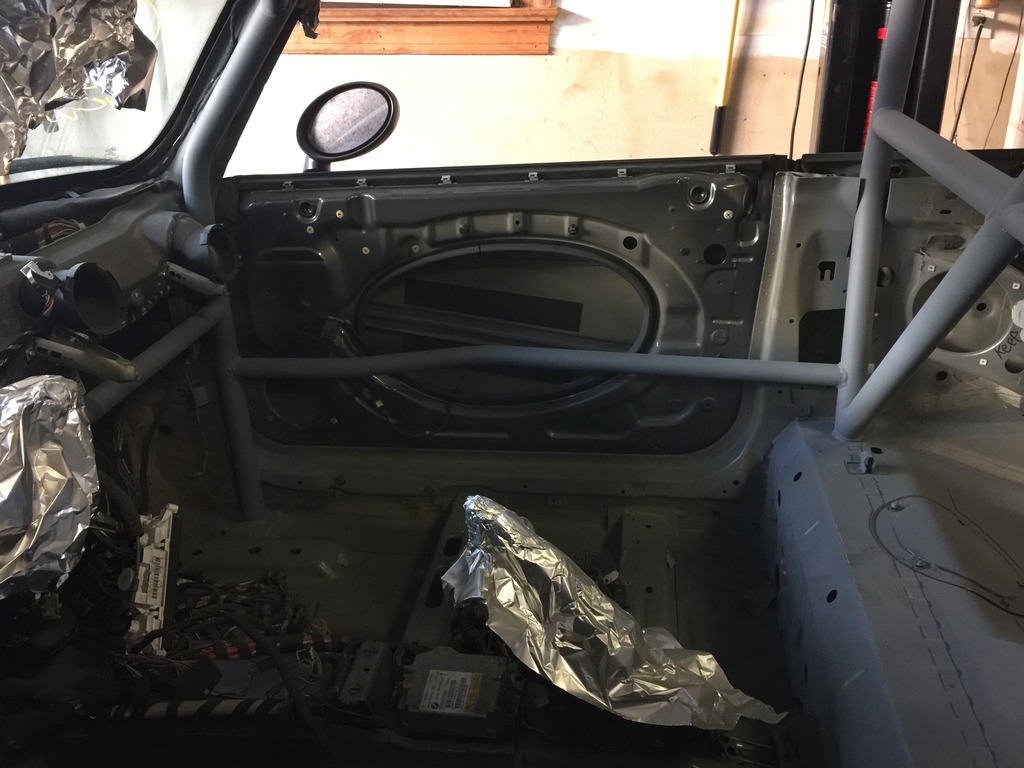
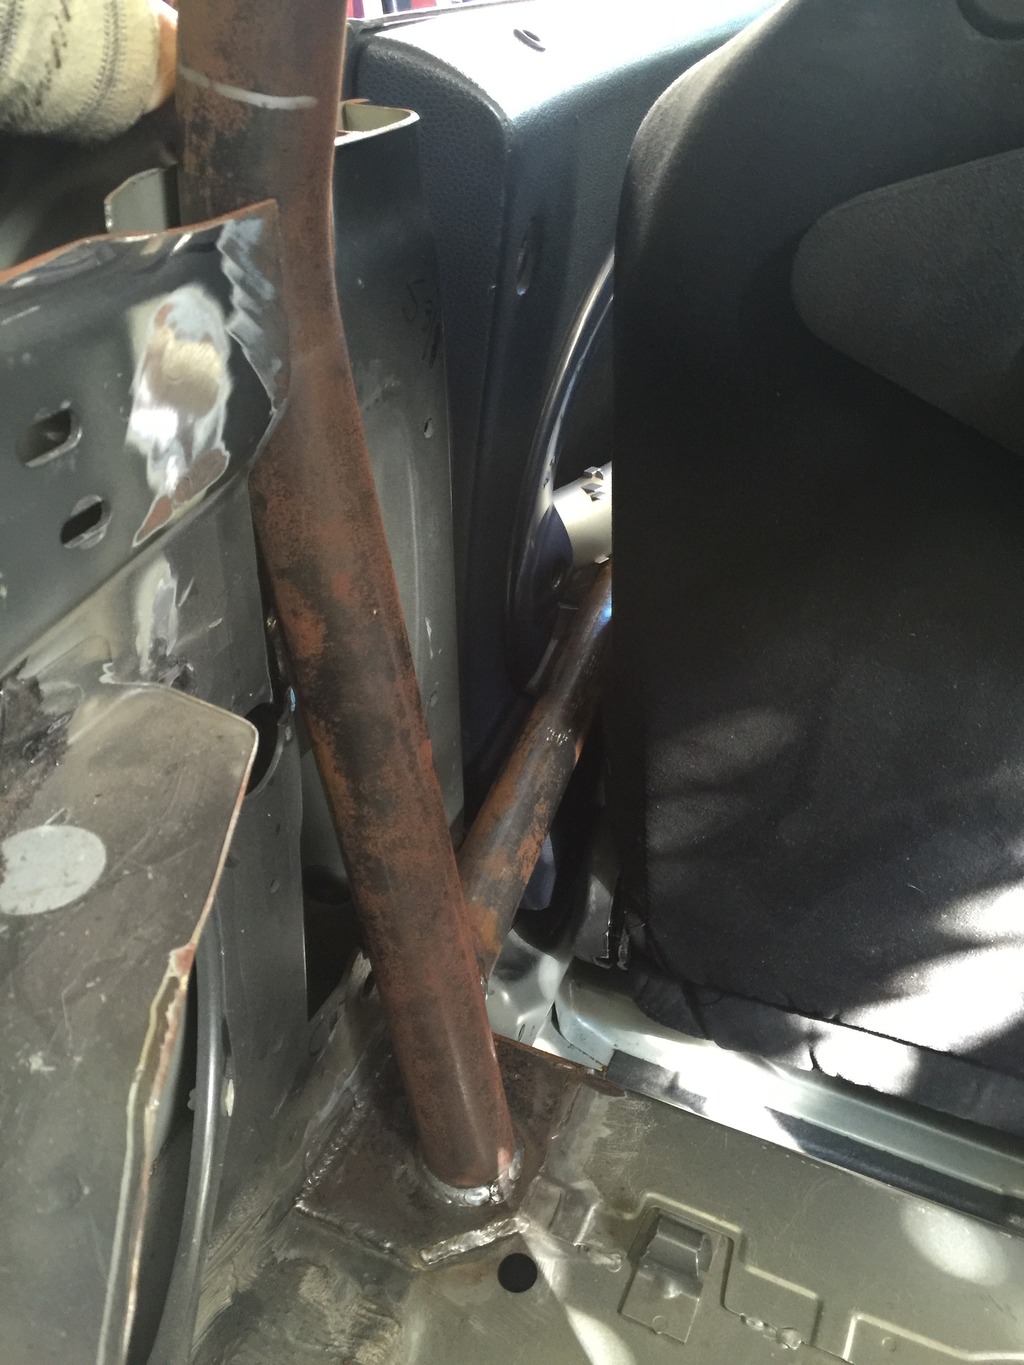
The A-pillars had to bisect the extra wide cabrio door sills. The sills were cut to size with a hole saw, and the pillars are welded to both the reinforcement plates and the sill cutouts to retain the structural integrity of the sills.
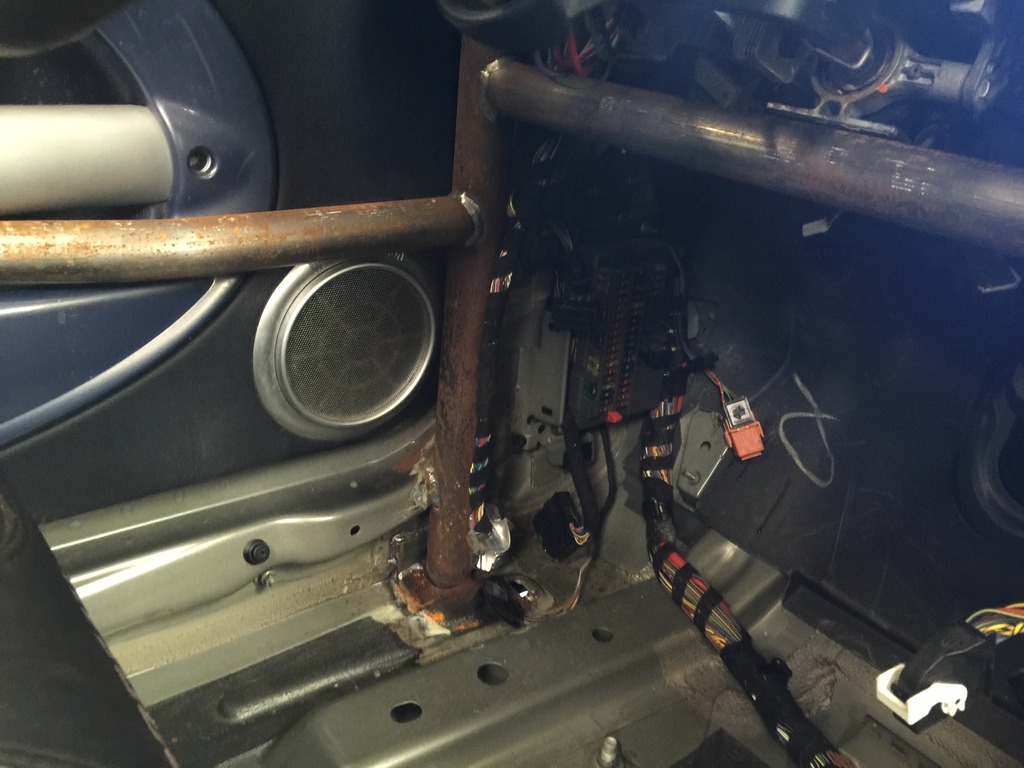
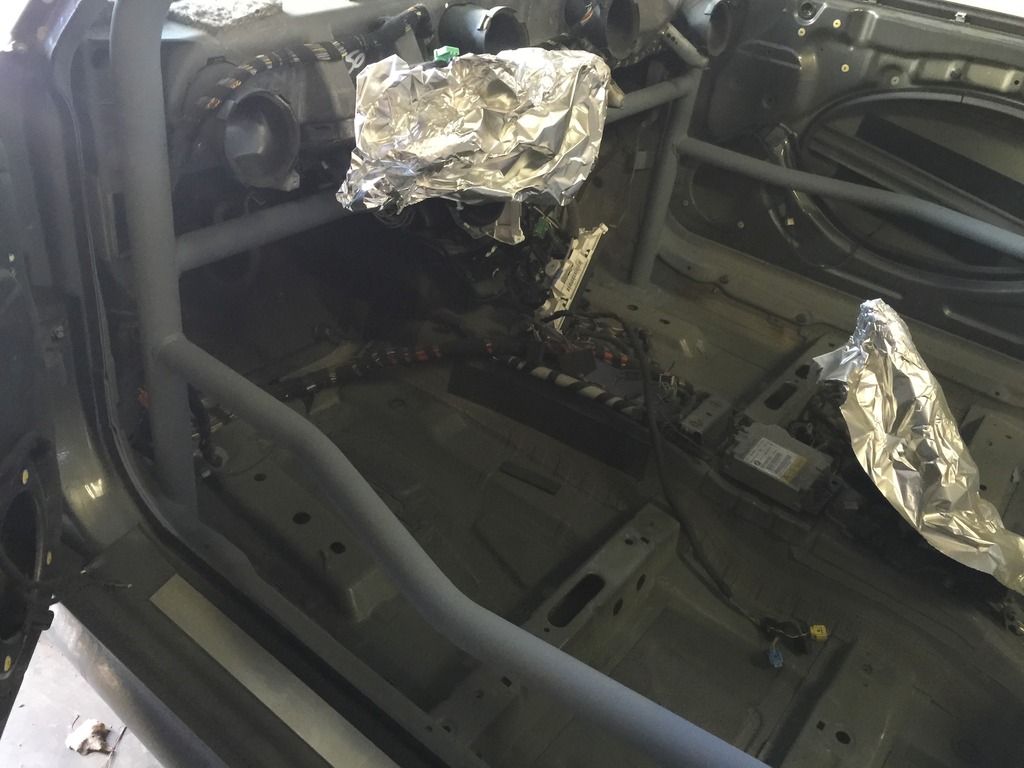
The knee bar connects the A-pillars, and is perfectly positioned for maximum height while allowing full tilt wheel function. Nests into the natural curvature of the HVAC system, behind where the stereo headunit normally lives.
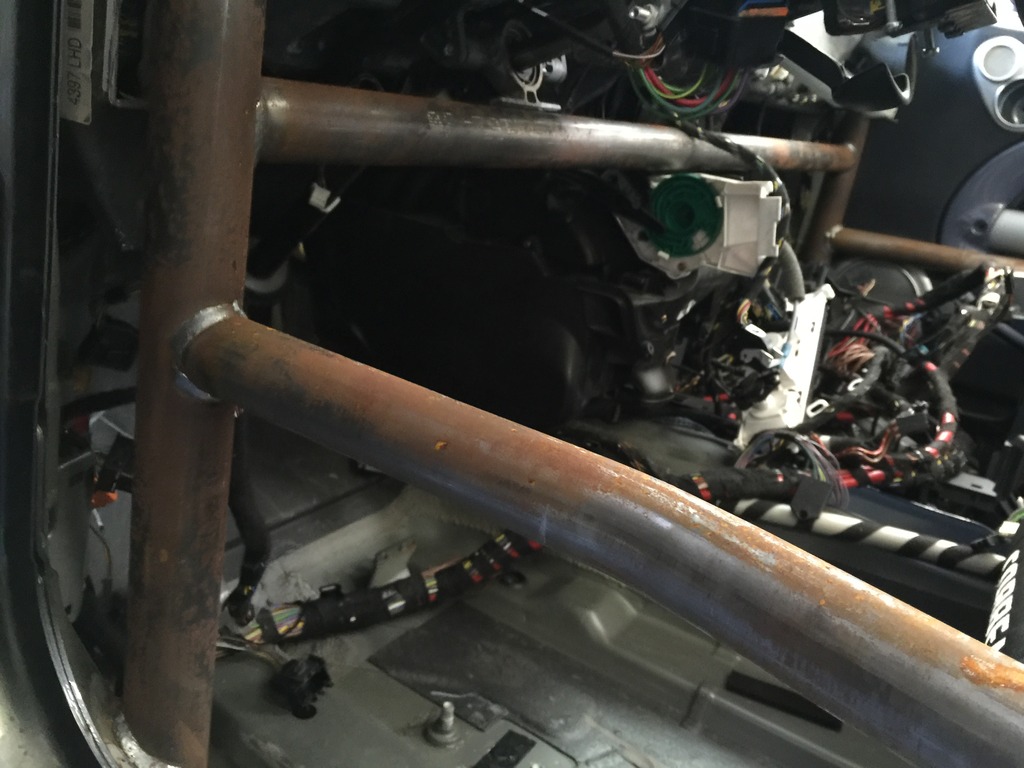
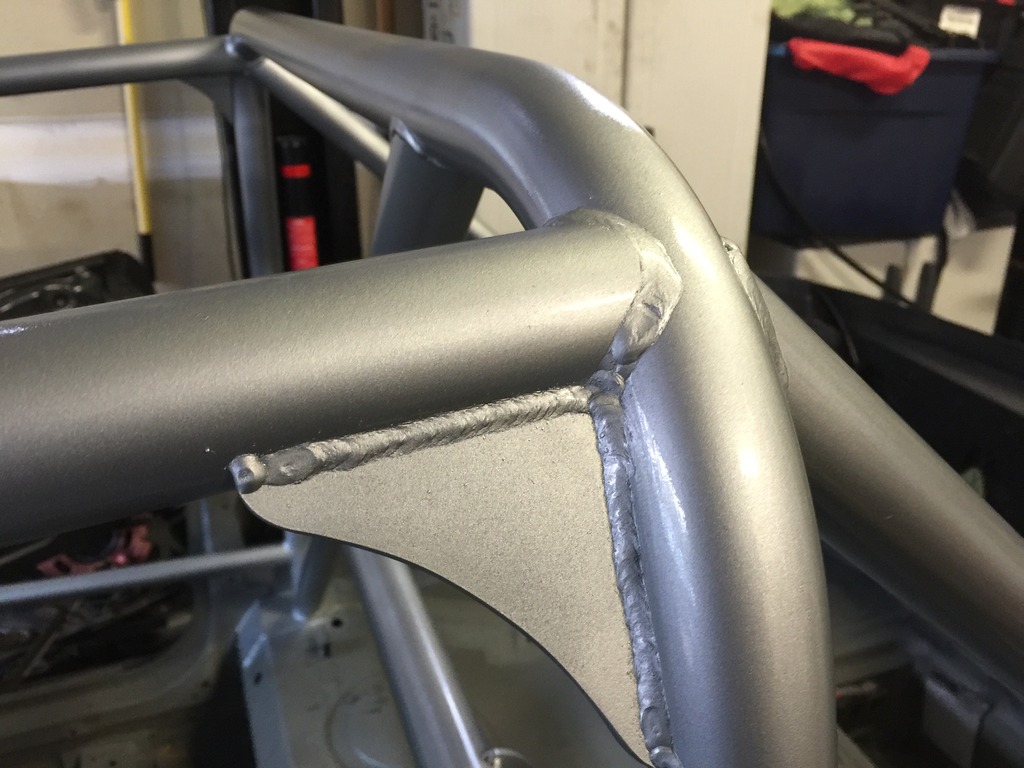
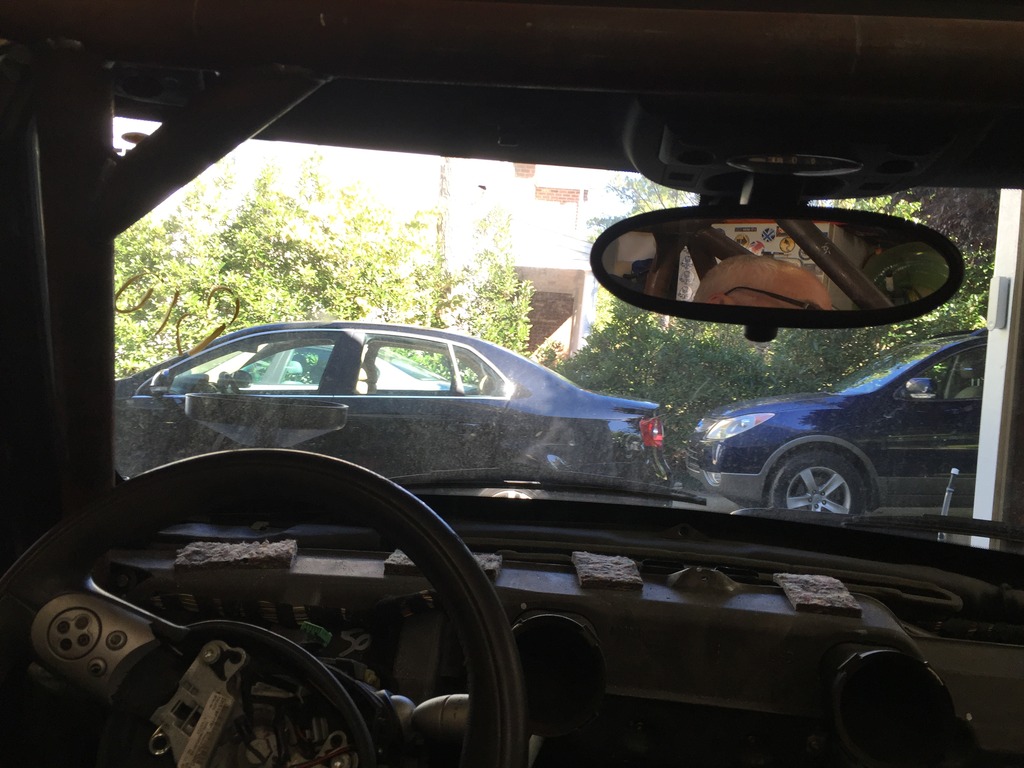
Gussets at the halo/main hoop junctions, and tube braces at the halo/A-pillar junctions, improve overall strength and rigidity. View from the cockpit is almost totally unobstructed. Just a tiny bit of reduced field of view inside the left A-pillar.
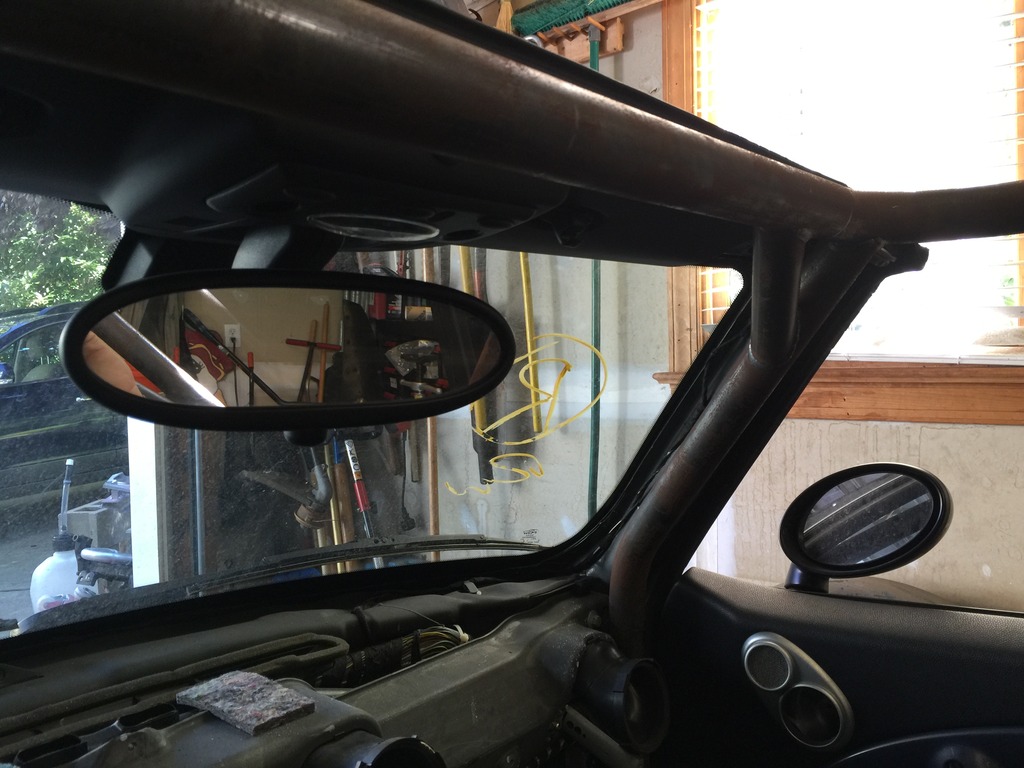
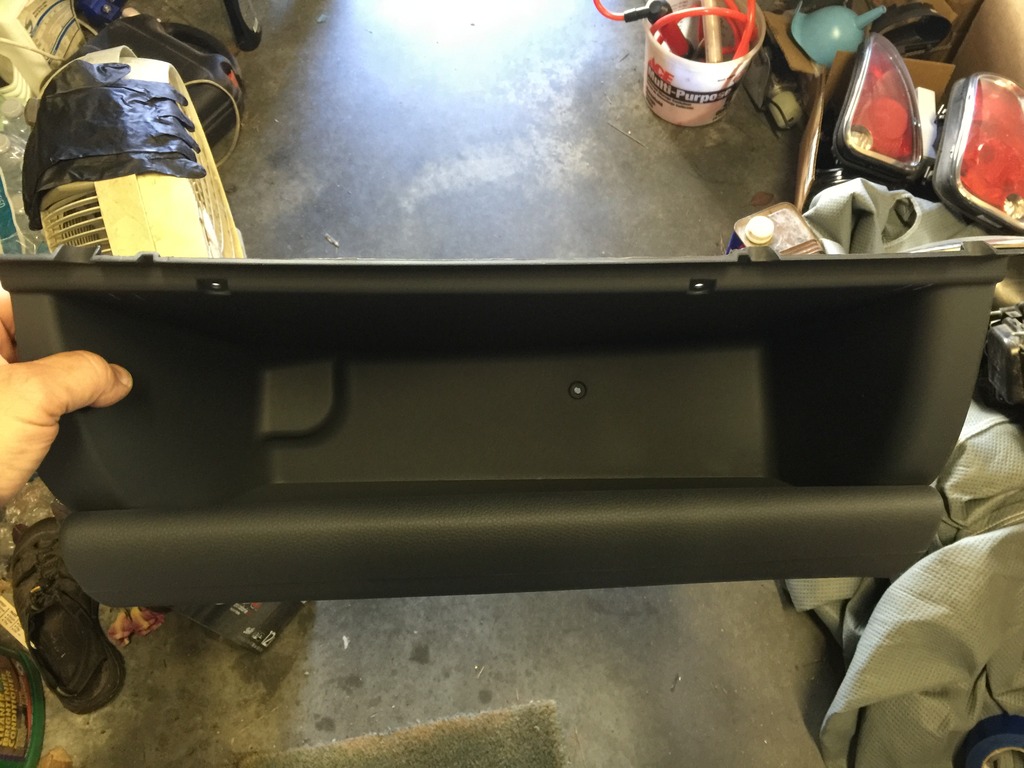
The most challenging part of the build was the door bars. I wanted to retain the factory door trim panels (this isn’t a race car, hence why I don’t need double door bars). I wanted to recess the bars into the doors to maximize hiproom. The bars also needed to clear my pretty wide seats. Accomplished with two shallow, perfectly placed bends.
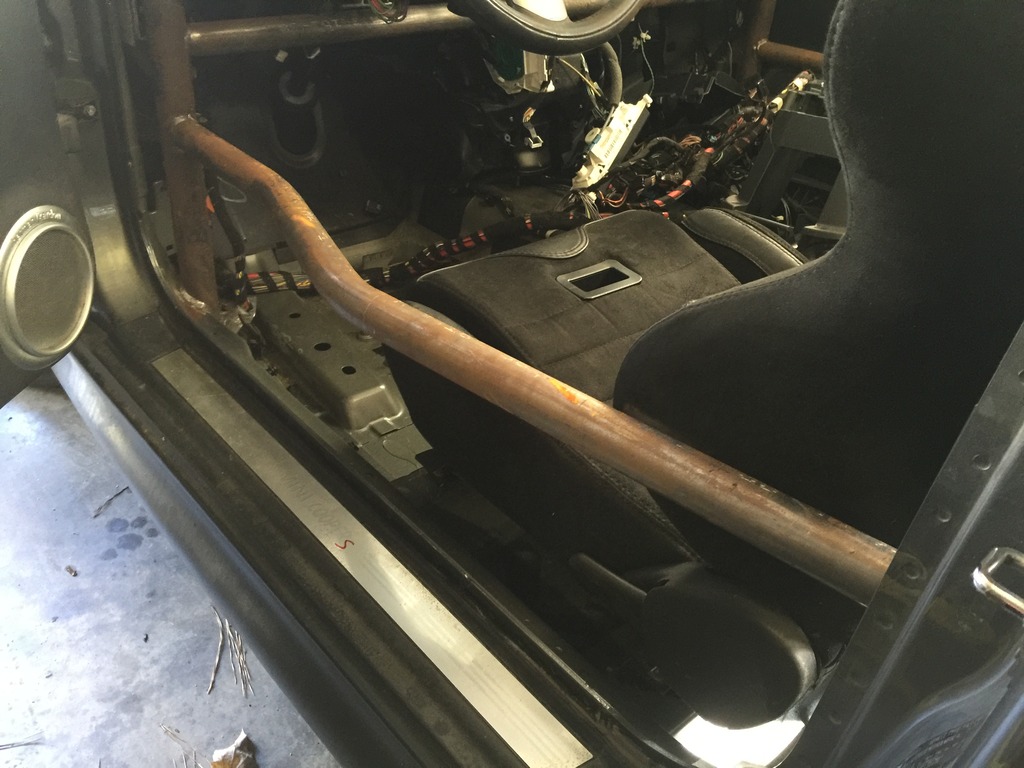
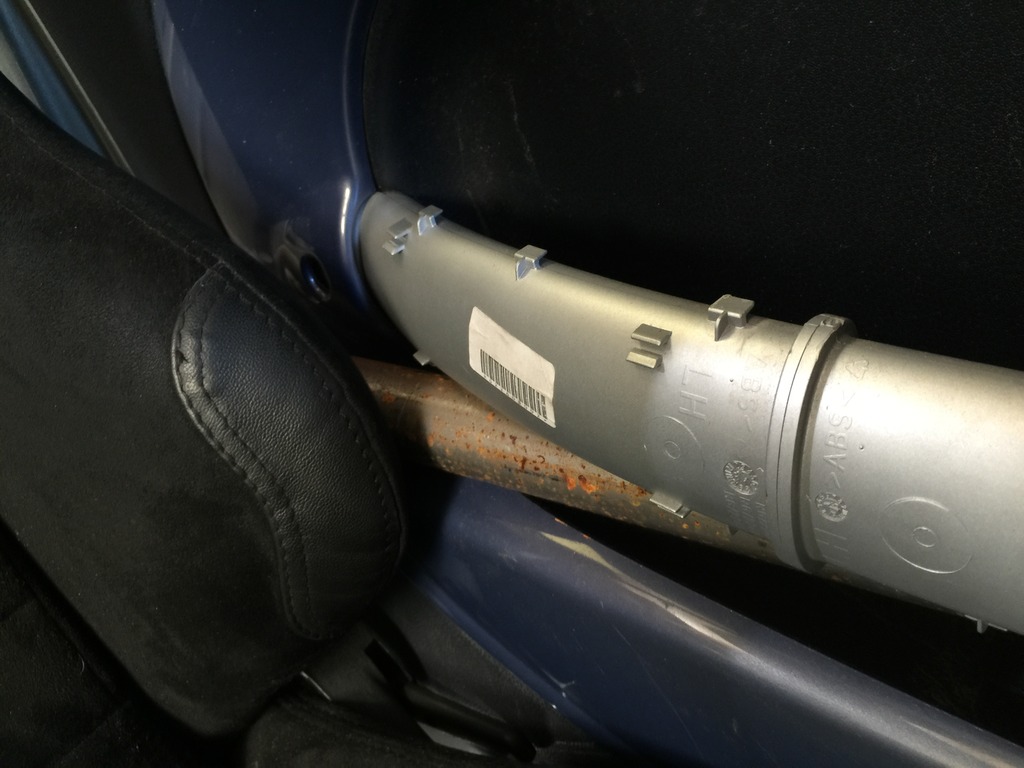
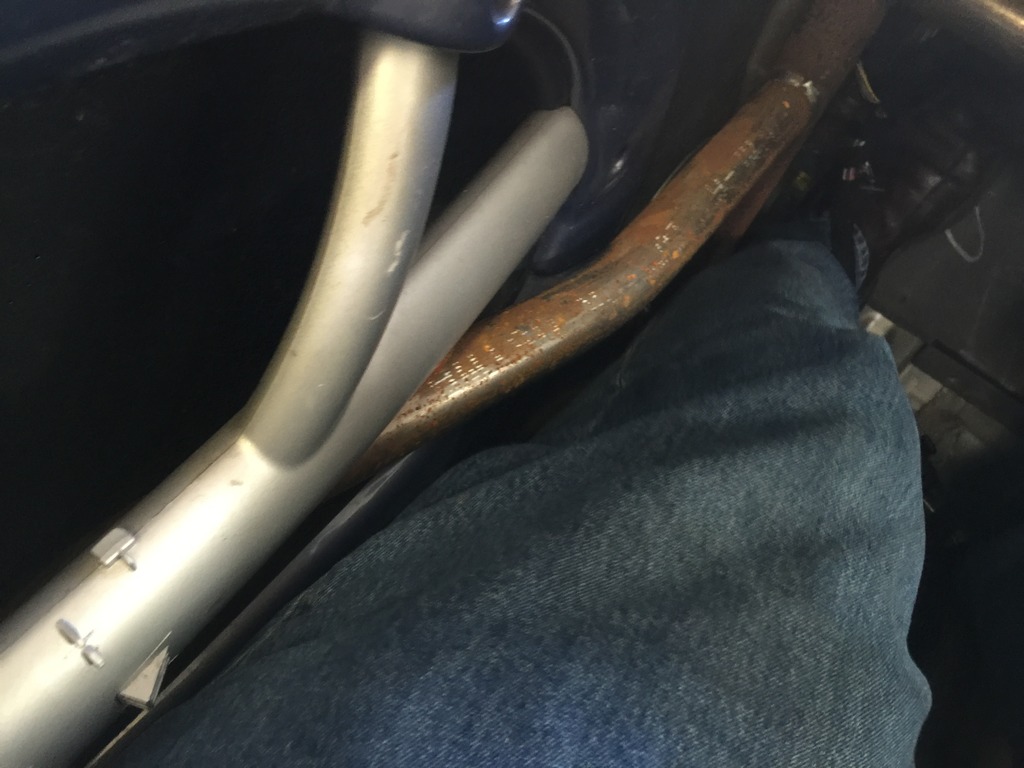
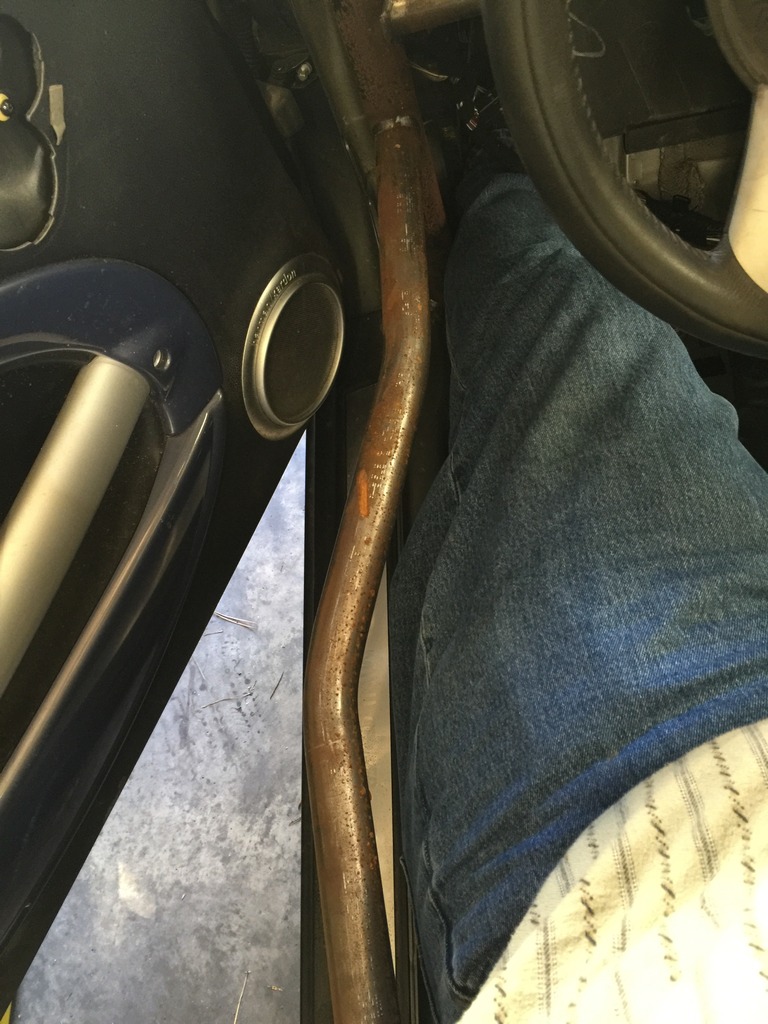
It certainly takes a bit more work to get in and out than would be appropriate in a daily driver. But it’s way easier than a race car with welded doors.
Sitting in it, it’s just RIGHT. The sight lines are all as they should be. Nothing is too close to my head for comfort. The open halo overhead maintains the “topless” feel. I intentionally omitted a halo cross brace because this open air experience is part of why I do this.
Lots of work to do, to get the cage cleaned up and painted over the next several days. And I need to strip the exterior of the car for painting. I stopped by the paint shop on the way home, so my paint guy could take a look. All good. He’s ready to paint, whenever I can get the car there.
