Back to work on the wreck…

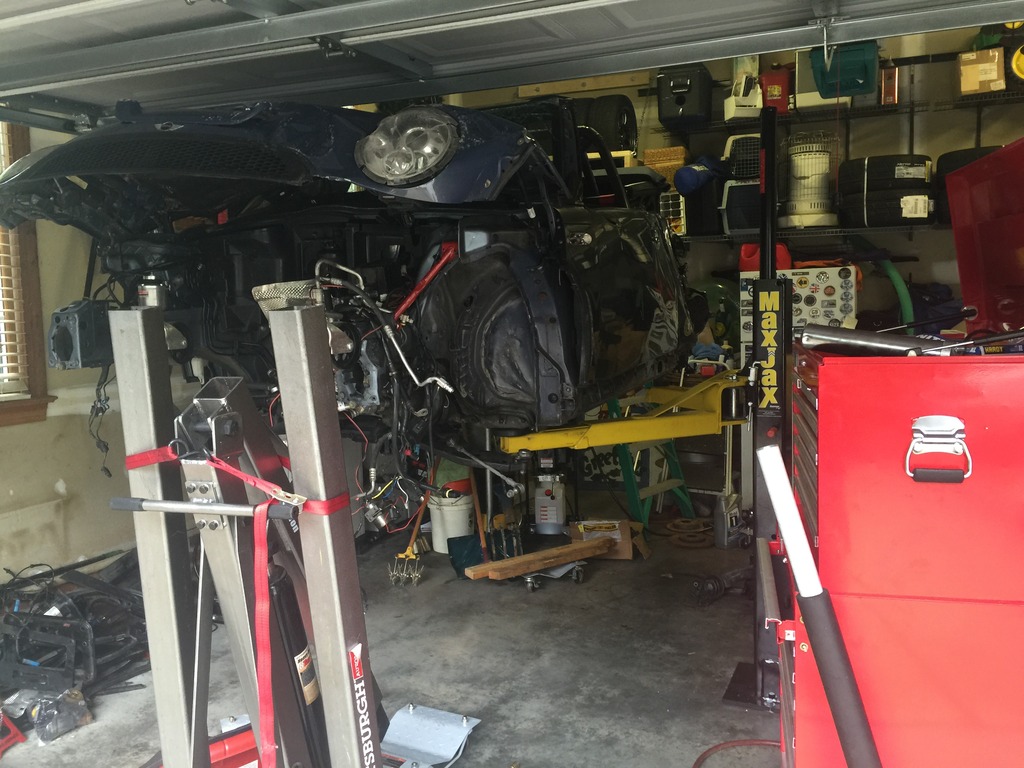
With the shell gone to the cage shop, time to get the wreck back on the lift…
Click the image to open in full size.

But I didn’t feel like tearing stuff apart today. So I built something instead.
Click the image to open in full size.

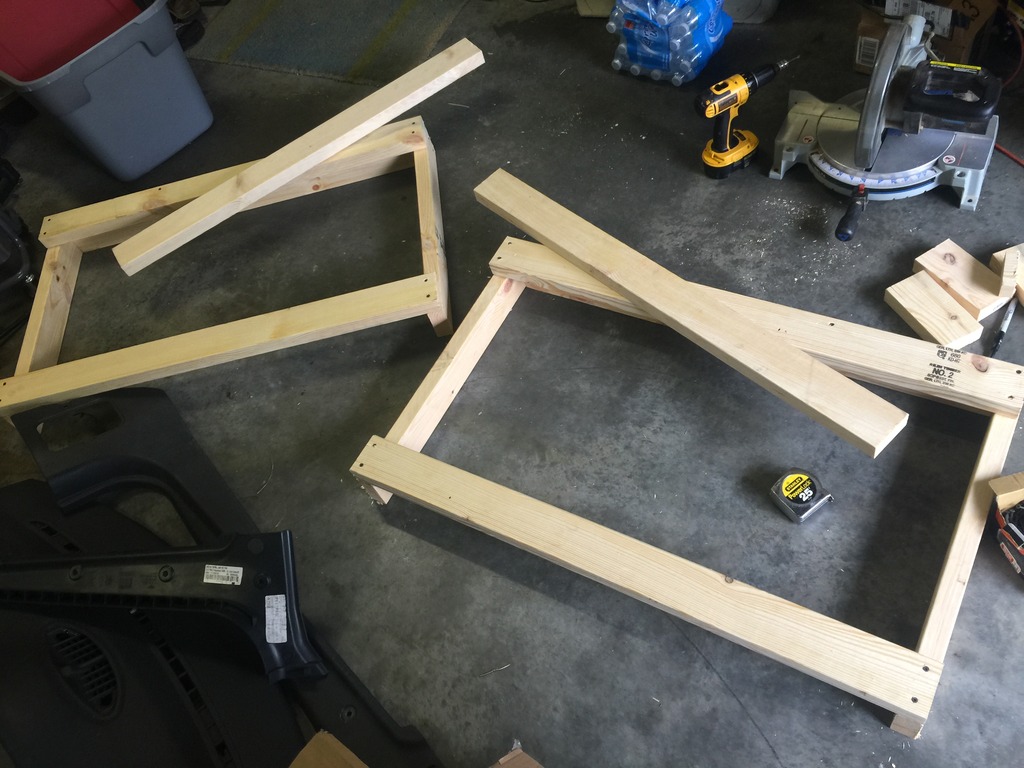
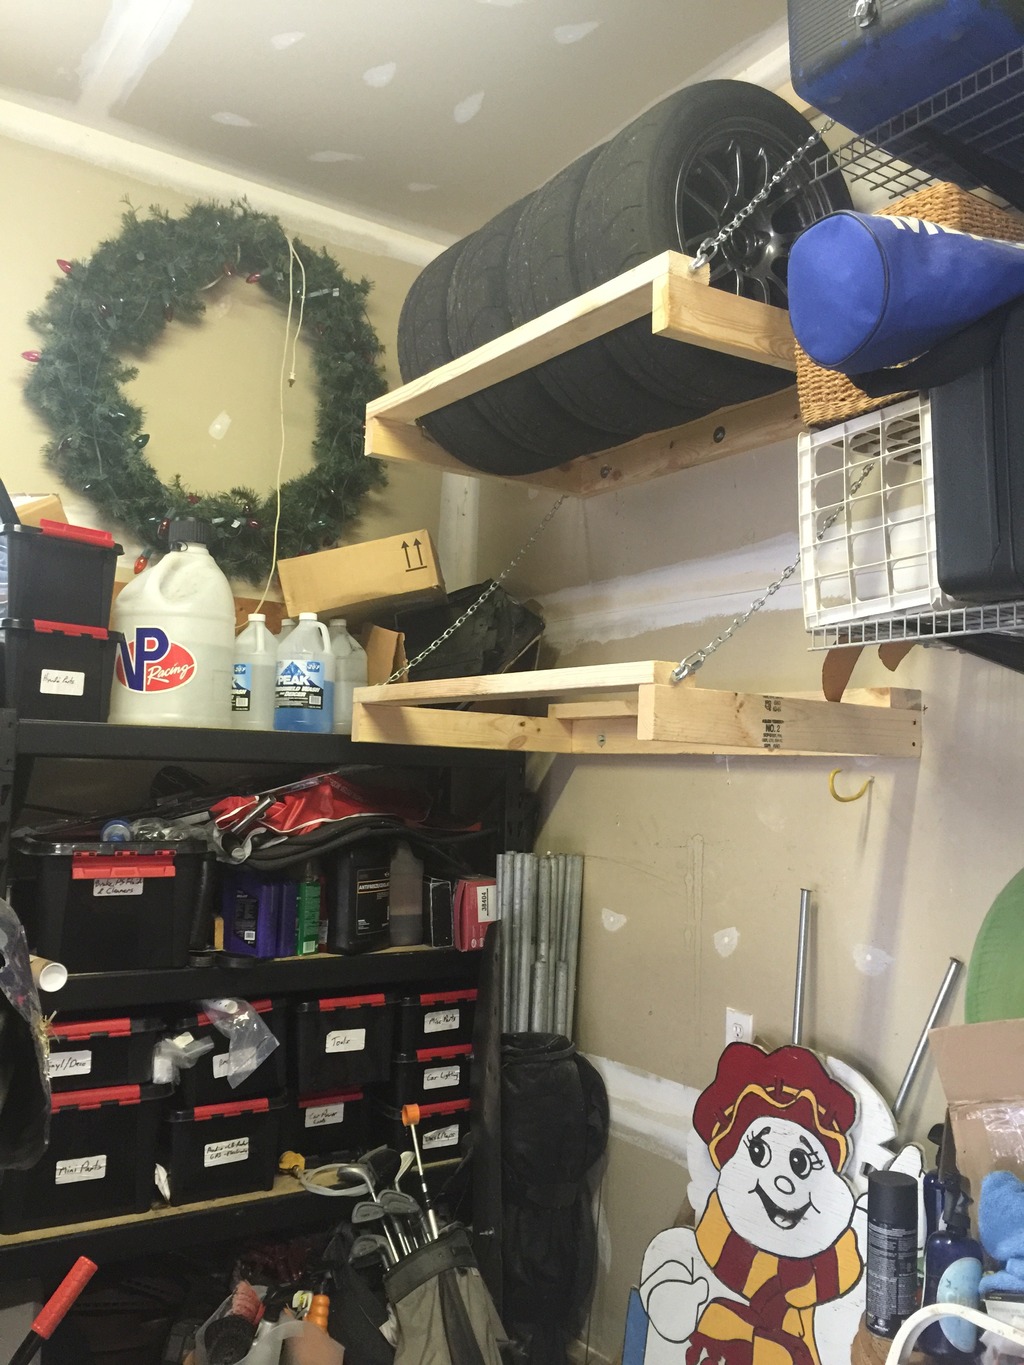
Been needing to get extra wheels up out of the way for a while. Priced pre-built wheel racks, and decided to build instead. Found a design I liked, with a DIY, here.

I built two and stacked them. Room for 8 wheels – my track wheels, and either my all-seasons or my summer wheels, when the others are mounted.
Click the image to open in full size.

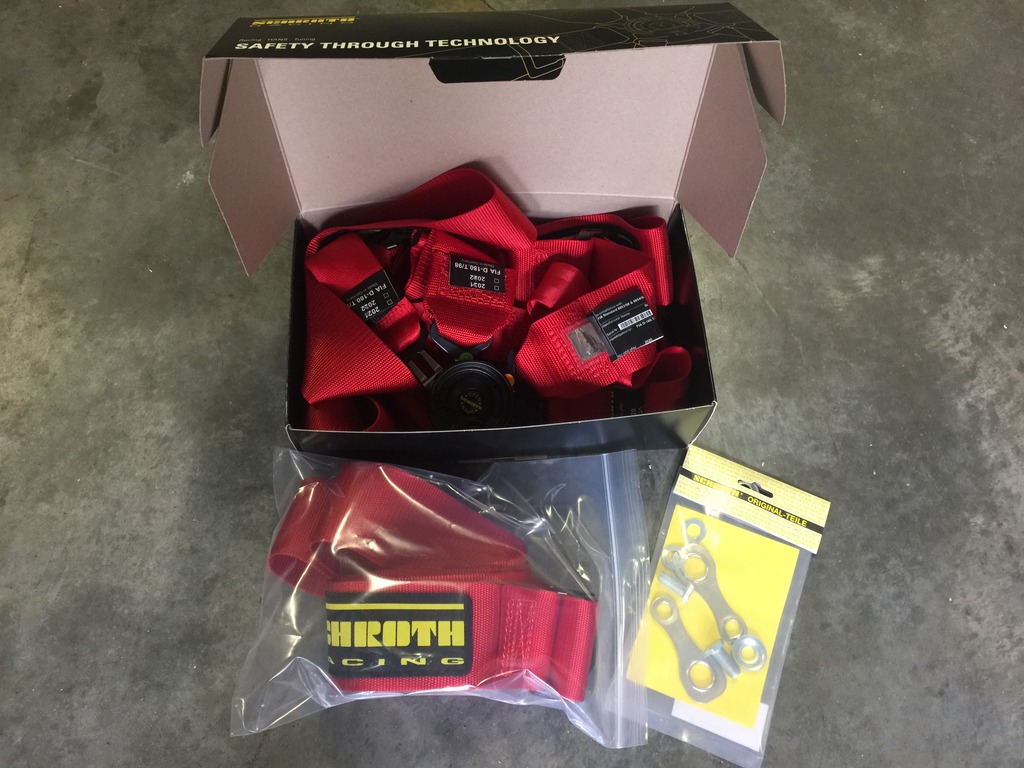
Today’s parts arrival: the stuff that saved my life.
Click the image to open in full size.
Schroth Hybrid II complete set, plus ASM shoulder belt for street use, and replacement brackets for my lap belt. Not taking any chances, reusing nothing.

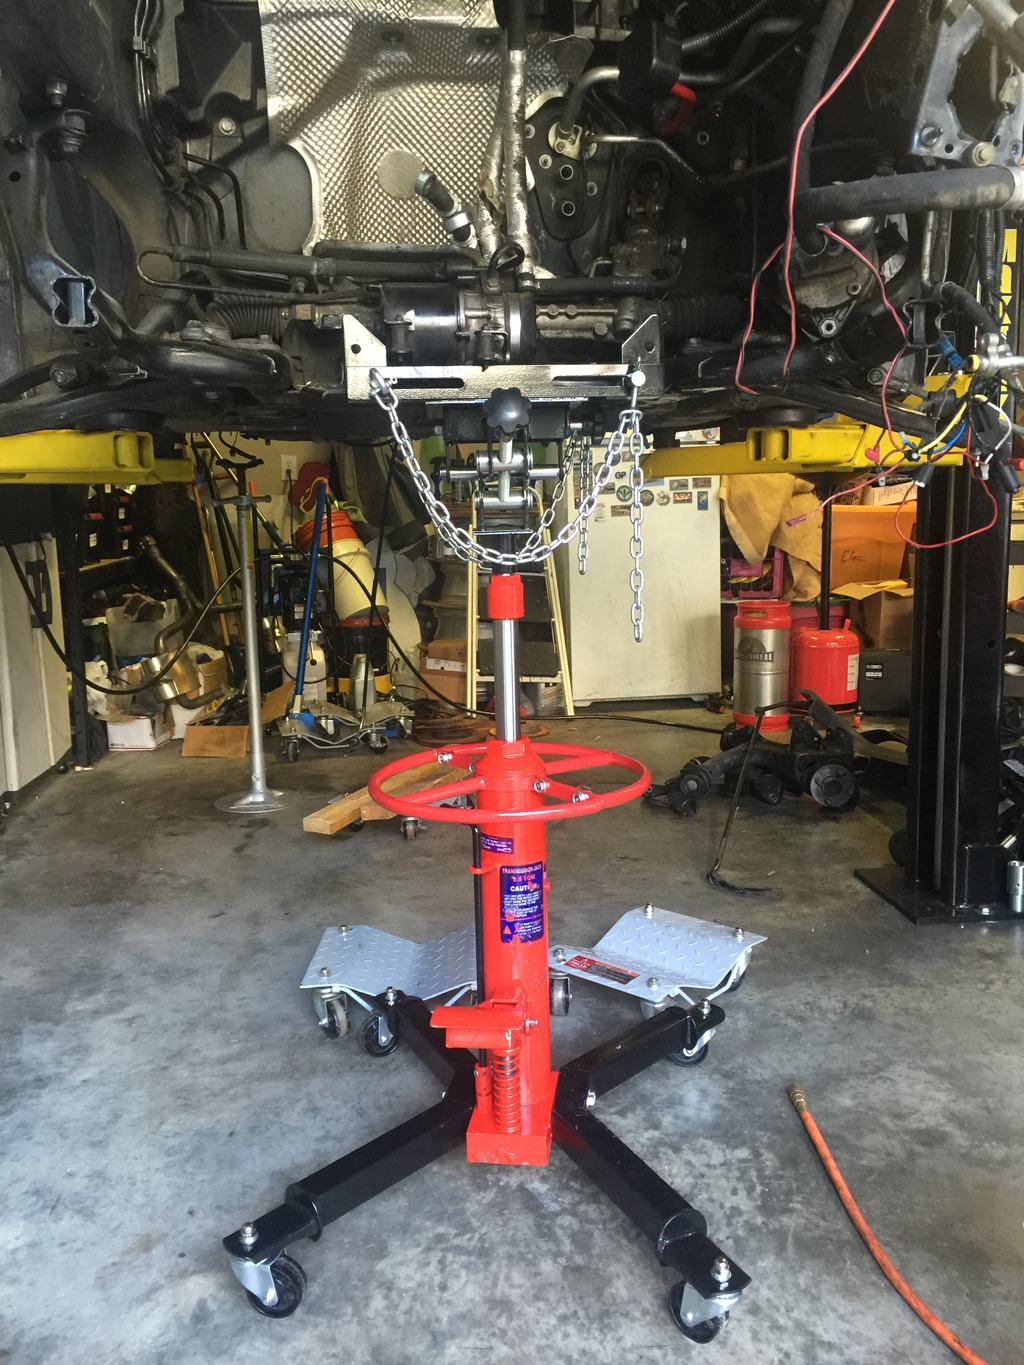
Also, a big tool:
Click the image to open in full size.

This should help a LOT with transmissions and subframes. It’s a little taller at minimum height than I thought. The tilting table is quite tall. I may build a simpler fixed platform for it that will make the overall height about 6″ shorter. Should give me enough clearance to drop things out of the car when needed.

Off to the cage fabricator

Good day.

Swapped my DW fuel pump and new-ish fuel filter from the wreck to the new shell. Much easier without a cage in the way. Hopefully did it right and reconnected everything, so I won’t have to fiddle with it more.

Then loaded up the shell and drug it across town to my cage fab guy.
Click the image to open in full size.

I REALLY LOVE IT, when you have a kinda crazy vision for a one-off thing, and you explain it to a craftsman, and they completely “get it” and agree that they can do it.

I pretty much knew that I wanted the rear of the cage to be very similar to my old roll bar, just wider and with a better brace mounting location. But the front… that had to be designed.

I want a relatively open top (no braces across the top), relatively unobstructed entry and exit from the car, retain all front factory trim, as little obstruction of view as possible, look as clean as possible. But also be very stiff and safe. I’m not going to race this car wheel-to-wheel, so I don’t need to comply with racing side impact rules. While I do need to pass time trial rules, just the roll bar was sufficient for that. But… if at some point I take this car airborne at 100+ MPH on track, or slide it down the side of a mountain… I want to have a fighting chance.

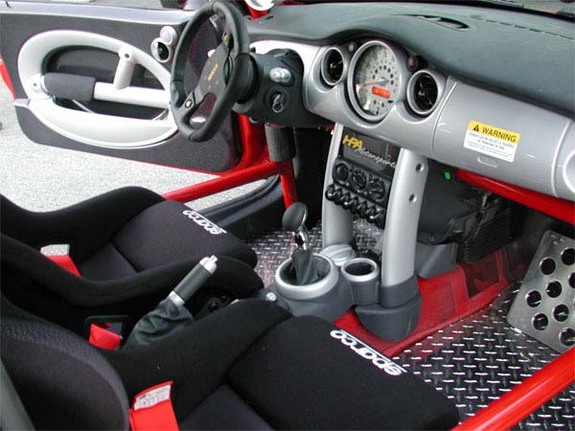
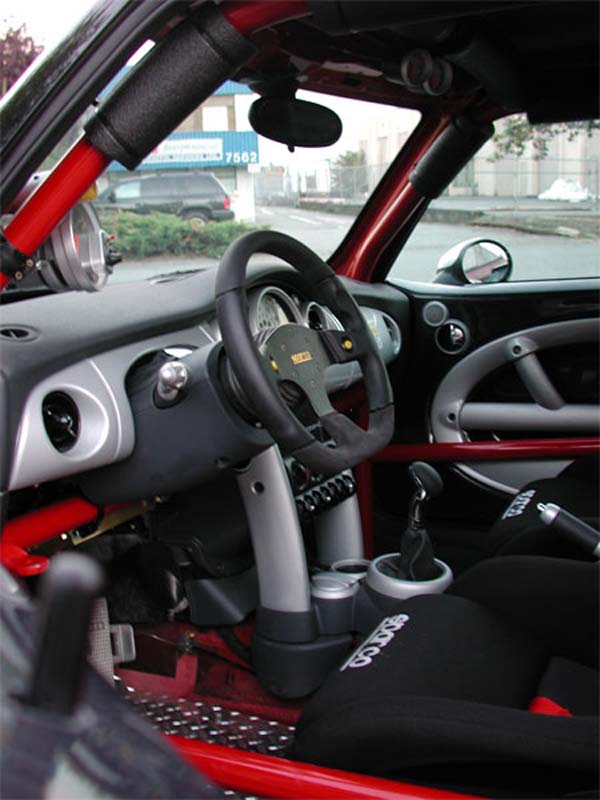
I’ve looked at hundreds of photos of caged MINIs. Out of all those, I found one example that really clicked with me.

HPA Motorsports “Gokart”
Click the image to open in full size.

Front pillar hugs the A-pillar and goes through the dash, fitting between the door speakers and the fusebox / BCM. Knee bar under the steering column, goes behind where the stereo head unit would normally be. Single door bars bow out into the space between the door handle and the door painted trim. This design is really clean, and retains the factory trim (though some things will need some trimming, obviously). Will probably have an open halo top, but we’ll figure that out for sure after the main hoop is built and tacked in.

It will probably force me to remove or reposition the stereo headunit, as there’s not enough depth in there with the knee bar in place. But the structure won’t be stiff enough without a crossbar, and I think putting one on top of the dash is hideous. I really don’t need the headunit… I could just add a simple amp with an aux input and a volume control, and I’d be fine…. that may be where I’m headed.

My cage guy also was fine with cutting out the extra stuff in the rear.

My current thought is to paint the entire cage Pure Silver with clear coat. So it matches the GP interior and exterior trim, as a GP roof would….

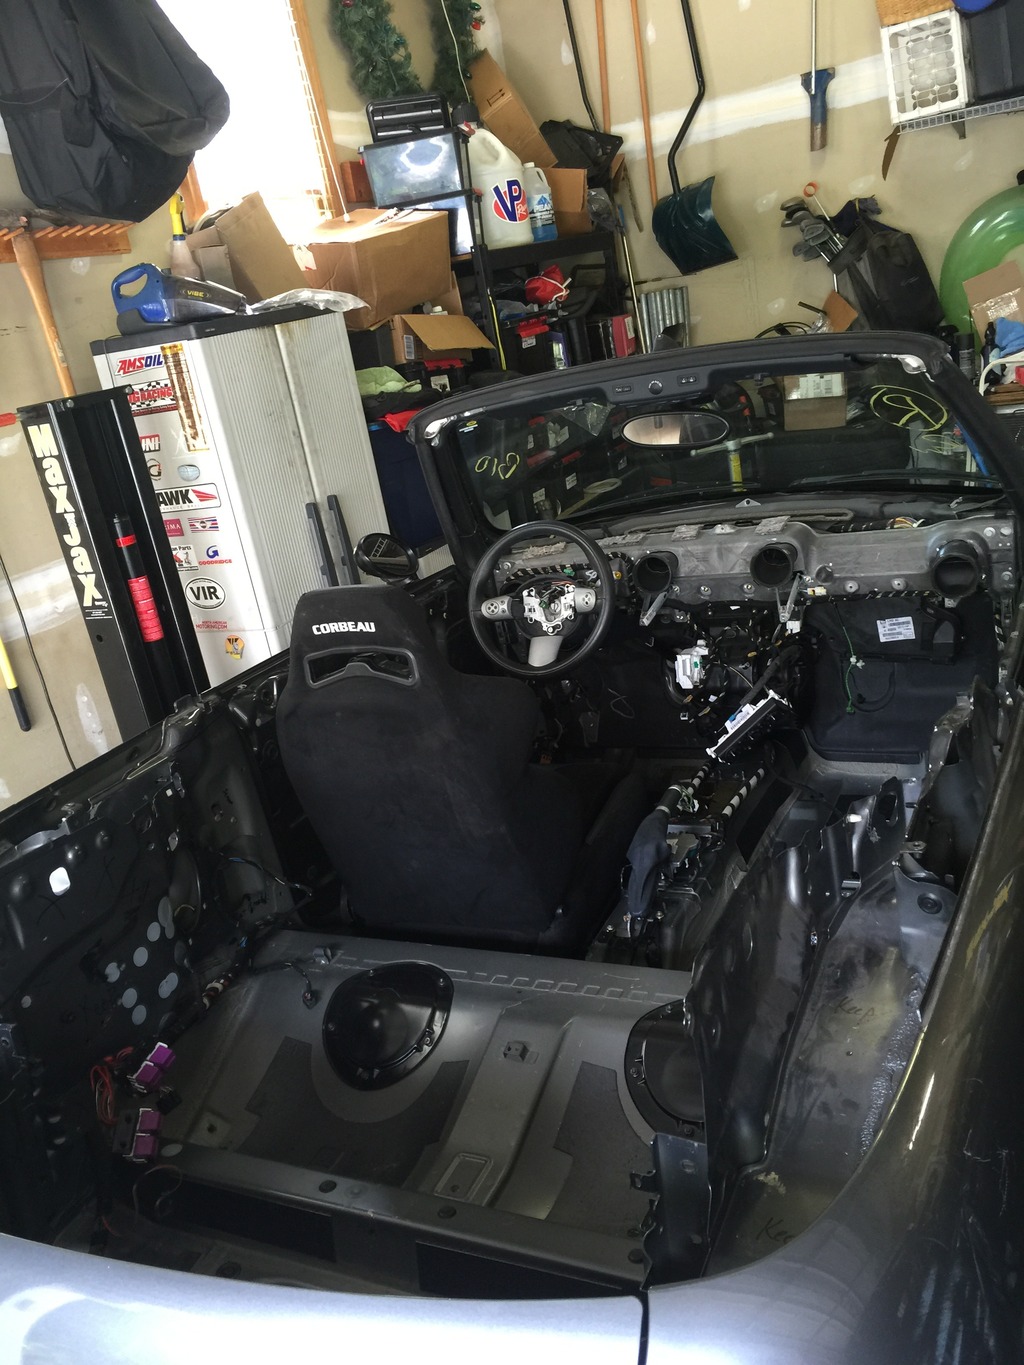
Stripped the shell

This is the most I’ve ever personally stripped any car…
Click the image to open in full size.

I bet it’s pretty light, like this.

Added my seat in, so fab guy can position the harness bar and seat back brace properly. Also, so I can sit in it and make race car sounds.
Click the image to open in full size.

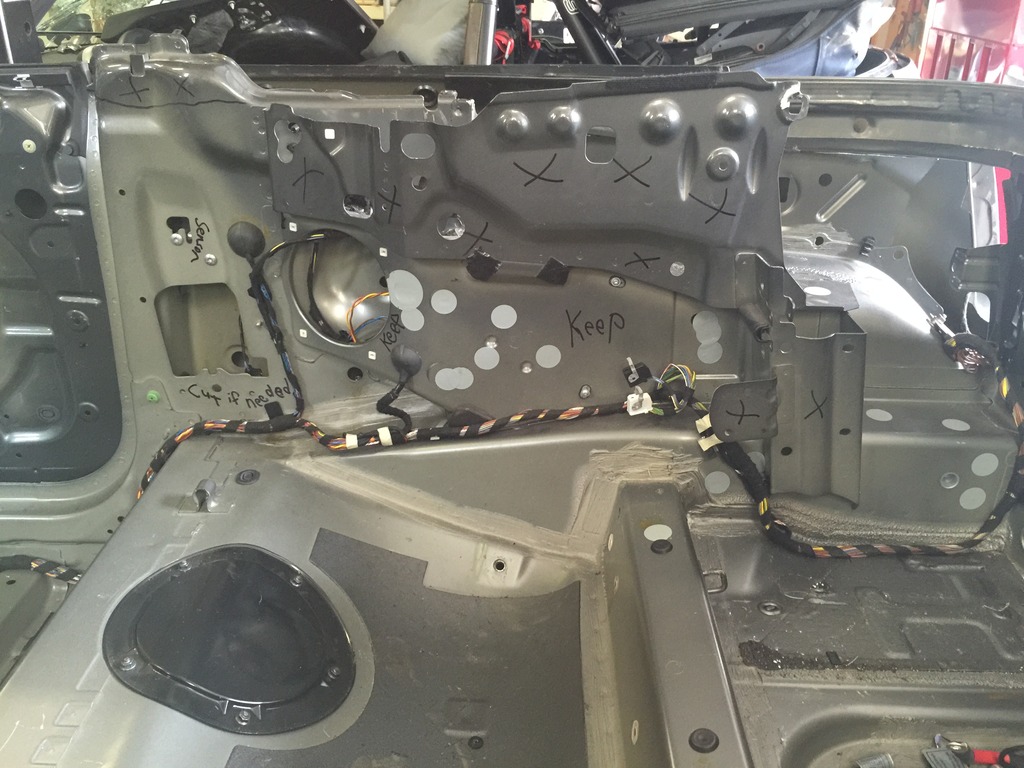
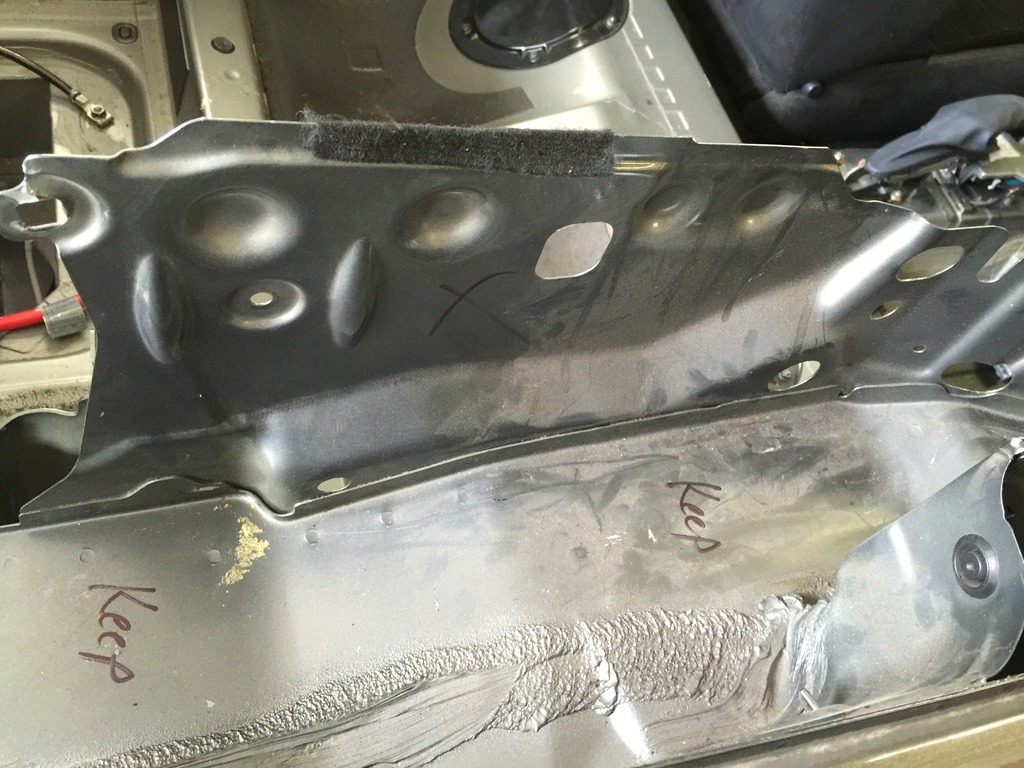
I was going to cut out extra sheet metal, left over from the folding top and factory roll hoops. Then I decided to let my fab guy do it, while he’s in there cutting stuff anyway. Marked it for him.
Click the image to open in full size.

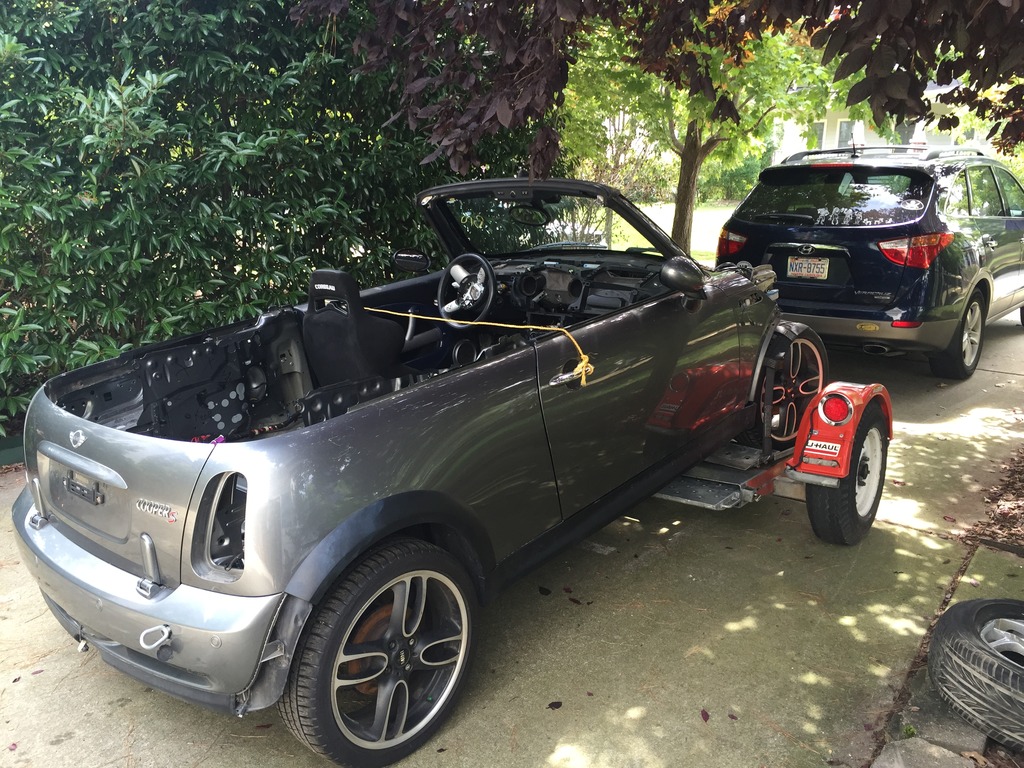
Going in a few minutes to pick up my friend, the Uhaul tow dolly.

More parts

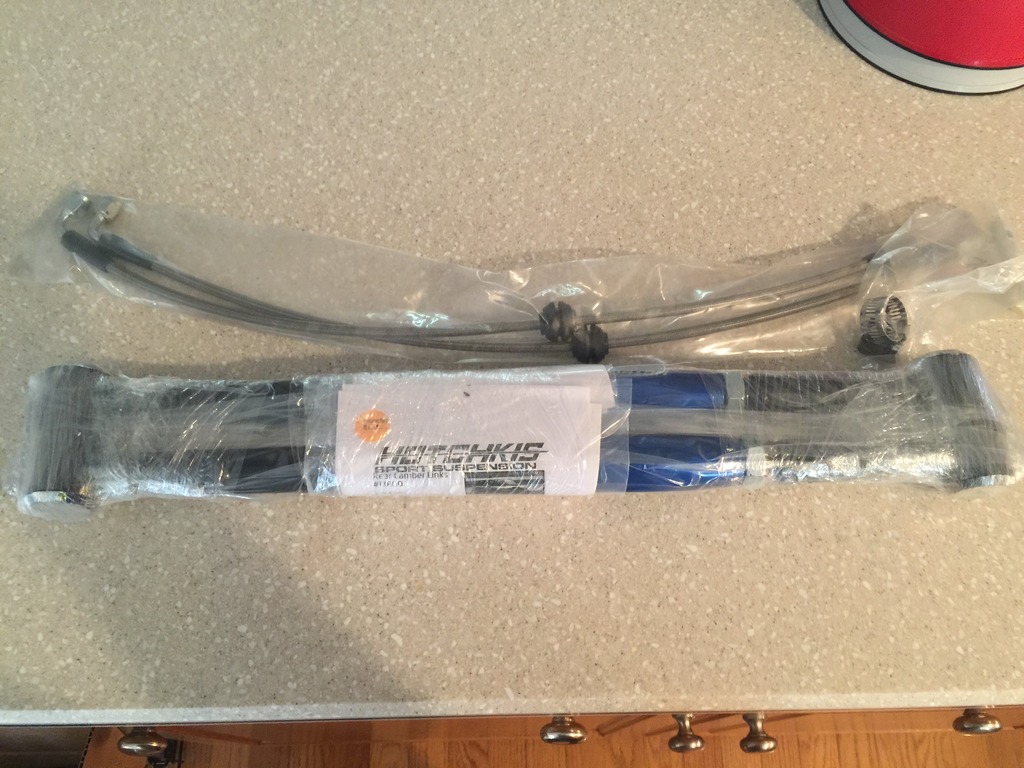
Today’s parts haul: 2nd pair of H-sport control arms, bracket for headlight leveler, and replacement lines for BBK, all from the good folks at Detroit Tuned!

Click the image to open in full size.

Also received a couple of Jegs fender pads, to attempt to protect my new paint once Locutus Mk2 gets back from the paint shop and I start the rebuild.

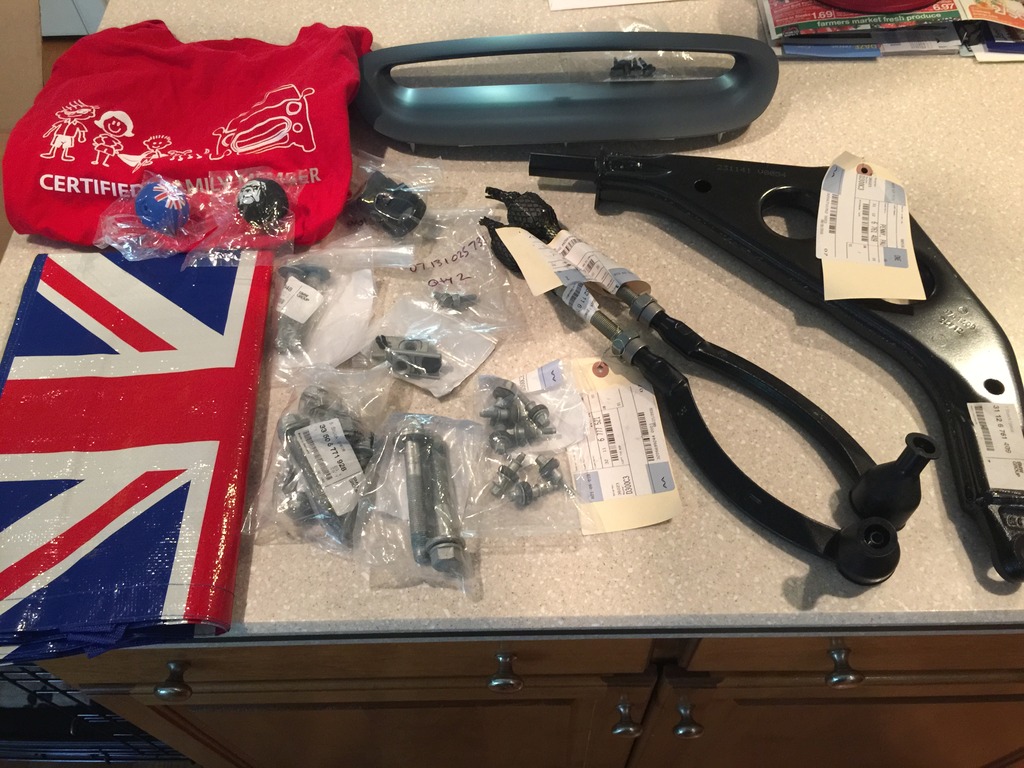
Friday’s parts haul from my friends at eMINIparts.com!!!!
Click the image to open in full size.

Left wishbone, pair of tie rods, new hood scoop, assorted hardware, and SWAG!!!

Stephen and his management have gone above and beyond, to help me with the Locutus rebuild project. Supporters of all-things-MINI, eMINIparts.com‘s sponsorship helps make Motoring Alliance possible. Stephen has worked on creative ways to help me save money on parts and shipping, and has earned my business as the “official” OEM parts partner for my rebuild. They deserve your business, too. Give them a shot!

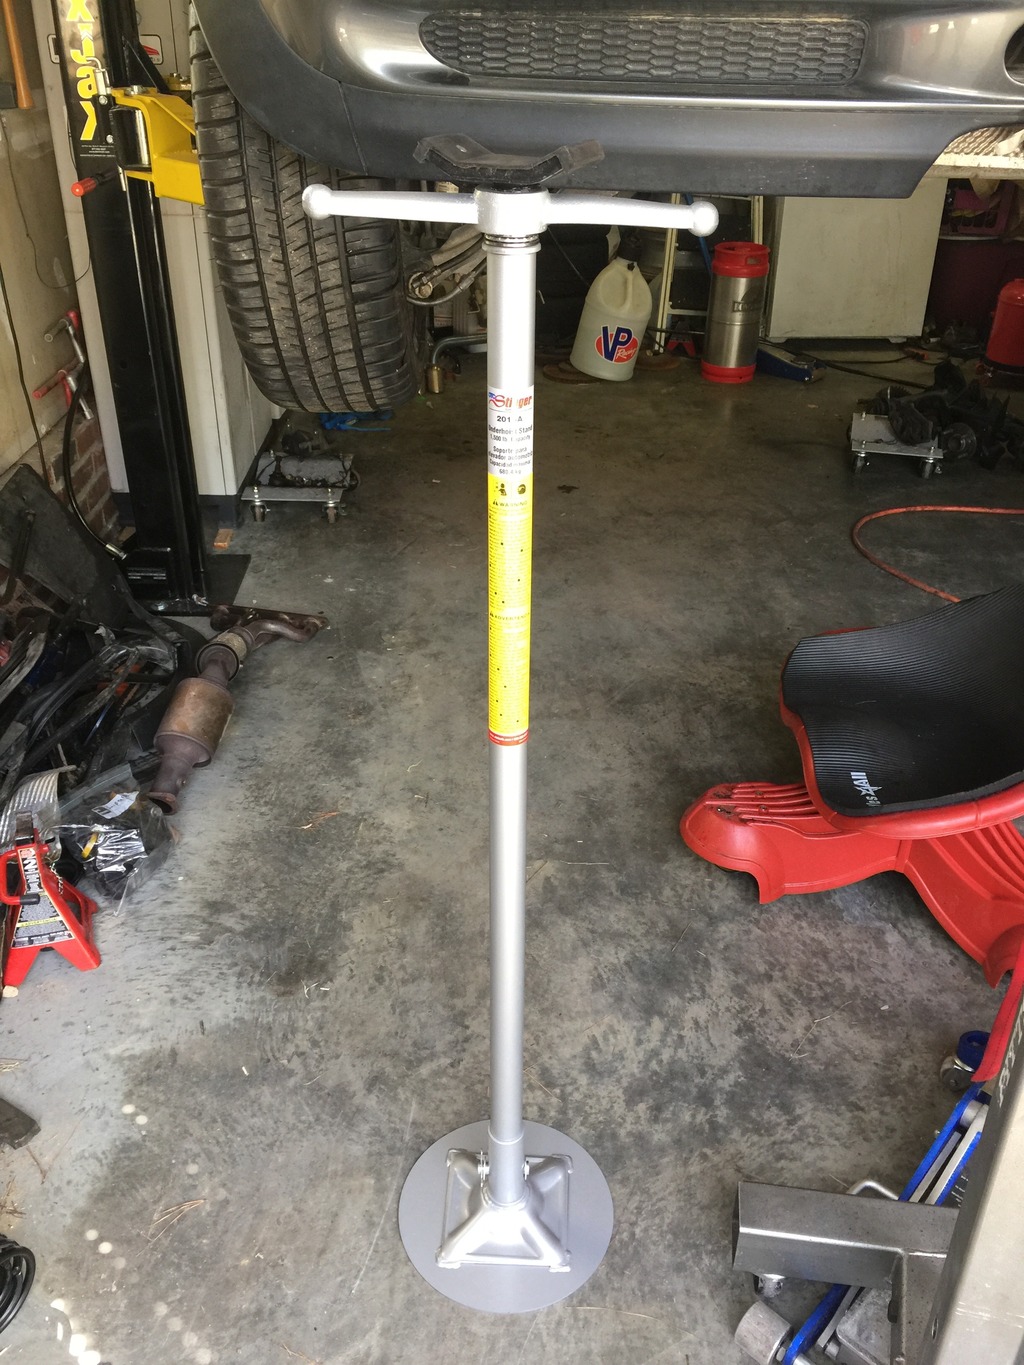
I also received this very handy set of “extra hands” for use under the lift… OTC Underhoist Stand…
Click the image to open in full size.

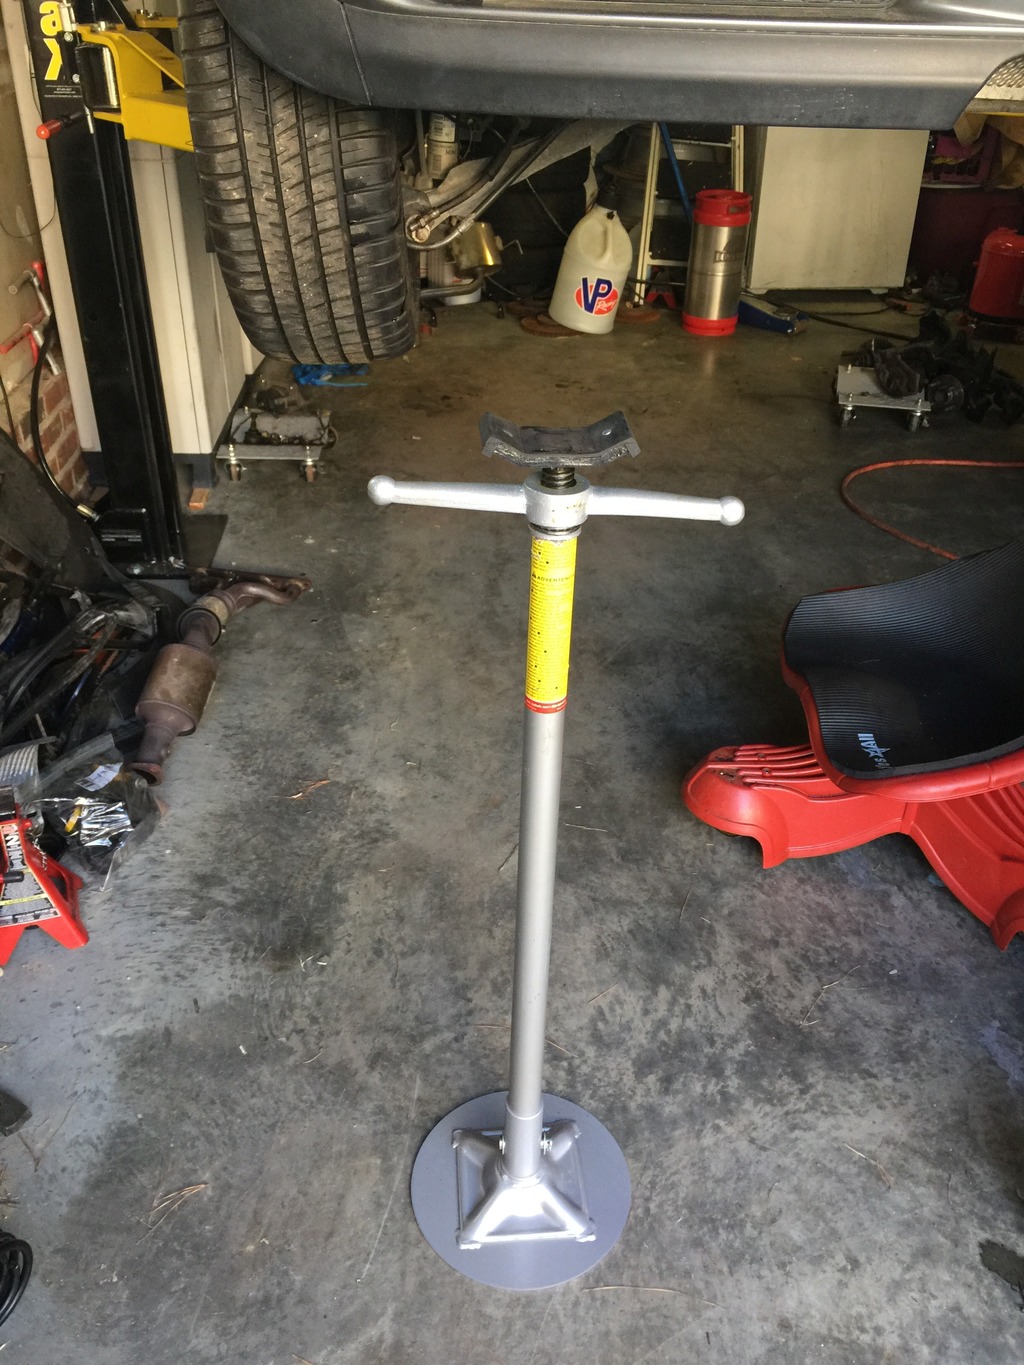
I couldn’t find a good quality, budget priced stand sized appropriately for mid-rise lifts. So I’ll cut this one down by about a foot.

That proved to be easier said than done. The bottom of the main tube was both drilled for a through pin (expected) and turned down a bit to fit in the base tube (not expected). Since I don’t have a metal lathe handy to reduce the outside diameter of the pipe, I’m not going to chop off the bottom.

The top had an 3″ sleeve pressed in, to reduce the ID to fit the inner shaft, and with a ledge to hold the bearing race. I managed to drive this sleeve out (using a jack handle, which was the perfect size), chopped off 12″, and re-installed the sleeve.

Done!
Click the image to open in full size.

Already used it today, to help hold the new wishbone I was installing.

I have the front left suspension back together (nominally), so it’s kinda rollable. The left tie rod is quite bent, so the shell has massive toe-out. But it’s better than it was. This will all be fixed later.

I’m just working to get the car ready to deliver to my cage fabricator tomorrow. Finishing the stripping of the interior, have another hour or so of work to do on that. Then will cut out some extra sheet metal in the rear.

Making progress.

More work on the shell

Quote:
Originally Posted by Metalman View Post
Just for kicks, to get a rise out of your neighbors, put all the MINI’s up on cinder blocks out on your front lawn…. And if you have a tree out front, hang that engine block from a stout branch…

Actually, the GP is on cinder blocks right now in the driveway. My wife LOVES it.

No, wait… that’s not exactly the word she used. What was it? Oh, yes. HATE. She HATES it, whatever that means.

Luckily, I’m getting a free pass on pretty much everything right now with the missus. Something about almost, but not quite, becoming inanimate. I’m finding it to be a very effective strategy for getting my way. But it is somewhat risky, and therefore don’t take this as a recommendation. Attempt at your own risk.

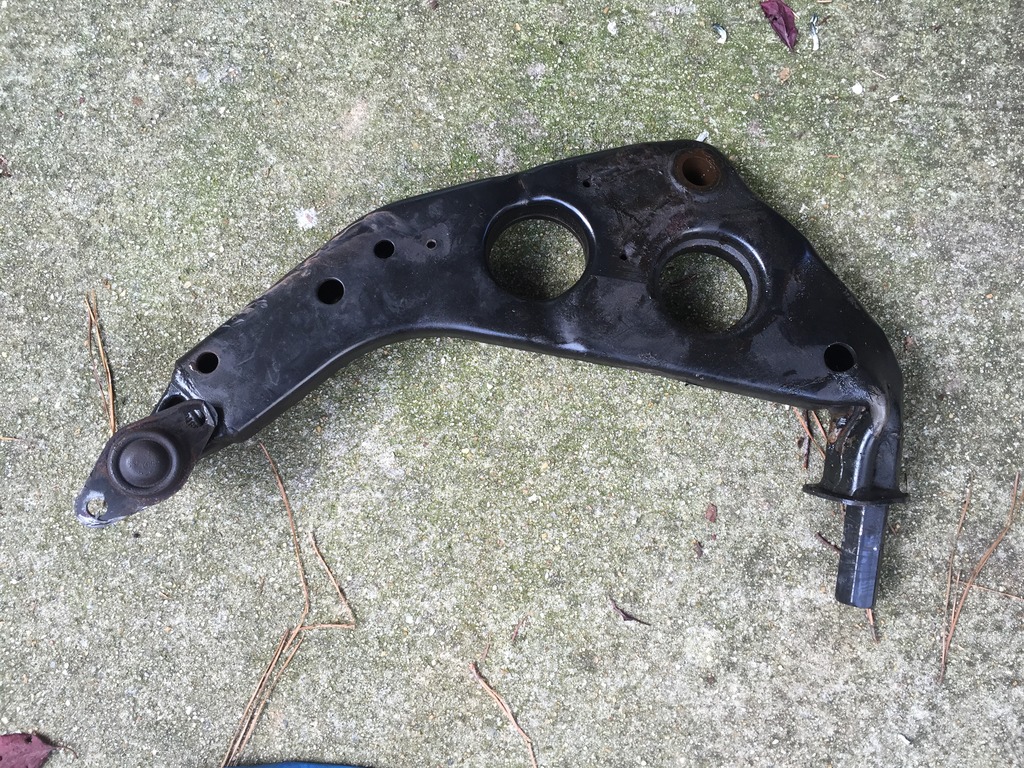
Today, I finally got this thing off…
Click the image to open in full size.

I got it moved just enough that the Blaster could work its way in overnight. It started moving noticeably on I the second hit this morning, after a hundred or more yesterday with almost no movement. Only a few more taps and it was free.

Then I had to pry it out of the bushing, which was another PITA. But, done.

New one arrives tomorrow, so I can fit that temporarily to get it rolling. Called my cage guy today and have a date to drop it off on Monday, or he may come and get it. So I’ll finish stripping everything to make it cage-ready tomorrow and this weekend.

Once back from the cage shop, I’ll drop the subframes, convert rust, add paint, and reinstall with good bushings ball joints and tie rods and stuff.

New parts and old parts

Today’s parts haul:

Click the image to open in full size.

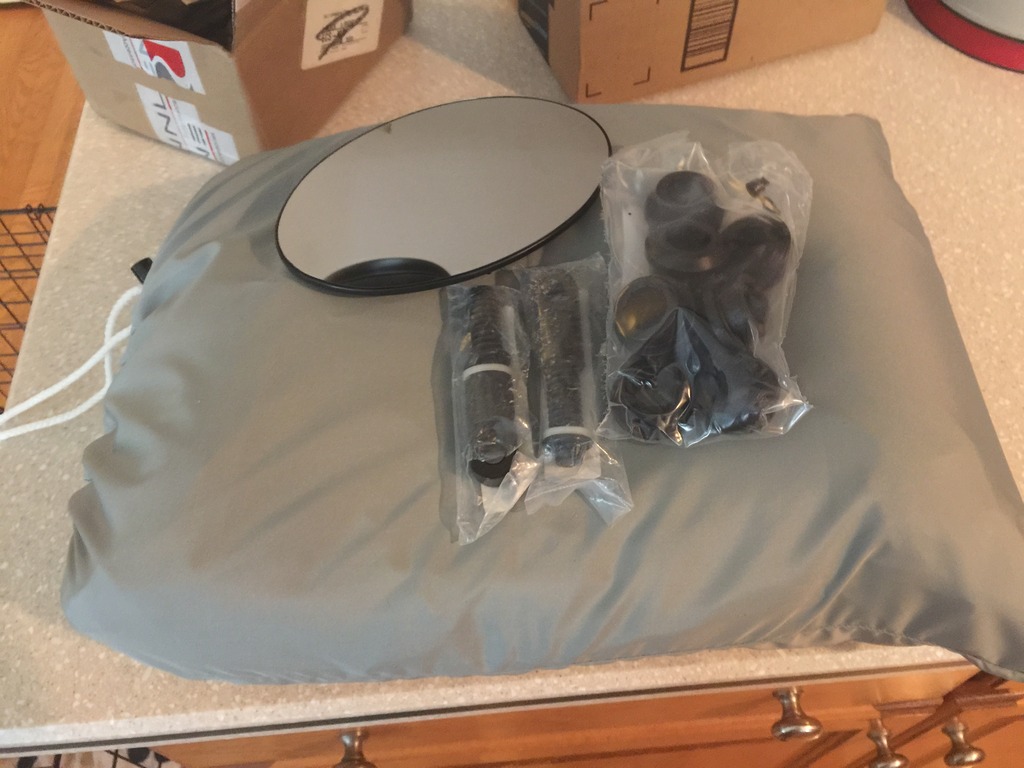
Replacement left side wide angle mirror, shafts for sheared-off Rennline tow hooks, bushings to rebuild my H-sport control arms, and top cover from RoadsterSolutions.com.

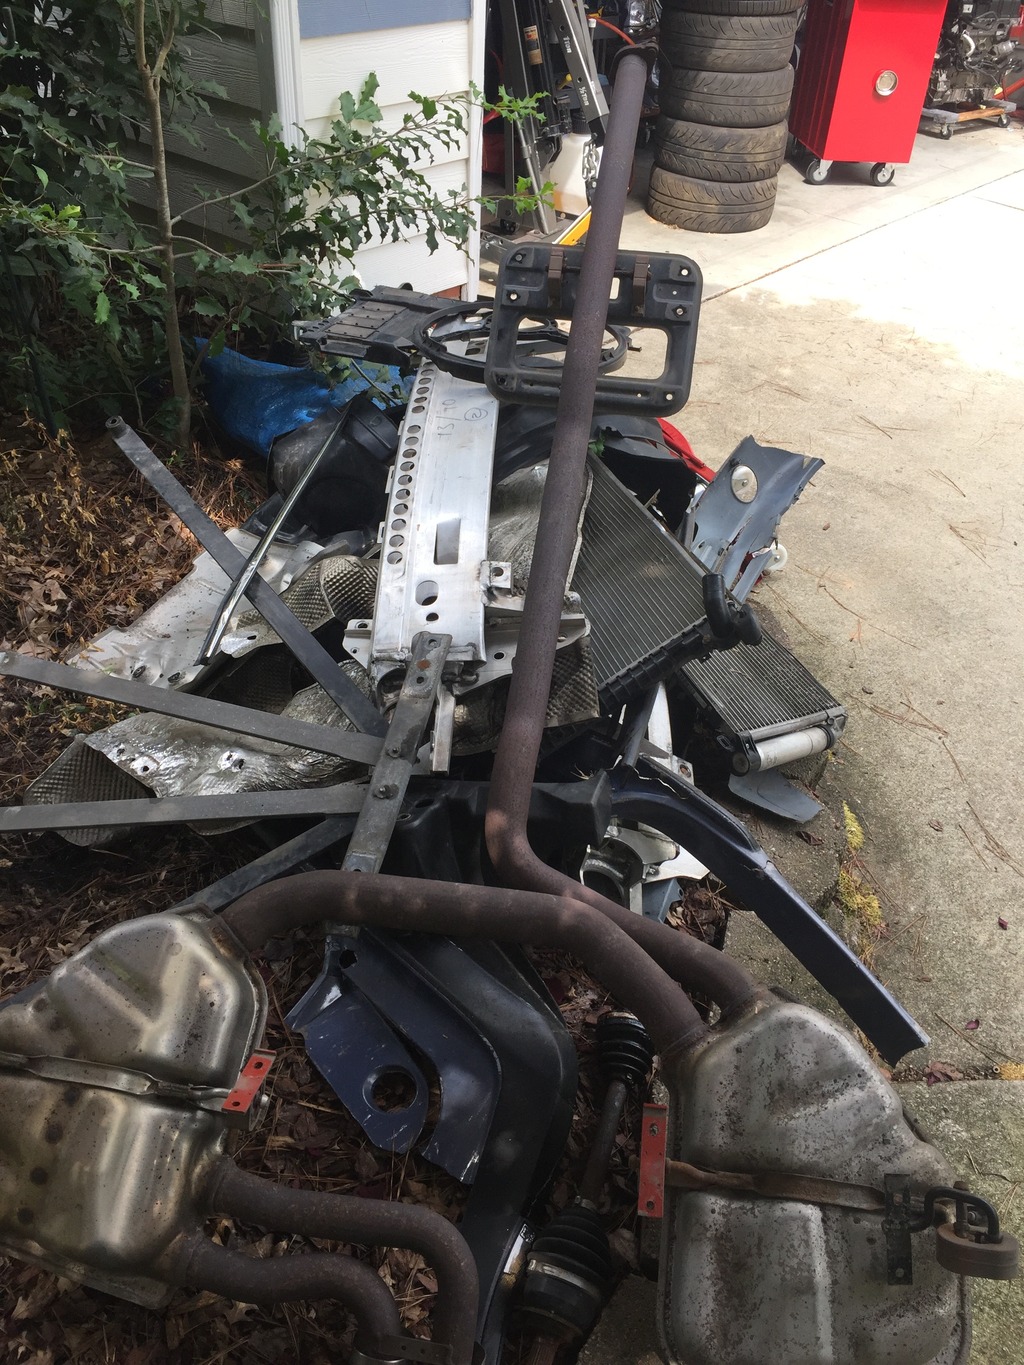
Organized a bunch of stuff I’ve taken off, and cleaned up the garage a bit so I can hopefully not lose stuff. The junk pile is growing…
Click the image to open in full size.

This may be the most broken MINI wheel I’ve ever seen…
Click the image to open in full size.

Pulled the front calipers off the shell so it will roll easier and quieter. Spent a couple of hours trying to separate the outer ball joint from the folded left wishbone on the shell, to be able to install a new wishbone so the shell will roll. The lower nut is seized, and I can’t get it to drop out of the knuckle. It’s the most stuck ball joint I’ve ever seen. Been wailing on it with BFH and chisels trying to break it loose, after soaking in PB Blaster for days. Did manage to open a bit of a gap on the wings of the flange. Added more PB Blaster and will try again tomorrow. Haven’t applied fire or cutting implements yet, but that may be next.

Shell is perfect. So I should hack it up.

Yeah, I’m gonna cut a lot of this extraneous sheet metal out of the shell.

Click the image to open in full size.

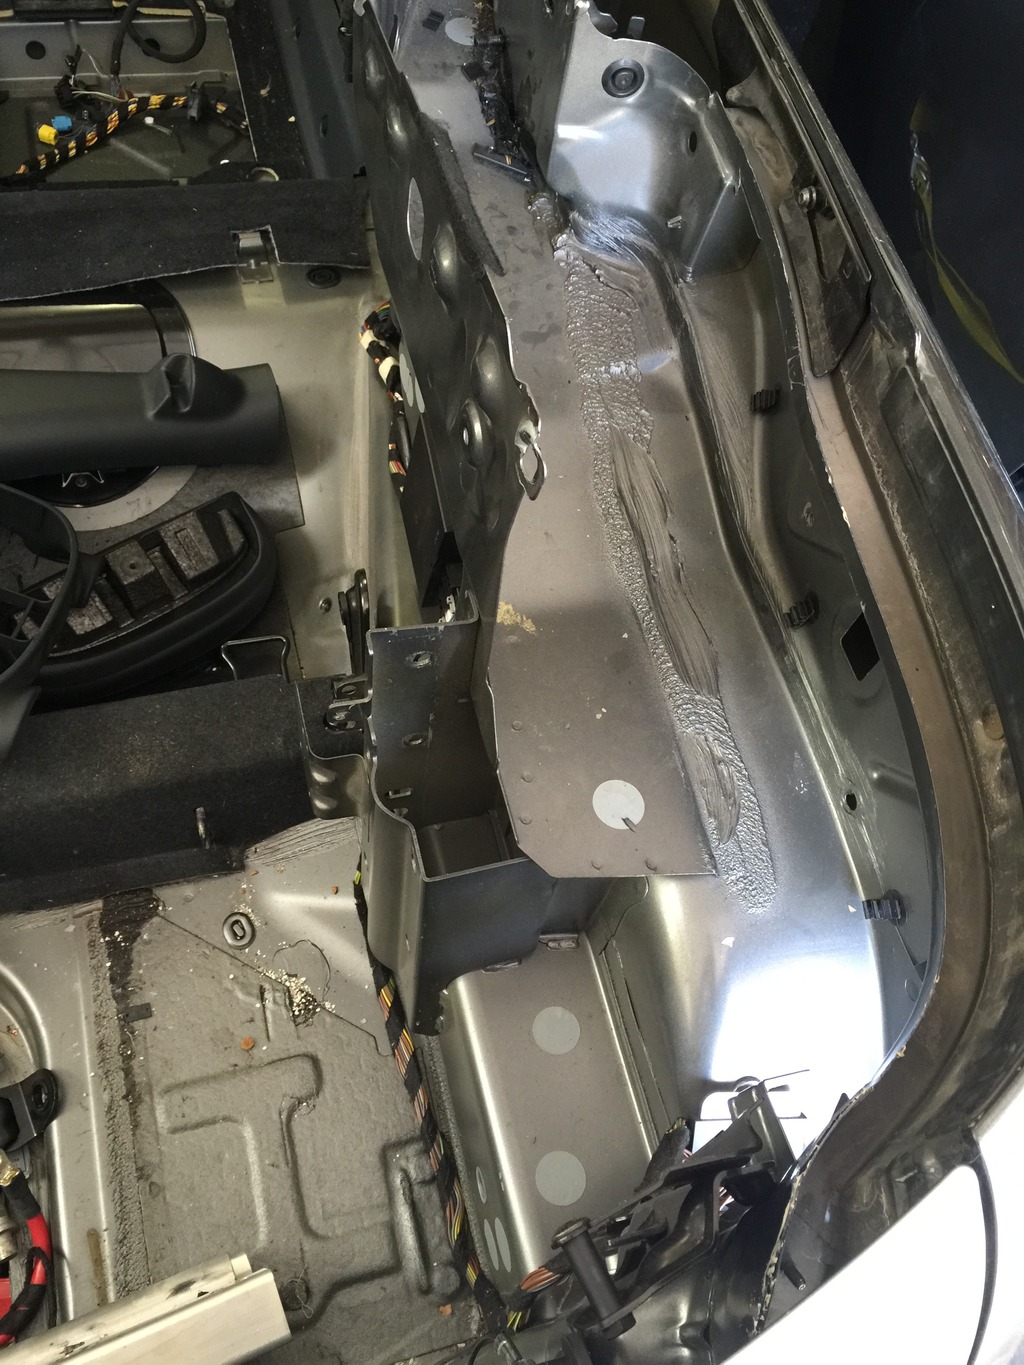
The parts that held the factory roll hoop frame, seat belts, etc. And the flimsy vertical wall that separated the passenger compartment from the top storage area. This will provide unobstructed access to the big frame rails that the roll hoop bolted to. That’s where my new roll cage braces will weld in, allowing for a shallower angle for the braces and making the new cage much stronger, and making the car even stiffer.

I’ll re-craft the interior side wall trim as needed to blend, eventually. I’ll use this opportunity to get rid of the seat belt bumps on the side walls, that do nothing since I no longer use the factory belts. That should also let me widen the main roll cage hoop, since I’m not worried about leaving space for the OEM side interior trim.

I’m really liking the creative freedom this new build is giving me. The ability to do it RIGHT…

I may be a little crazy

I’m starting a list, “signs you may be certifiably insane”…

* develops, but “recovers” from, strange obsession with Union Jacks
* attempts to rebuild own automatic transmission
* commits to convert automatic transmission MINI to manual, buys a totaled GP as a donor, on faith, sight unseen
* vows to build a car that never existed, but “should have” (MINI GP Roadster)
* buys a Clutchmasters clutch, knowing that they fail frequently
* puts a Chevy S-10 part on a MINI
* after flipping a convertible end over end and surviving, buys another convertible
* commits to complete body swap on a car, without a second thought
* owns three non-functional MINIs at the same time (if they were cats, would qualify for Crazy Cat Lady)
* vows to design and build a unique convertible top for a non-existent car
* buys RMW TVS kit (which isn’t yet running on ANY car) for a car that is in pieces
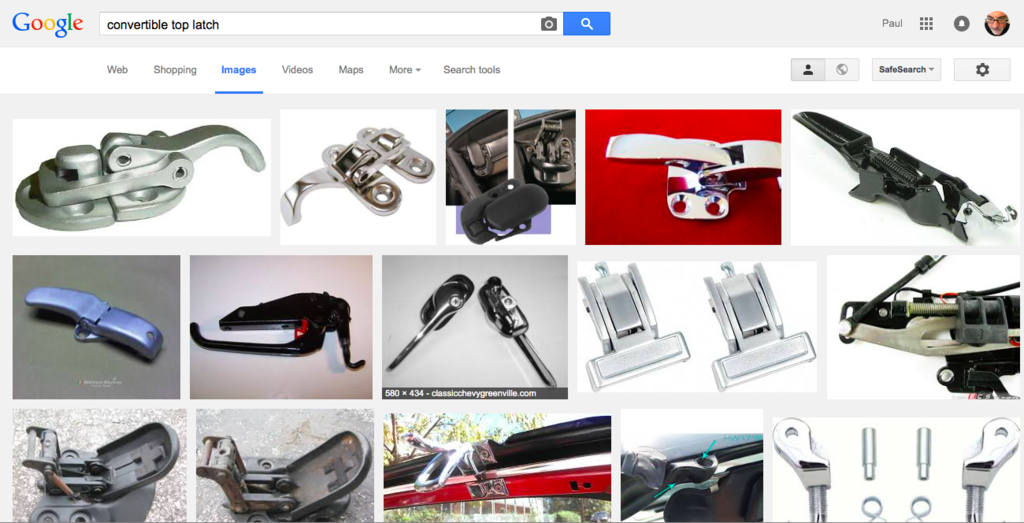
* spends hours sifting through Google image search results for “convertible top latch”
* contemplates using parts from old Impala, VW Thing, or VW Rabbit on MINI Cooper
* … more to come

Click the image to open in full size.

Lab work is back on the Stroker…

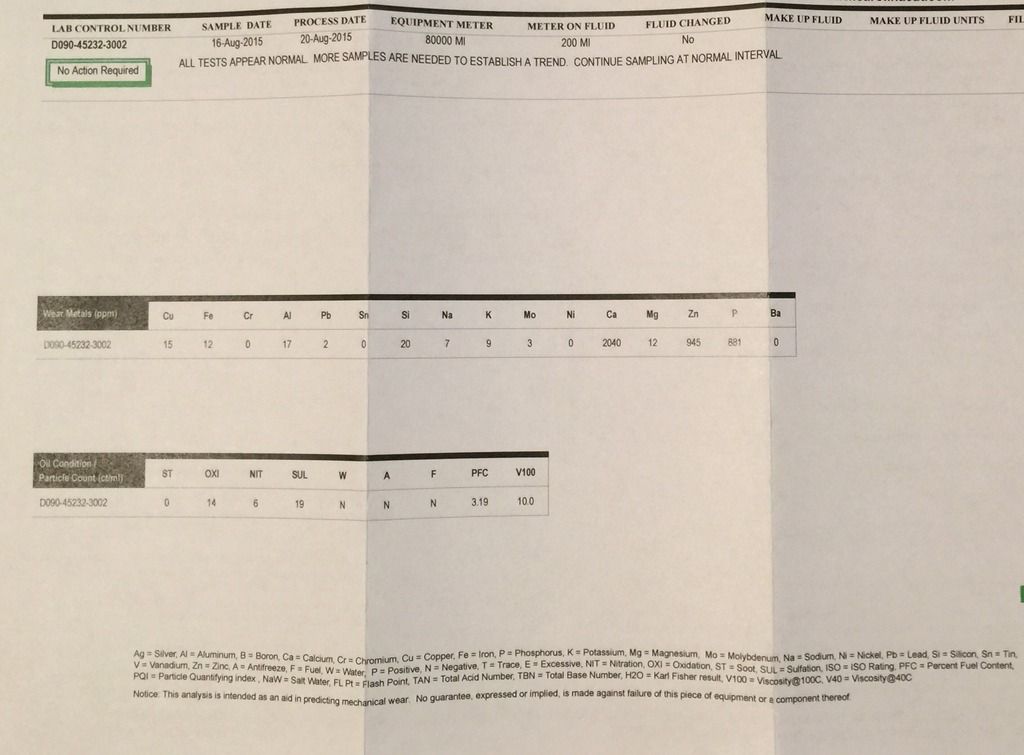
Oil analysis is back… and looks GOOD

Click the image to open in full size.

This is 180 miles on Rotella T, plus running the motor up to temp on the lift after the crash. The tiny bit of lead is well within normal range. All the wear metals look great for a brand new motor. And the strong compression and leak down numbers from my earlier tests show that the motor already has good ring seal. With the run time on the rack after the crash, if the bearings were damaged, we’d see more lead here.

Happy Dance Time 

Starting work on the shell…

Today’s task – assess what I just bought, and start stripping more stuff off it.

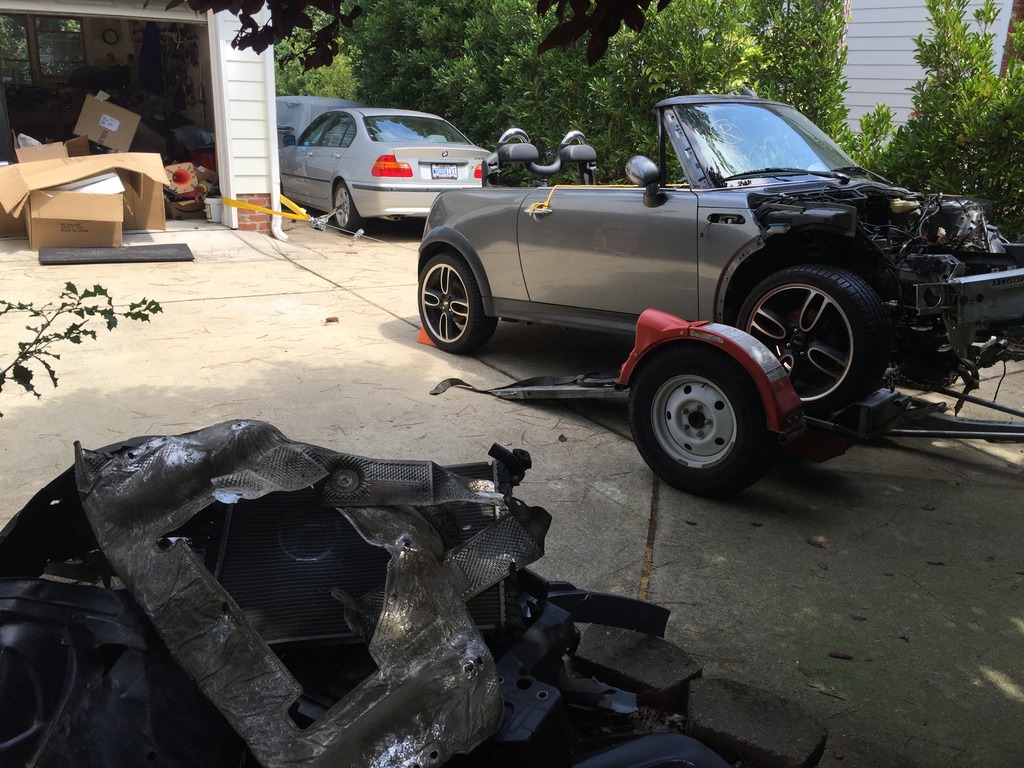
Because of the damage to the front left wheel (more later on this), I can’t just roll the car on and off the tow dolly… dragging is required. Every load/unload requires some engineering…
Click the image to open in full size.

What could POSSIBLY go wrong here? Other than pulling down the garage, or having the shell (with no brakes) roll into the BMW?

Well, nothing went wrong. Everything worked as planned.
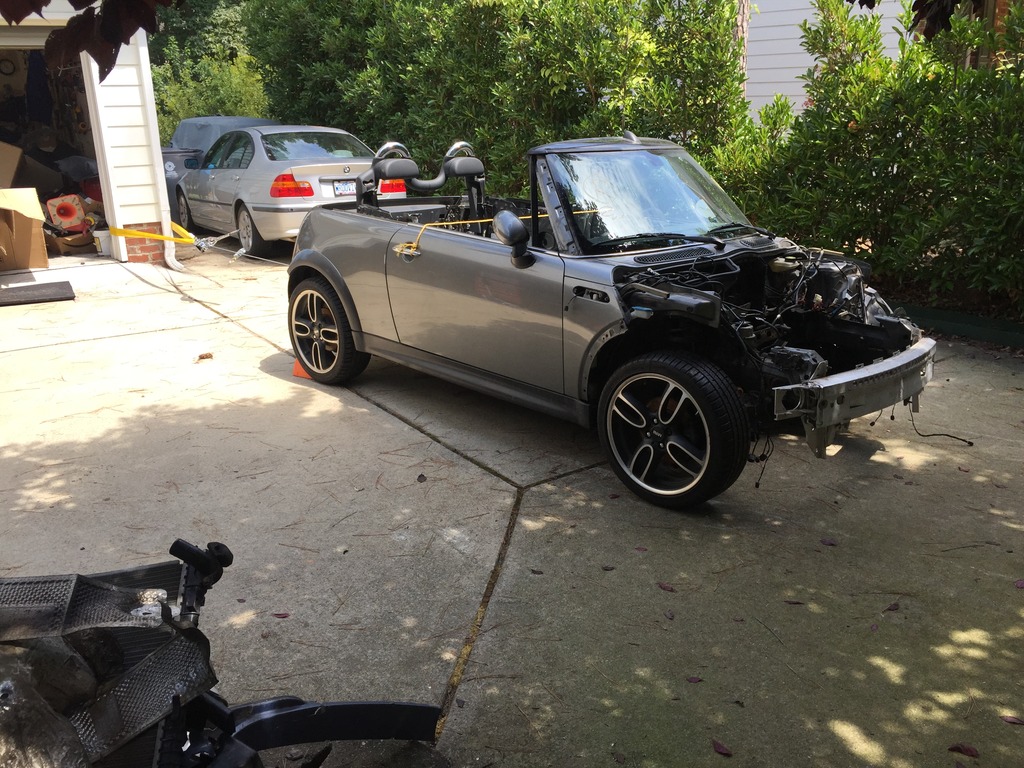
Click the image to open in full size.

It’s amazing, how high the car sits, with the stock suspension, on 18″ GP wheels, with probably 1000 pounds removed. The side skirts are 10″ off the ground here!
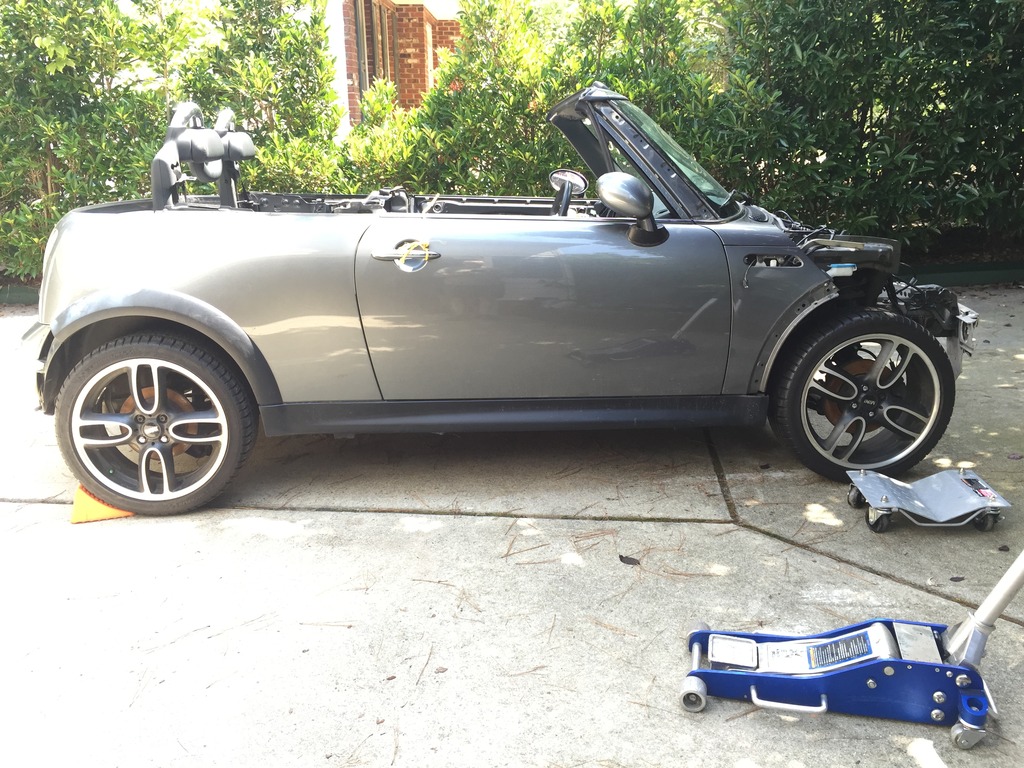
Click the image to open in full size.

Here’s the main issue with the rolling shell… it doesn’t roll.
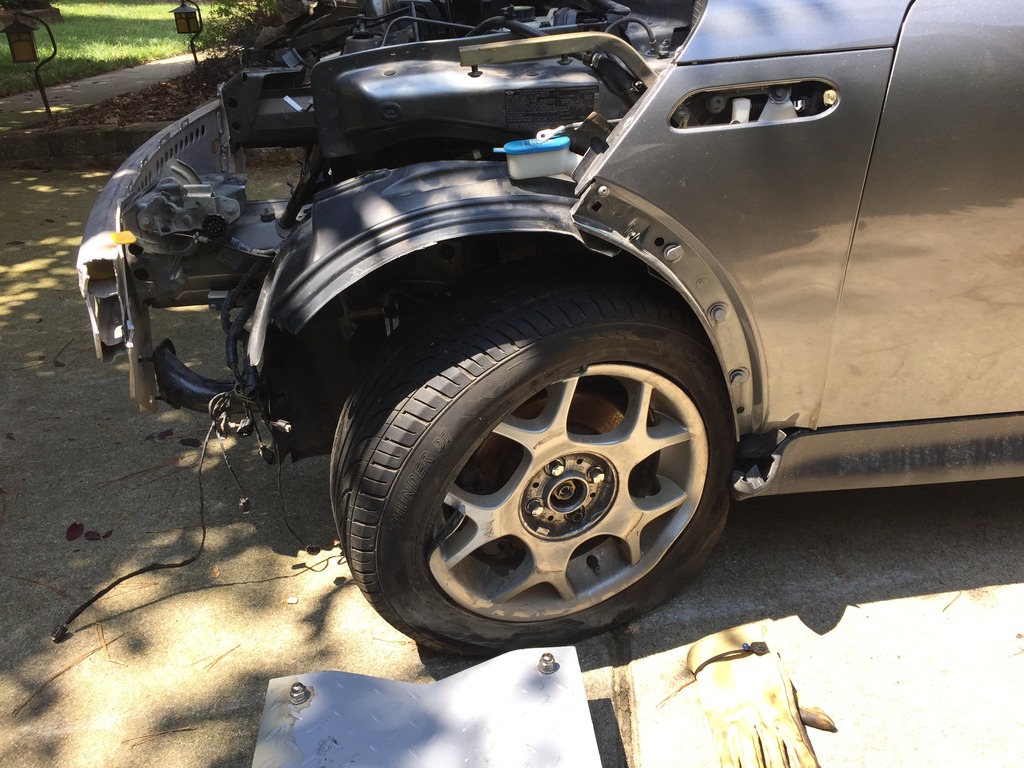
Click the image to open in full size.

The primary failure mode when you hit something with the front suspension, or when something hits you there, is the lower control arm (“A-arm” or “wishbone”) folds, allowing the wheel to move rearward, to the point it contacts the wheel well liner and the body underneath the liner. Then you basically have something you have to drag around, or put on dollies to move.

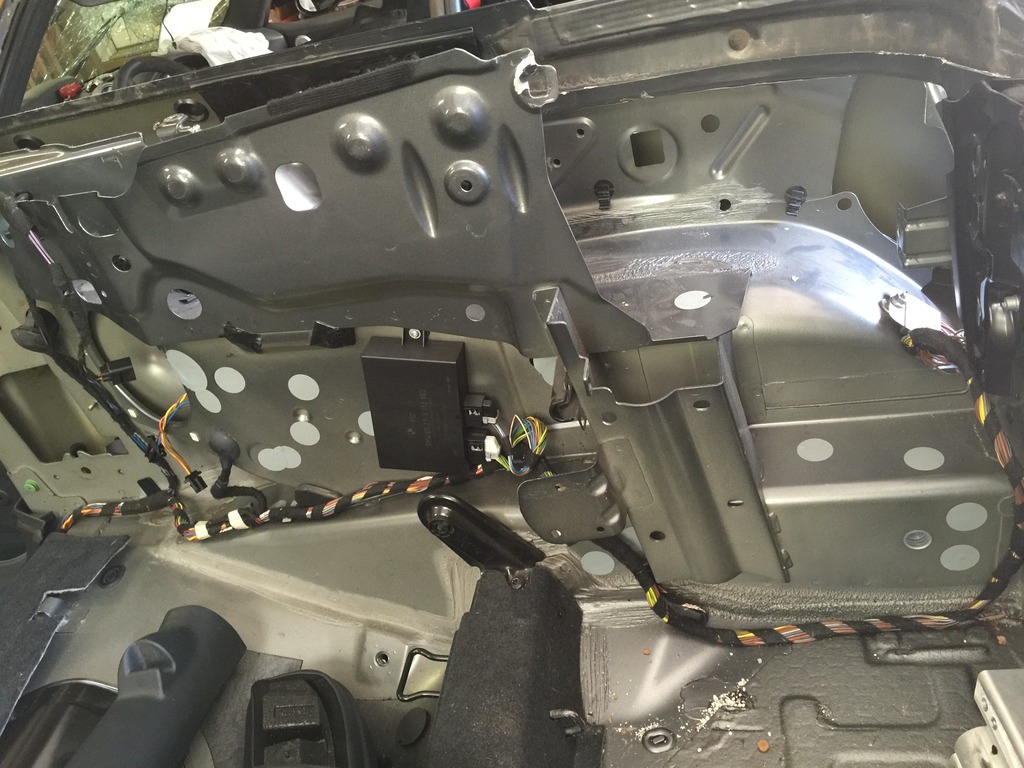
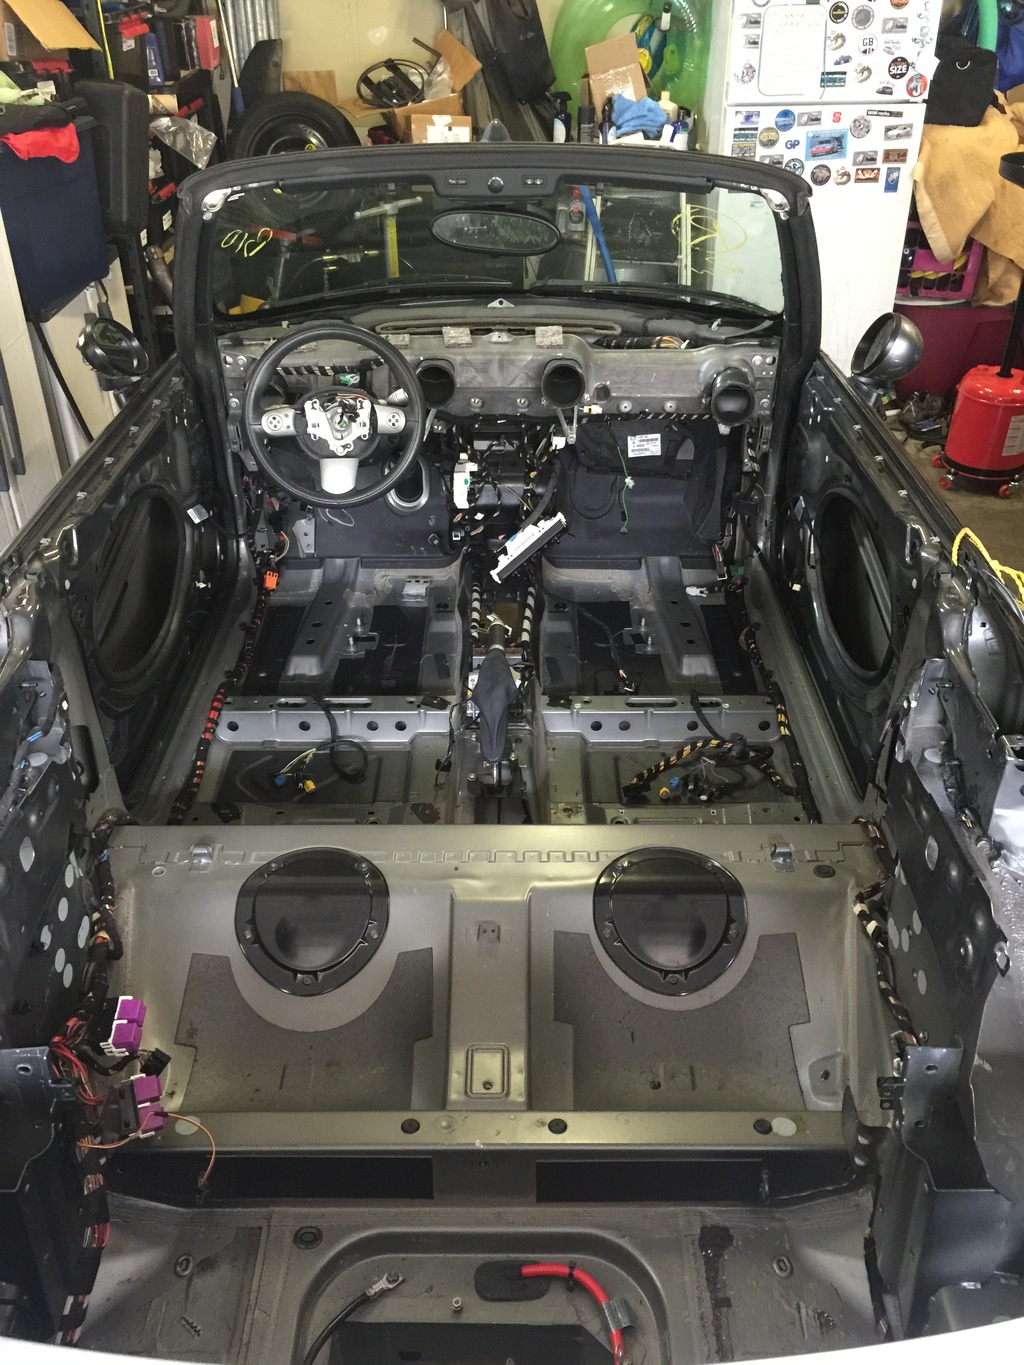
Here’s a view most folks have never seen… what a MINI cabrio looks like, with everything including the top removed.
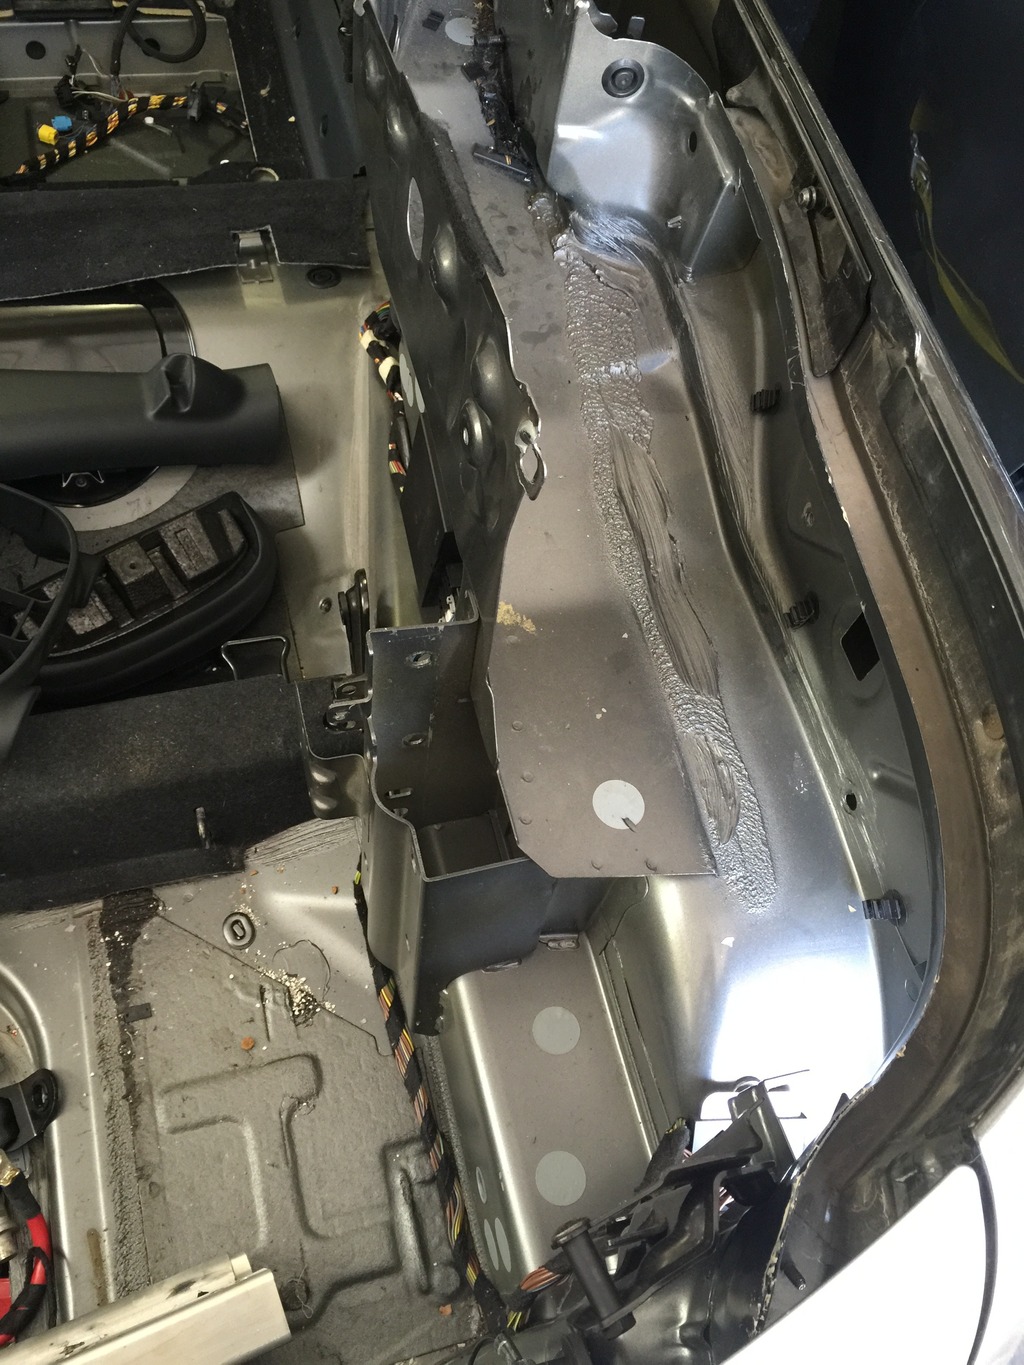
Click the image to open in full size.

There’s a lot of stuff here that I really don’t need… might be able to trim some sheet metal out. And there are two beefy frame rails that are normally hidden by trim in the boot… that may be great attachment points for roll cage bracing.

Got the car on the lift. Here’s Locutus Mk1, and Mk2, together.
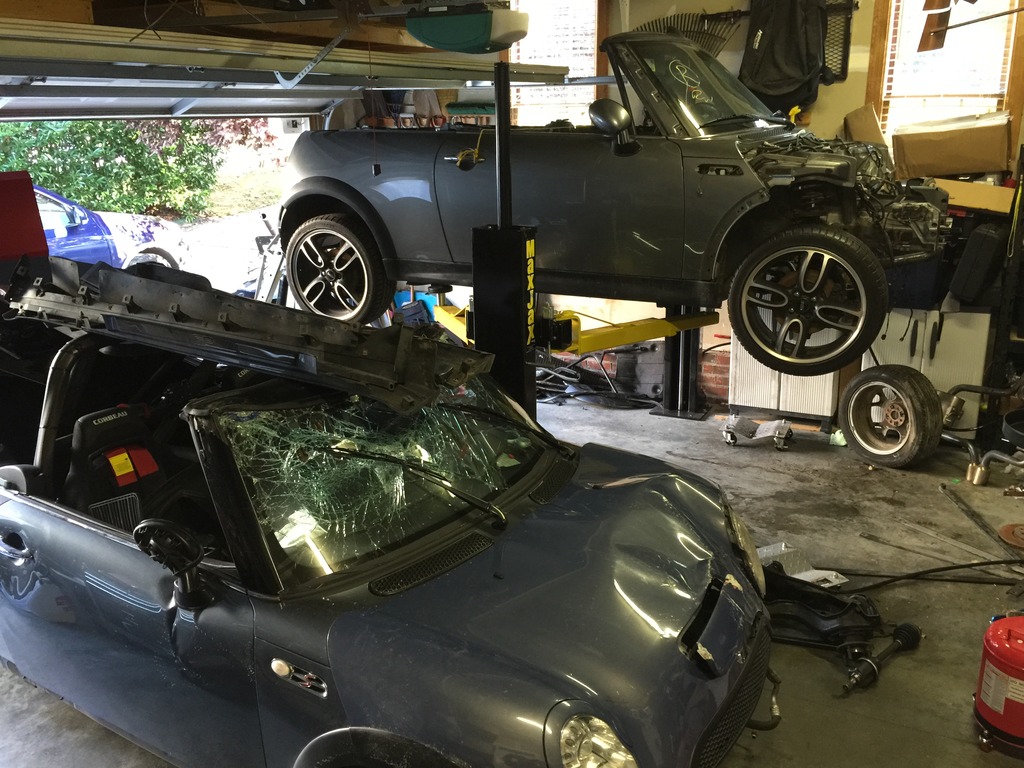
Click the image to open in full size.

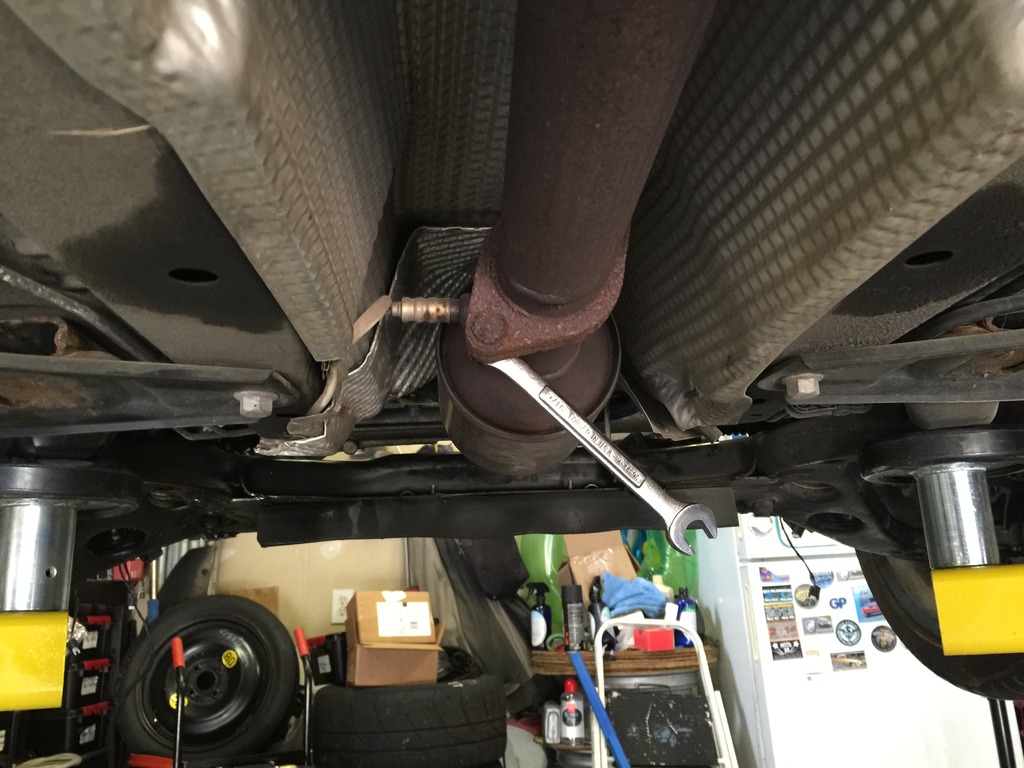
Time to assess what’s underneath.
Click the image to open in full size.

Last owner said he had been unable to unbolt the header from the exhaust. What he didn’t say (or realize, probably) was that he left a wrench on there. And, amazingly, it stayed on over 250 miles of bouncing on a tow dolly.

Took some doing, but I got the header and exhaust off. Wrung off one of the studs in the process. Dropped the heat shields to access the shifter and cables for removal.

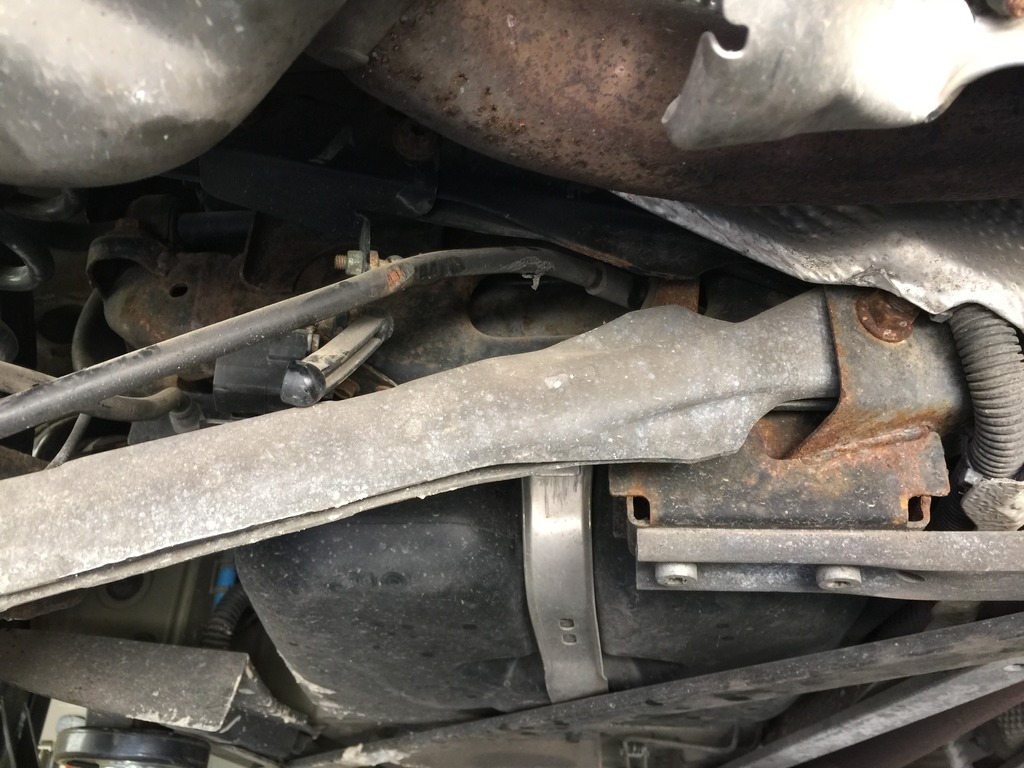
Underside of the shell is really clean, a little rust on a few studs, but none on the shell itself. But the subframes… have some rust.
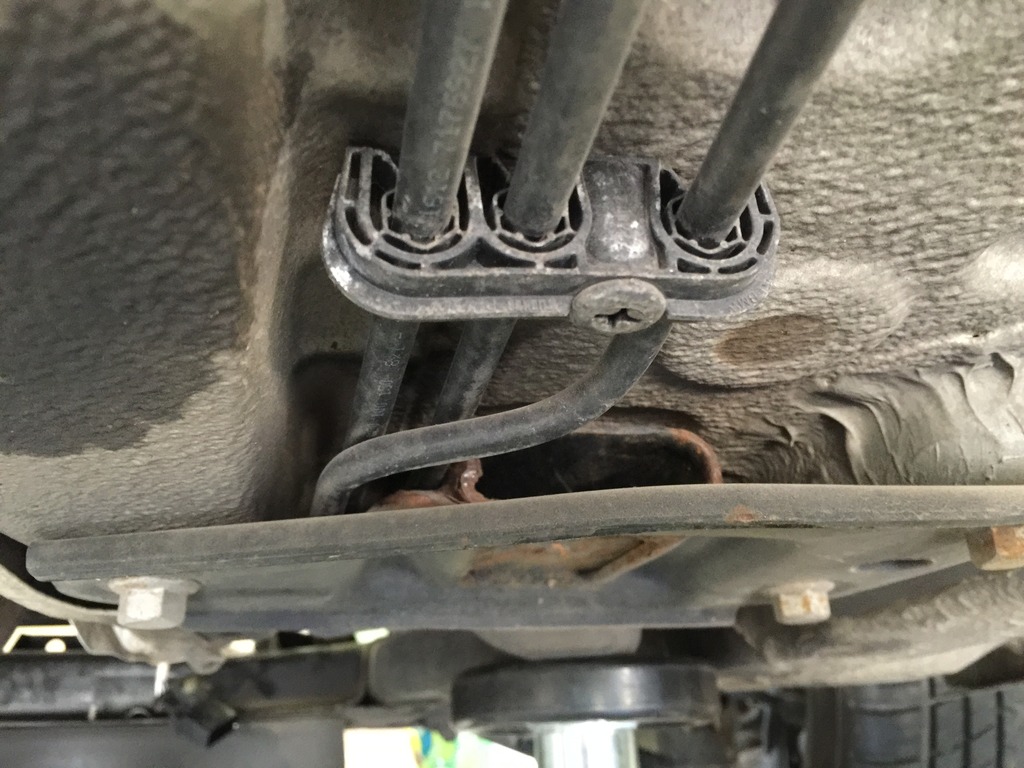
Click the image to open in full size.

That’s OK, it’s not much for a 9 year old car from the snow belt. And I plan to use either my other clean subframes, or new ones. This car only has about 10% as much rust as the GP I bought…

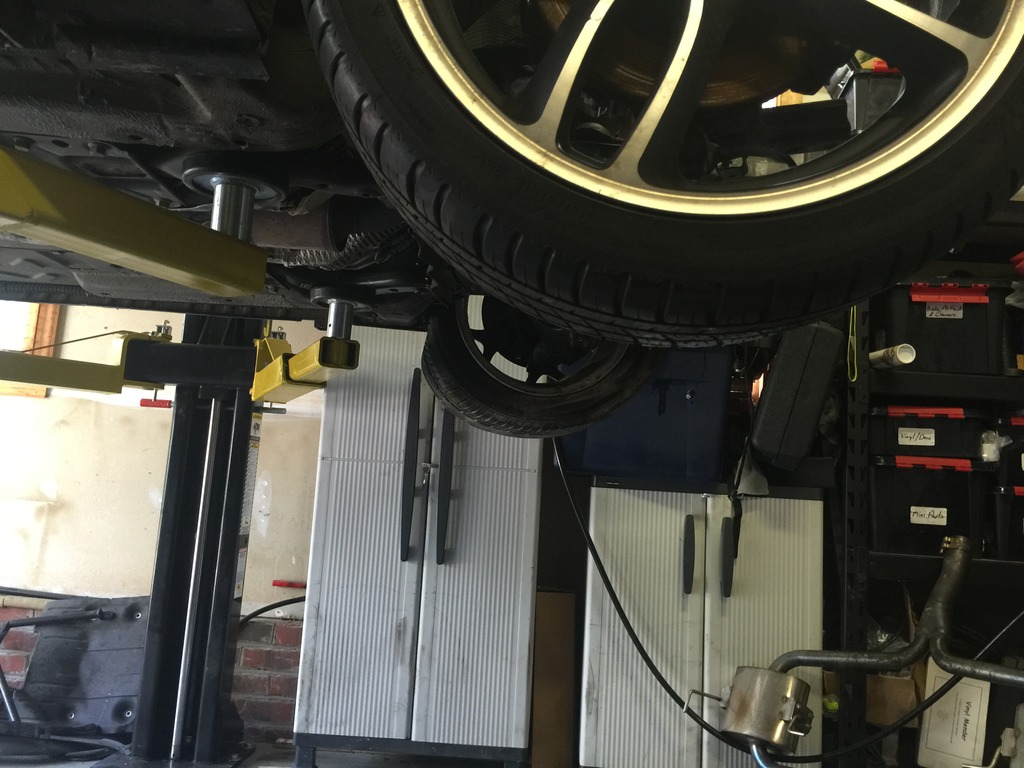
Apparently this is a special MINI built for circle track racing. Right side wheelbase is 96″ like normal… but left wheelbase is only about 91″….
Click the image to open in full size.

That’s what happens when you fold up a front lower control arm. But will be just fine with some new suspension bits.

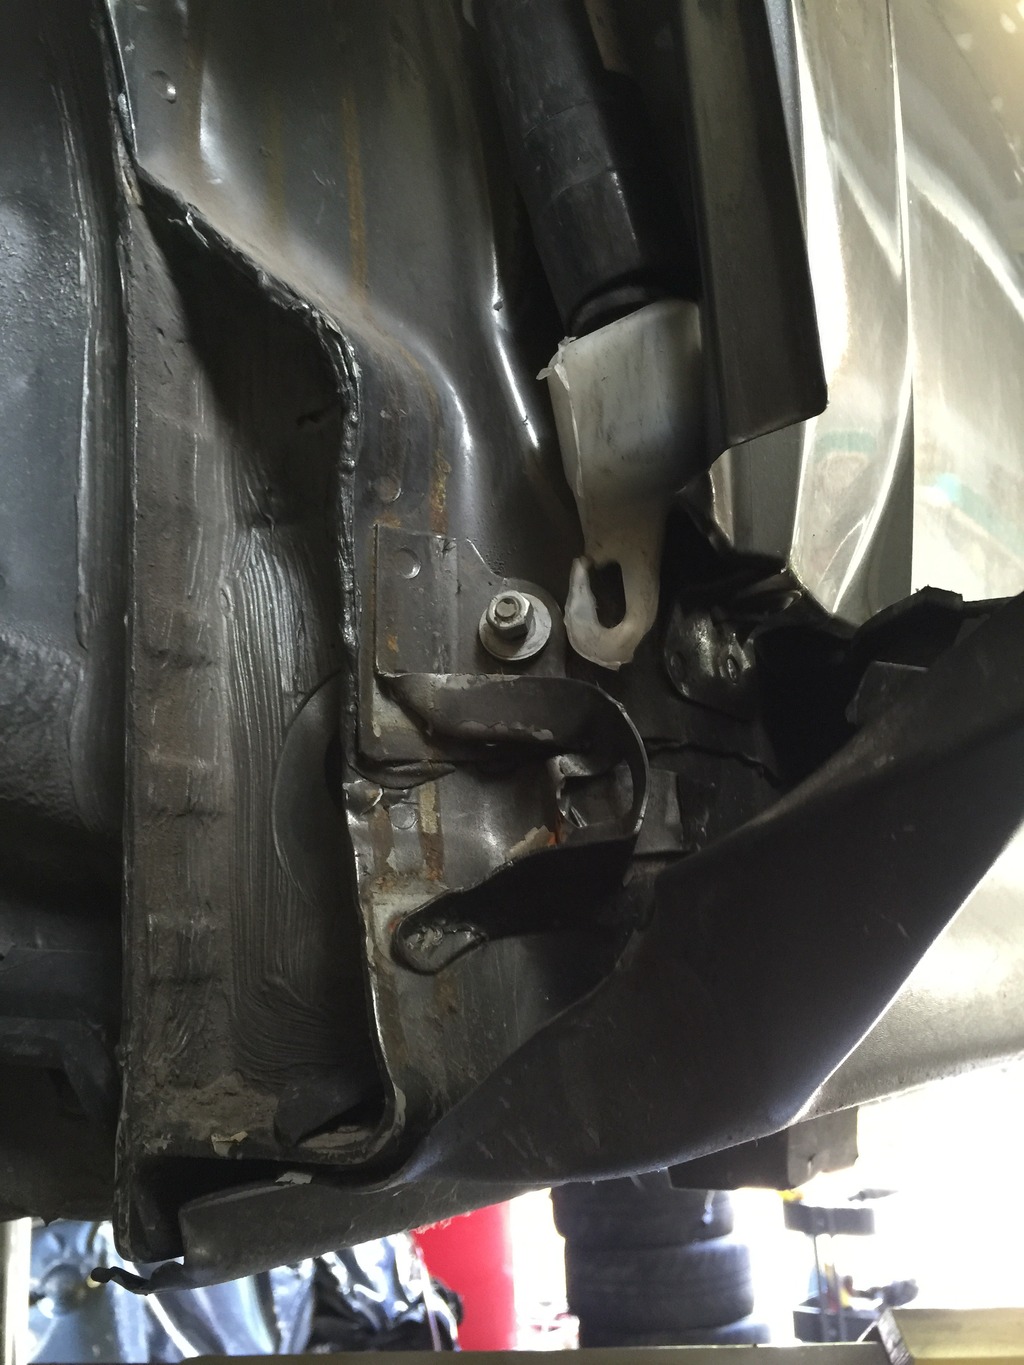
Here’s what’s revealed with you pull off the crushed left front wheel, and the wheel well liner. The only damage I’ve found on the whole shell…
Click the image to open in full size.

Tweaked the bottom of the A-panel a bit, and mushed the exposed end of the lower frame rail below the headlight washer tank, and a bracket for attaching the skirts.

I think I can straighten out the bracket and the A-panel. The rest won’t matter… the washer tank is coming out, and the wheel well liner will hide the tiny amount of frame damage, that has no structural impact. Strut towers, frame rails, subframe all look fine.

I thought I’d swap on the LCA from the GP… but that one is rusted solid to its knuckle ball joint. And it’s quite rusty overall. I’ll either find another used one locally (a local salvage yard has a couple, I’ll check them tomorrow), or will buy new ones. Need to get that swapped so the car will roll. That, plus a bit more work to strip the interior, and it will be ready to haul to the cage fab shop.

A stripped cabrio shell is VERY light. I can’t wait to get this thing completely built and weighed. It’s gonna be light-ish.

Curb weight of convertible was 165lbs more than hardtop… BUT
The cabrio body shell (bare) weighs 233kg… the hardtop bare shell weighs 244kg!!!
And the cabrio tailgate is lighter than the hardtop hatch, with glass.

With all the top, extra cabrio bracing, factory roll bar, etc. removed, my final build will be lighter than a similarly equipped, caged hardtop.
The cage is only about 60-70 pounds of steel… so even compared to an un-caged car… it’s gonna be pretty light.