Raise the Roof

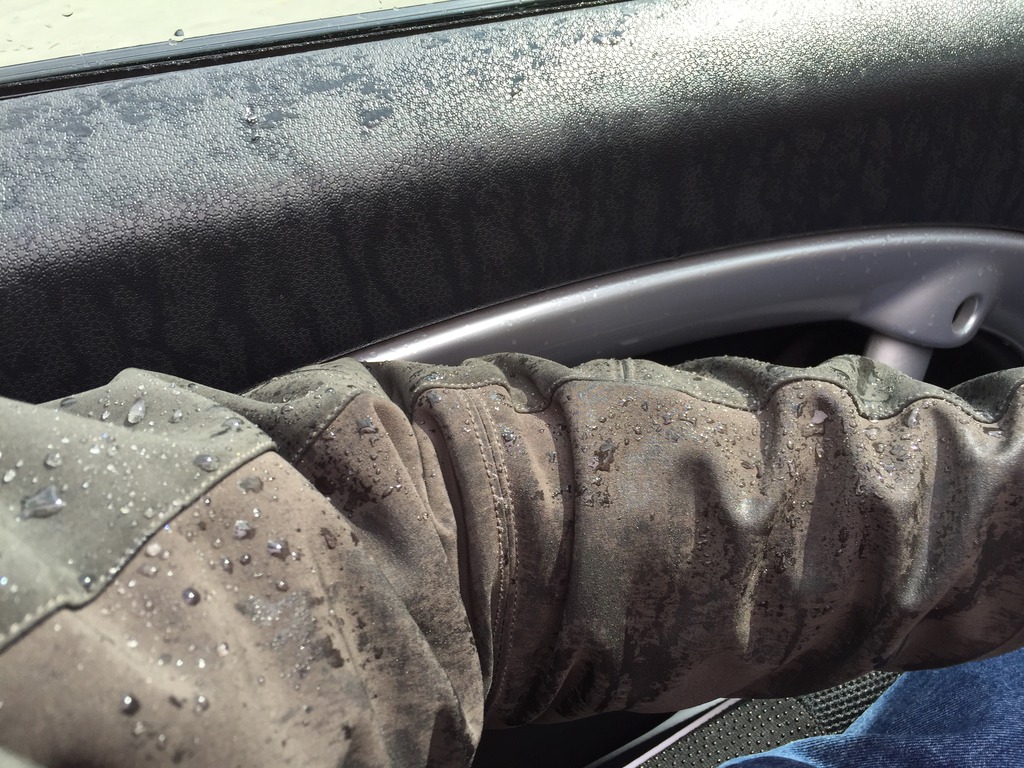
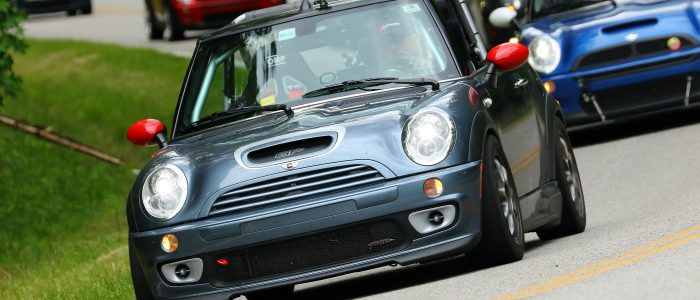
Last year, I fabricated a “bikini” style soft top for the GP Roadster. It served its purpose, keeping me and passengers mostly dry during wet trips. But right away, I started thinking about how nice it would be to have a removable hard top for such trips.

The best starting point for this would be an R50/R53 roof assembly. Sadly, I only thought of this a few months after sending the GP carcass to the shredder… it would have been the perfect roof donor. Oh well, water under the bridge. I started searching for another roof nearby, at a price I would pay.

I finally found an R53 roof at a salvage yard about an hour away, for a couple hundred dollars. So I bought it.

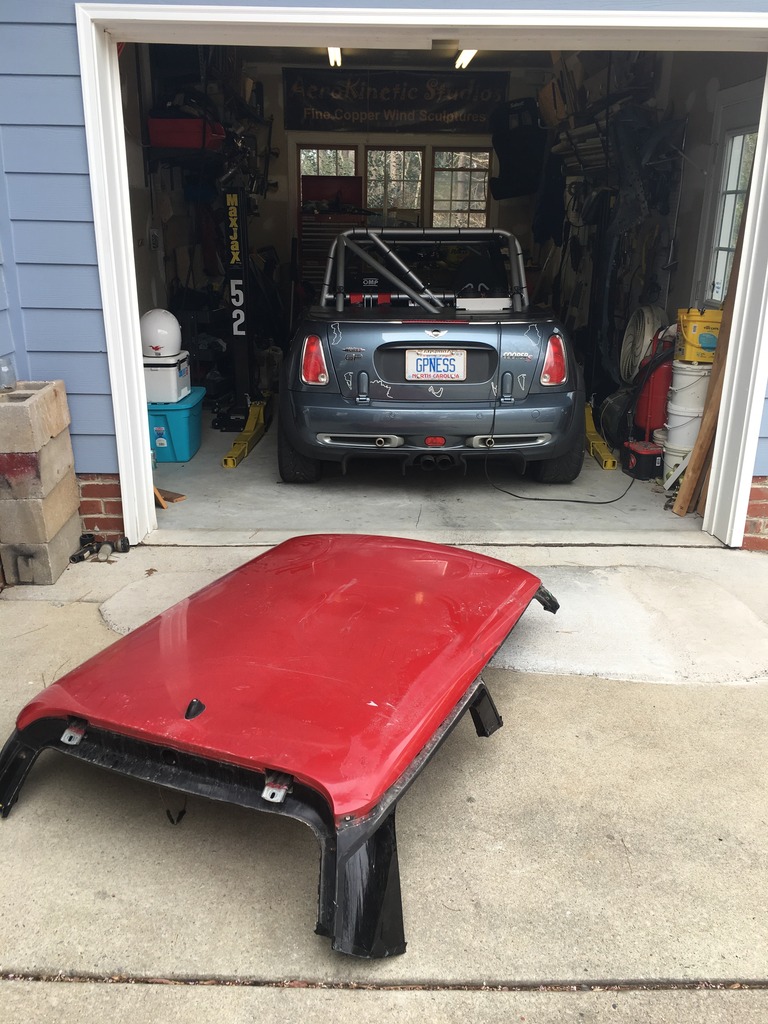
These have a ton of layers of steel welded into a “sandwich” with air gaps, to make a very stiff, strong structure.

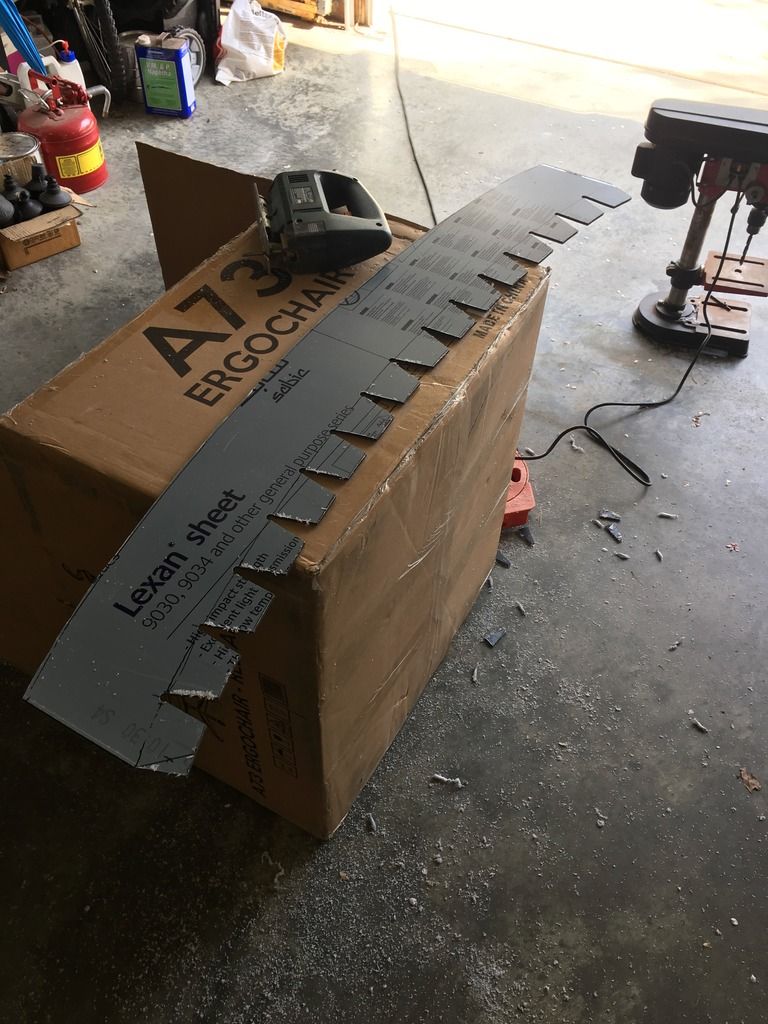
But I didn’t need any of that. I just needed the roof skin, cut to shape. So hours of time with about 20 cutting wheels in an angle grinder, plus more cutting with my air nibbler, and…

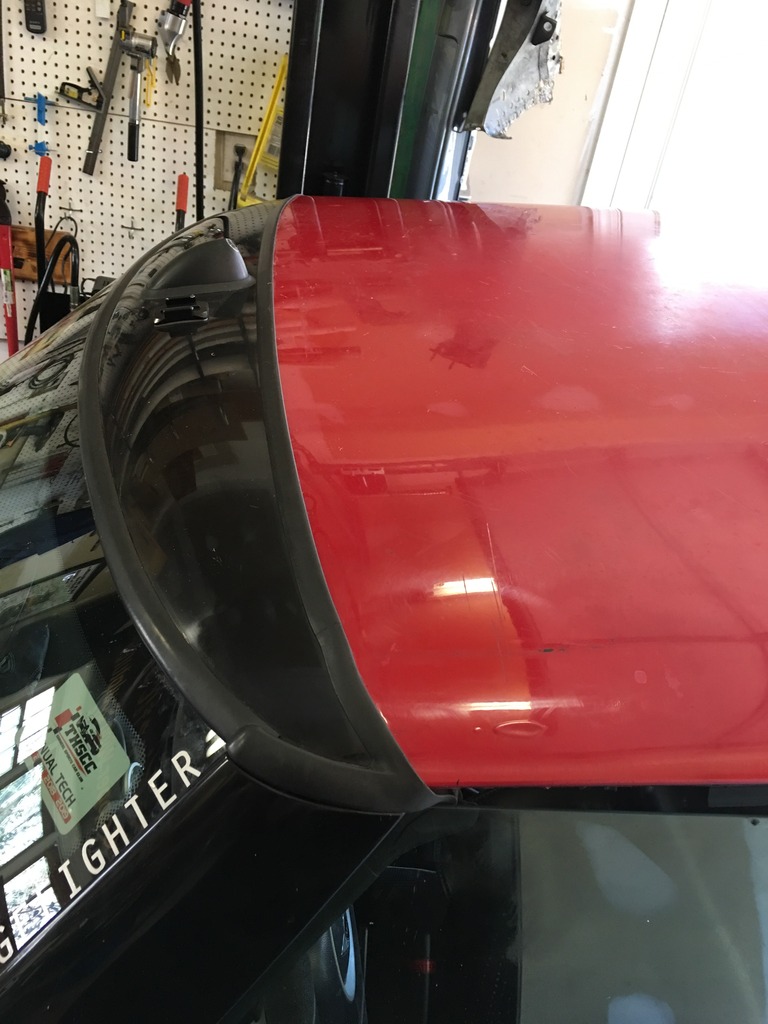
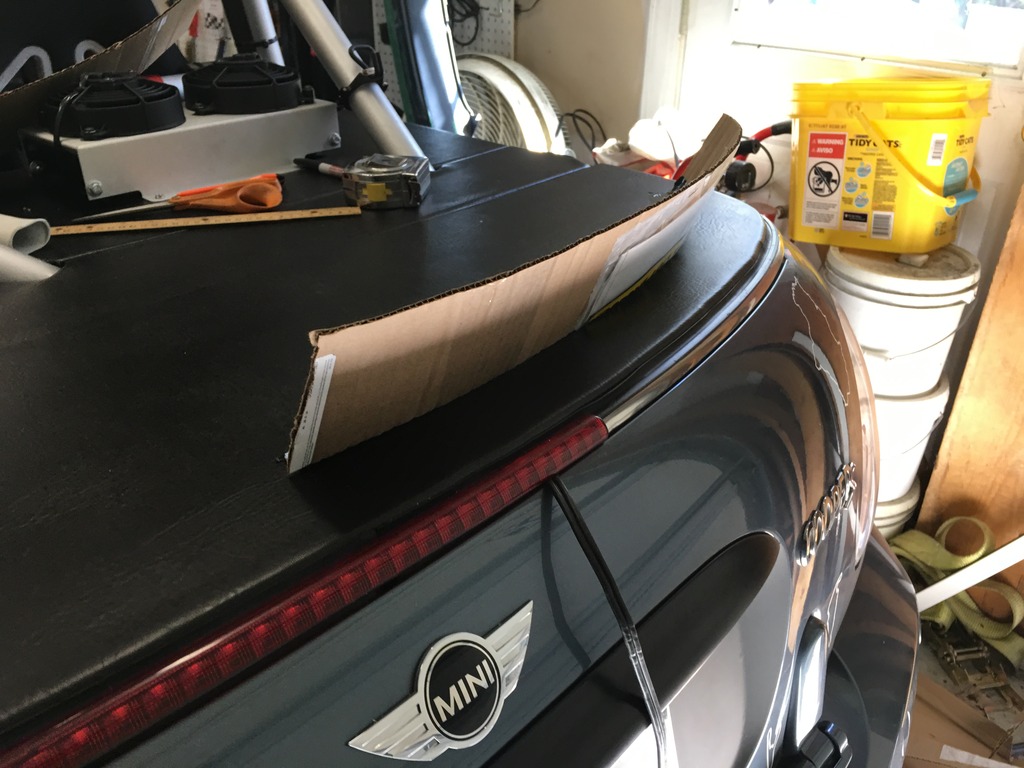
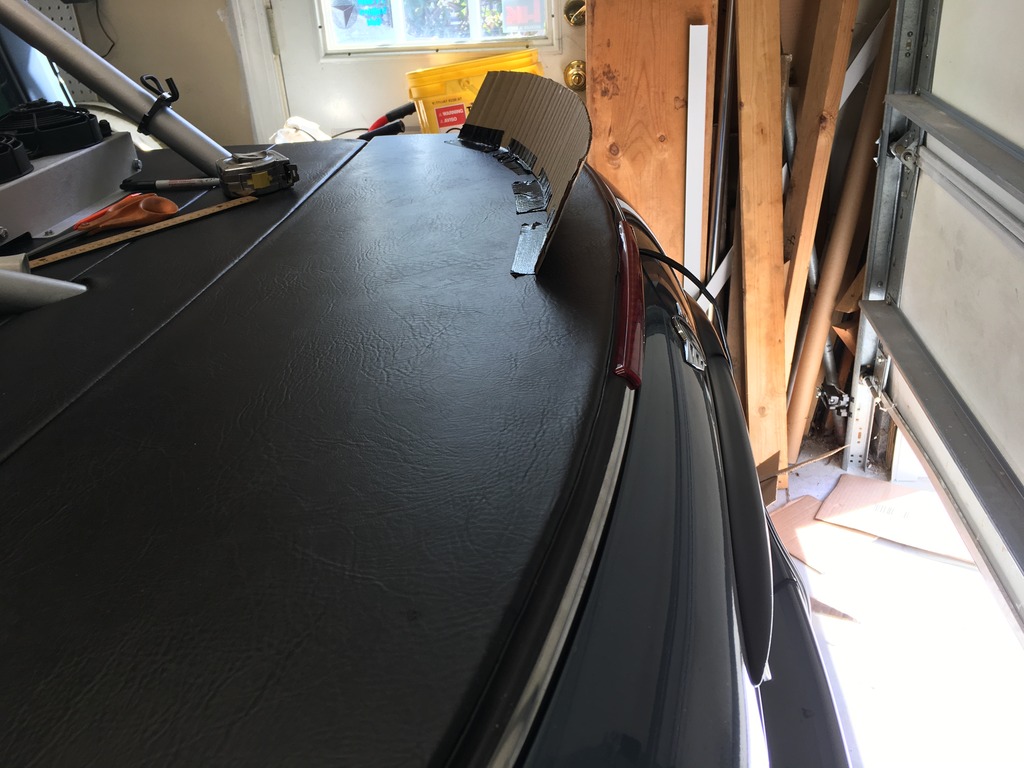
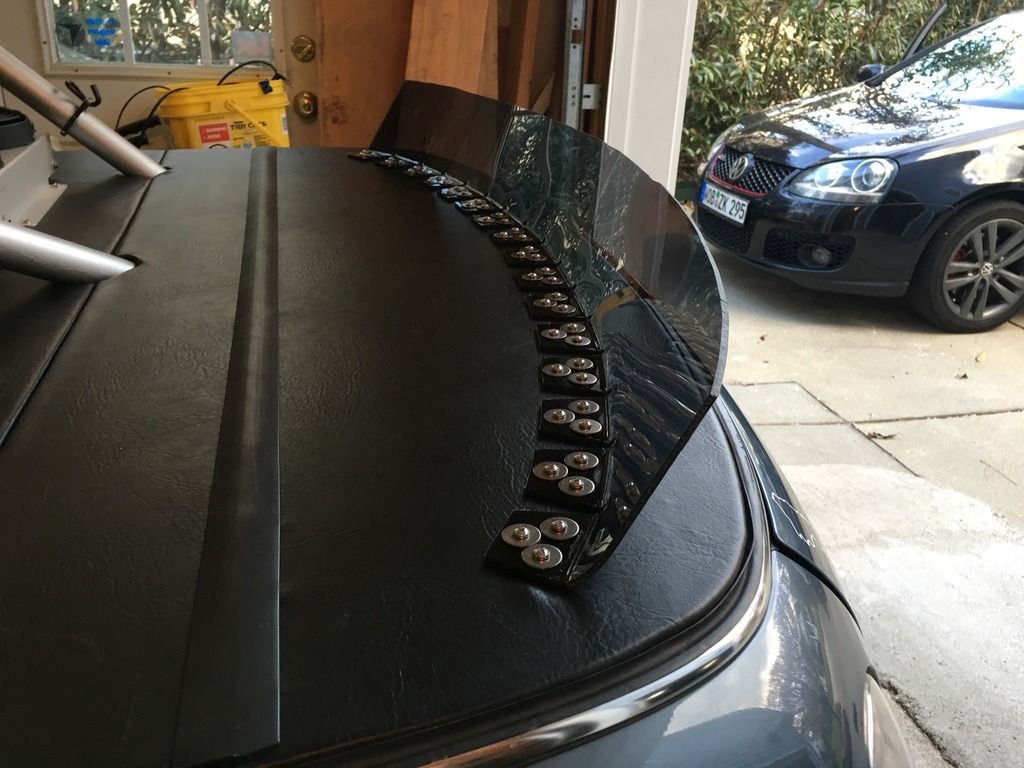
I cut the rear profile to match the curvature of the top of the new rear spoiler.


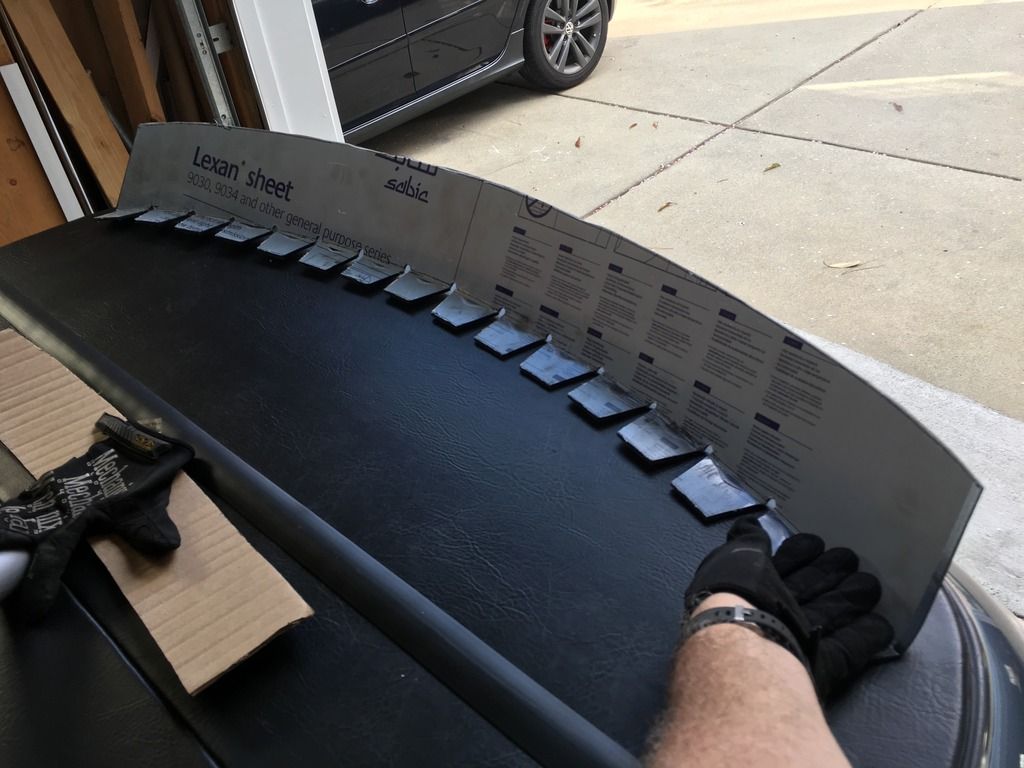
Sand and prime the roof panel. Not going for perfection; it’s gonna get banged up anyway. Just want it “decent” for now.
Click the image to open in full size.

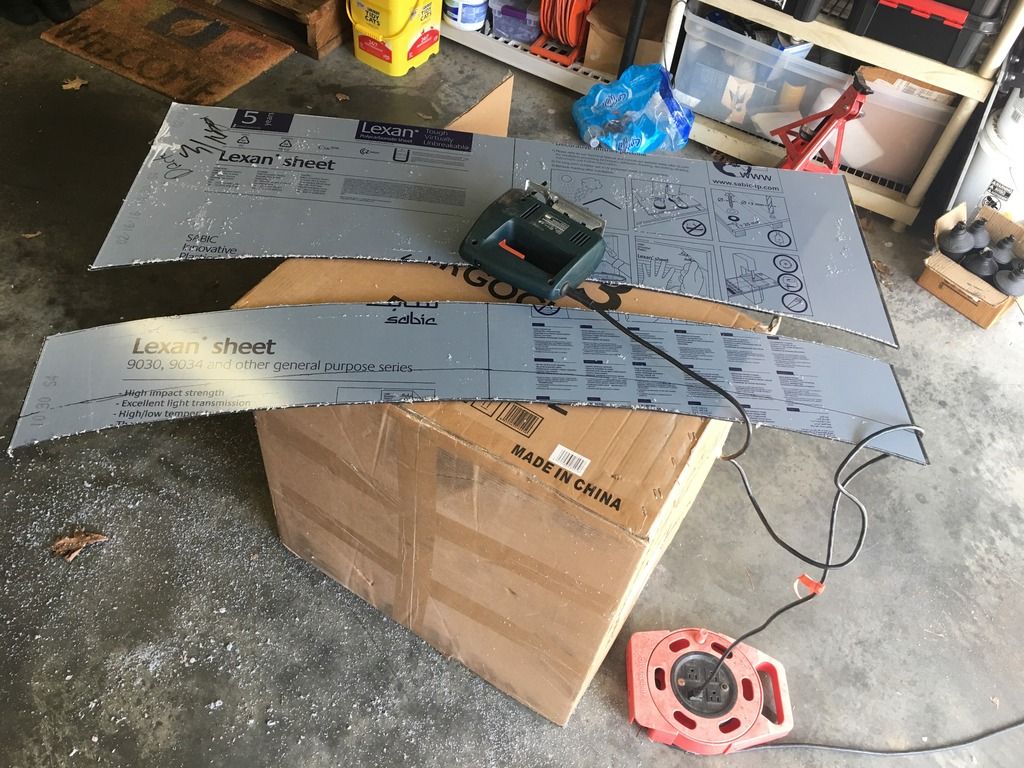
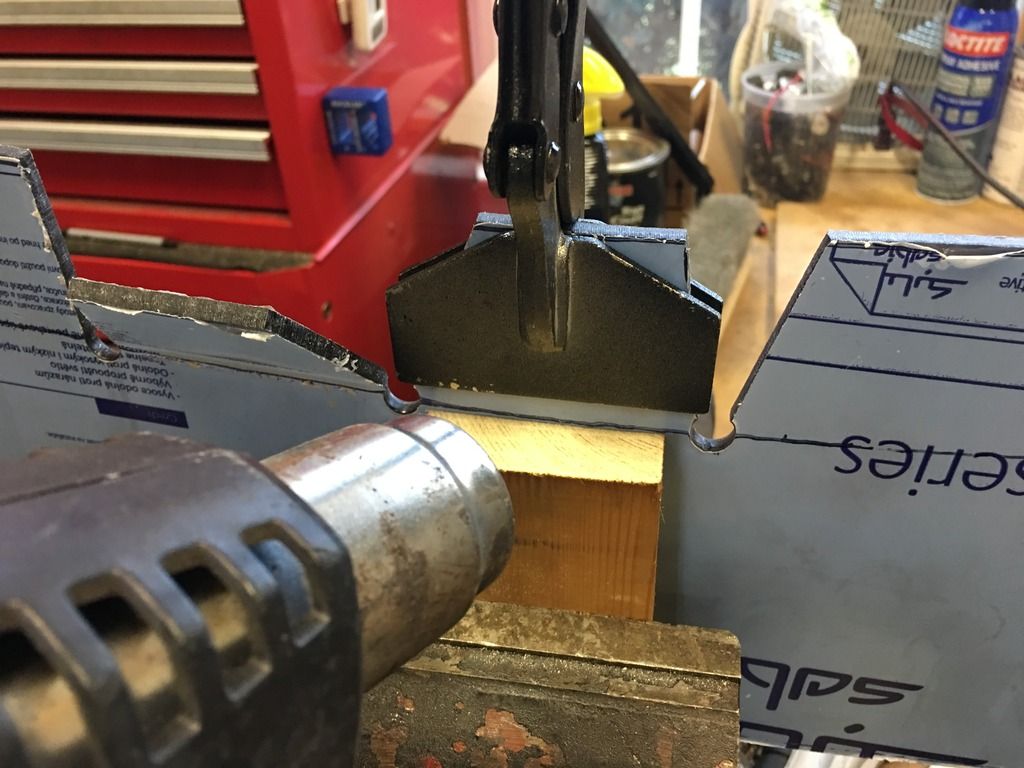
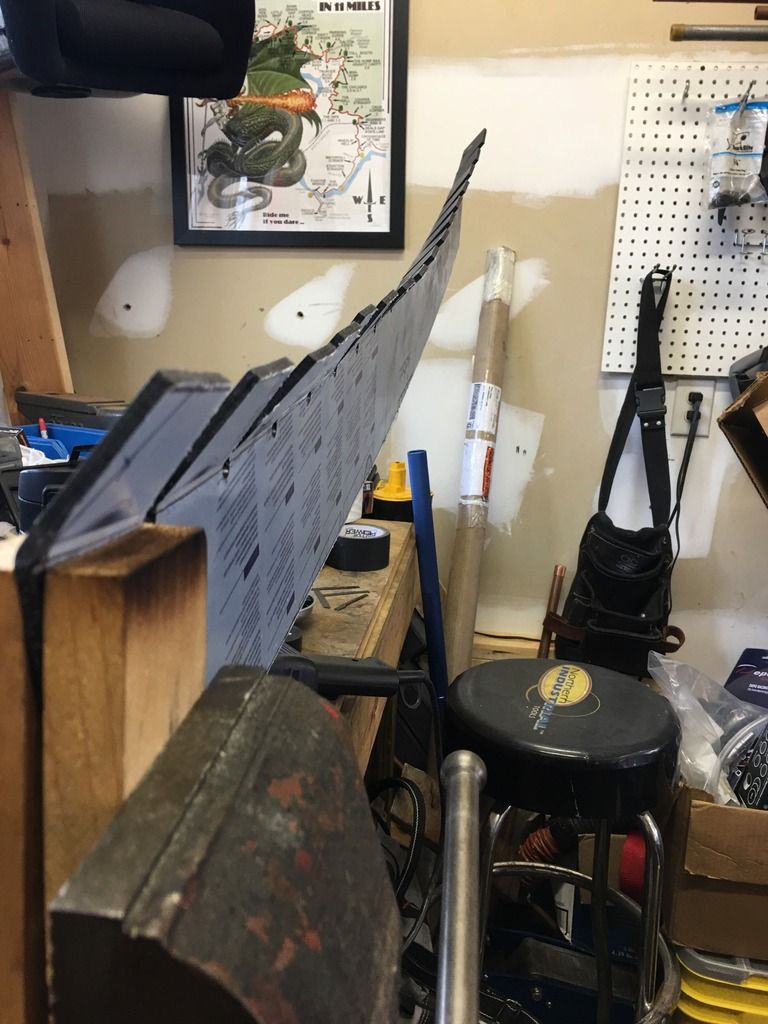
Measure, mark, and split the panel with the nibbler.
Click the image to open in full size.

Applied a few coats of silver wheel paint, which is a pretty close match to the Pure Silver. Painted the underside with satin black chassis & roll bar paint. Just going for “good enough” for right now… if it all works out, I’ll take it apart and refinish later. Added edge trim all around both panels.

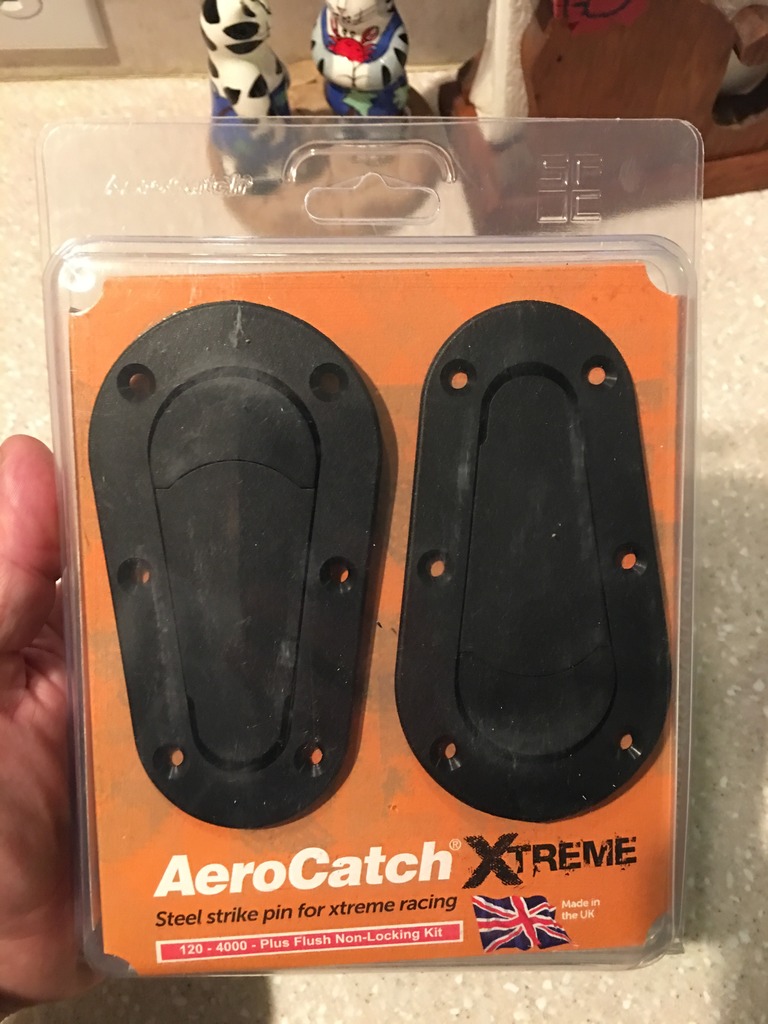
Now, to attach it… I spent the better part of a year searching for the best attachment approach for the roof. I looked at hundreds of different types of hardware. Things that were designed to hold on roof panels… and just about everything else you could imagine. Dick suggested last year that I use hood pins. I was headed that direction, but really didn’t want pins sticking up through the roof. I looked at several kinds of flush-mount latches. The Quik-Latch latches looked perfect for the application… but they are $300 a pair! And I was probably going to need 8 of them…

Then I found a source for Chinese knock-offs of the Quik-Latch. Yeah, I know. I’m not usually into such things… I buy the real deal whenever I can. But there’s no way I was going to buy $1200 worth of latches for my roof. $100 total, shipped from China, was more in the budget.

Click the image to open in full size.

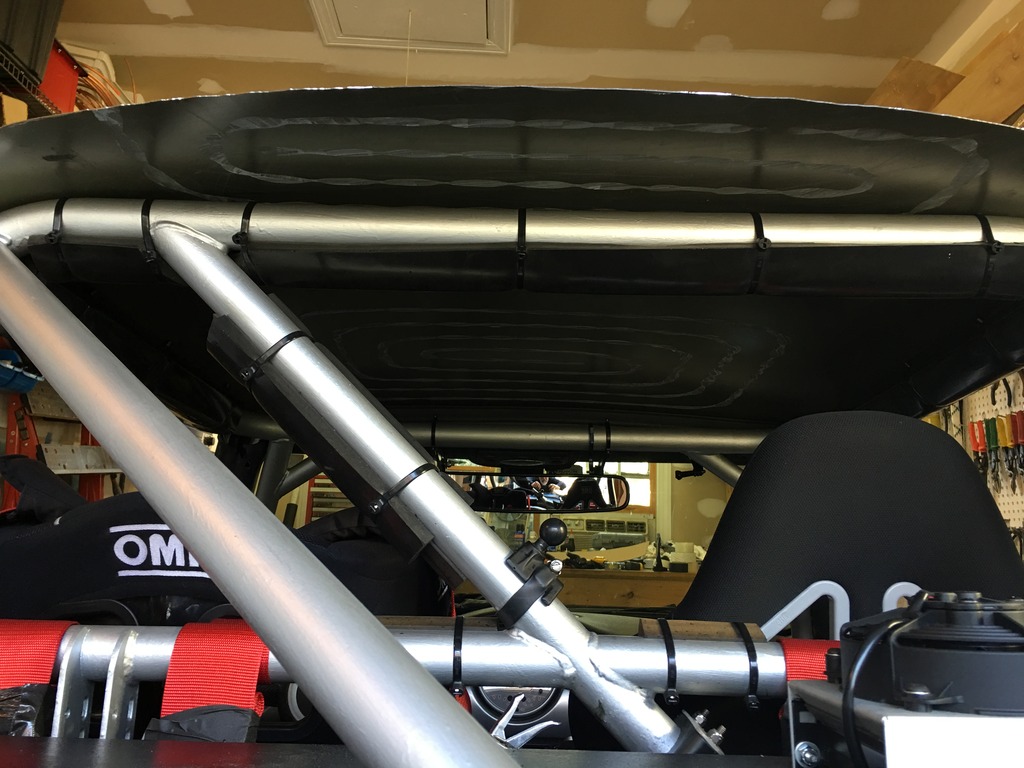
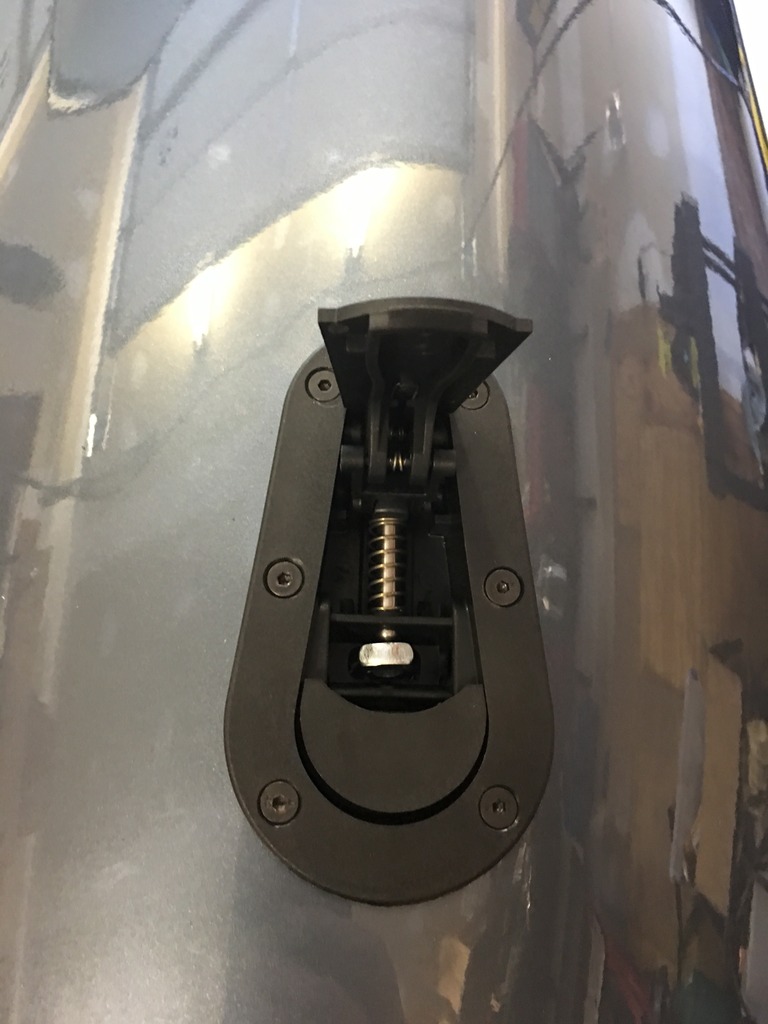
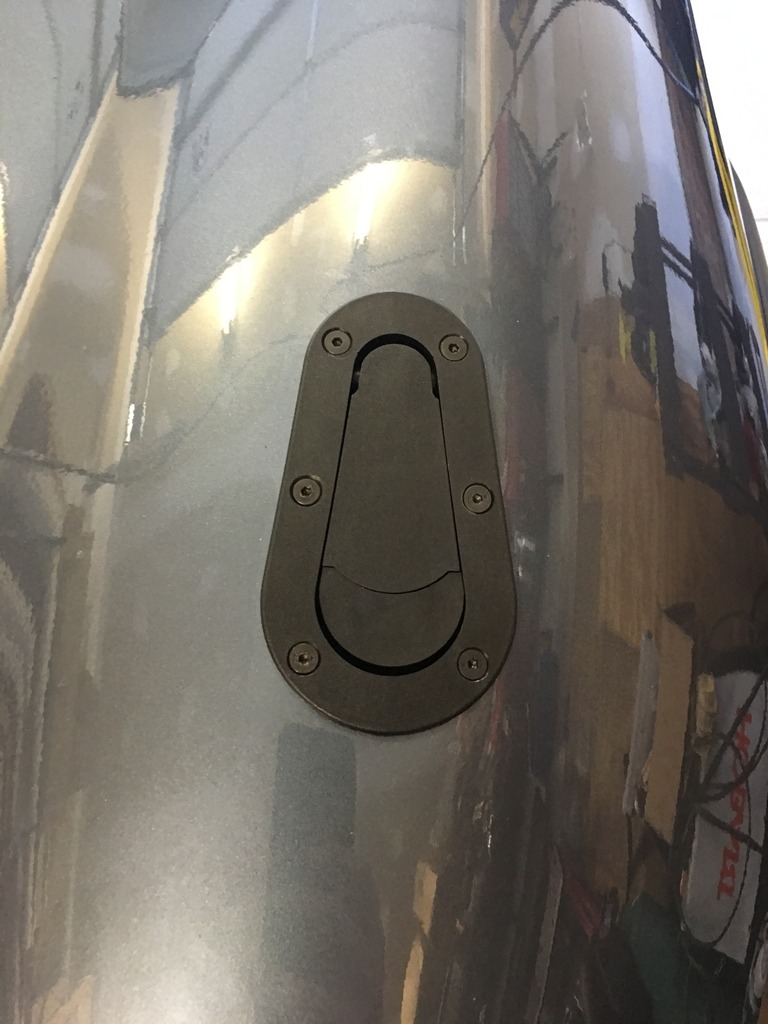
These are pretty slick. Billet aluminum latches have a ball bearing ring that snaps closed around a ball-top adjustable hood pin. Push the button on the top to release, it stays released until you press it back down on the ball.

Click the image to open in full size.

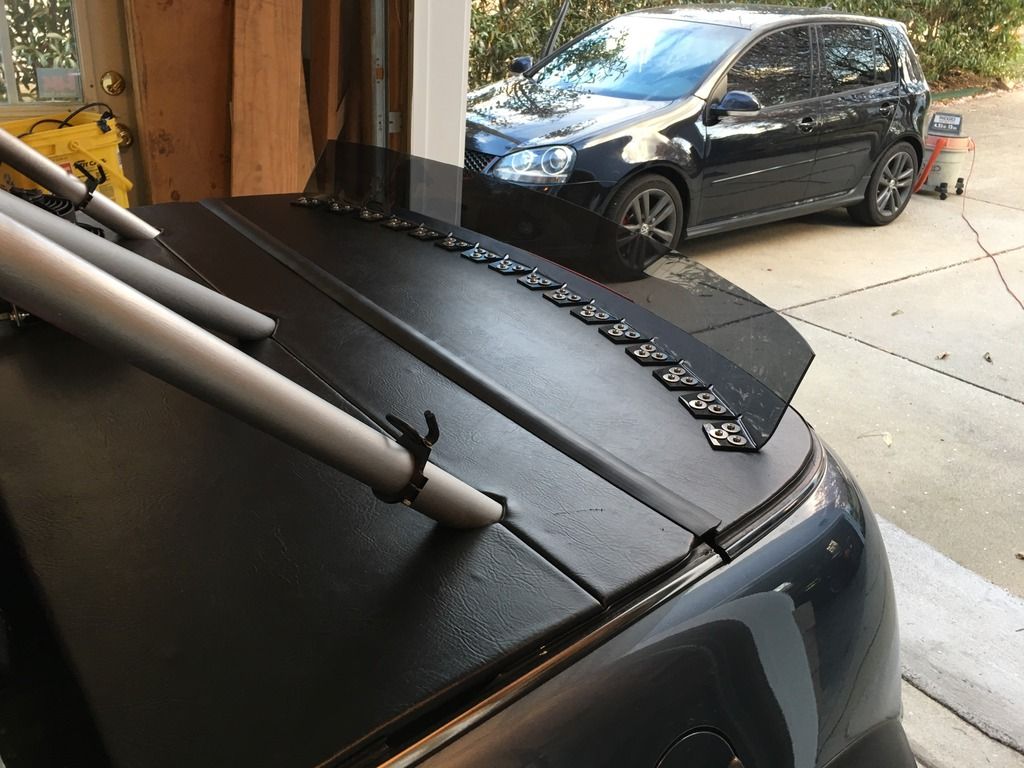
Spring tension in the latch should help dampen vibrations. At least that’s the theory. I measured and identified locations where I’d have enough clearance for the “stack height” of the assembly, and where the roof skin was flat enough for the latch.

The adjustable pins are designed to mount through sheet metal with nuts and washers. But that’s not appropriate for mounting on the roll cage. So I drilled the cage and installed 8 M12 outserts. Yeah, I know… holes and roll cages aren’t a great combination. If it was a wheel-to-wheel race car, I’d be concerned about it. But it’s not… and I’m not. I avoided bends and junctions that will see highest stress in a catastrophic incident.

Measured and cut down pins to an appropriate length to provide the necessary adjustment range in each location.

Click the image to open in full size.

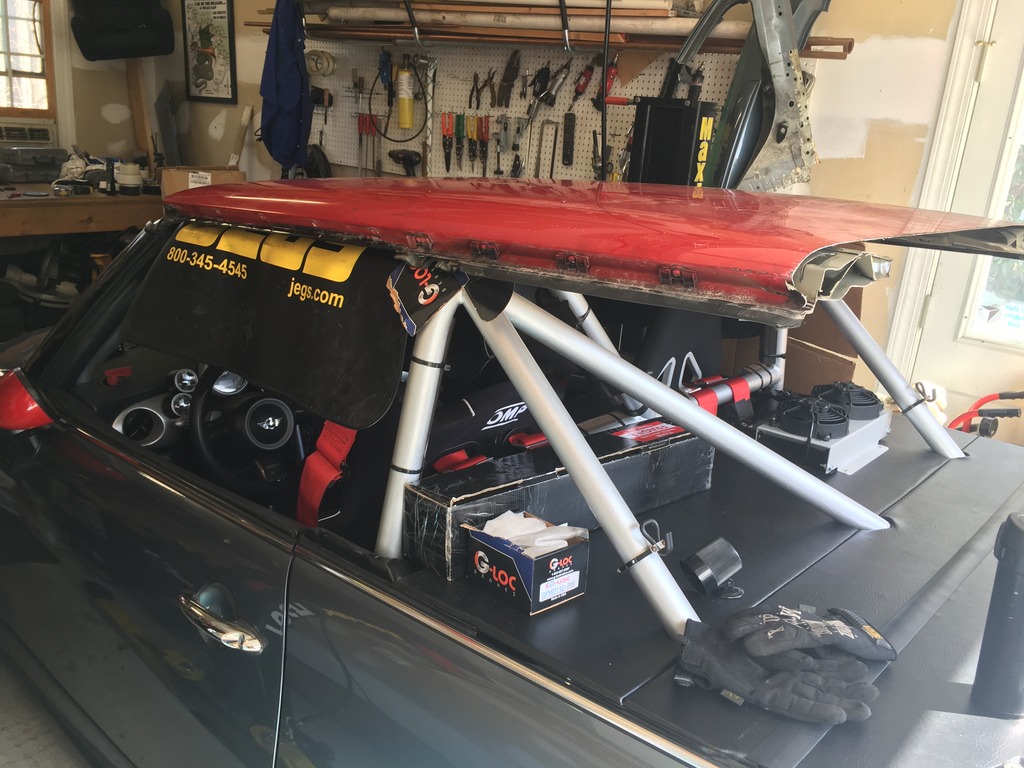
Fit the roof panels in place, adjusting the pins to hold it at the desired ending height. Lined everything up, including the center seal for the panels, and taped into position. Checked, double checked, triple checked, and then marked the center points for the latches on the bottom of the roof where the pins touched.

Click the image to open in full size.

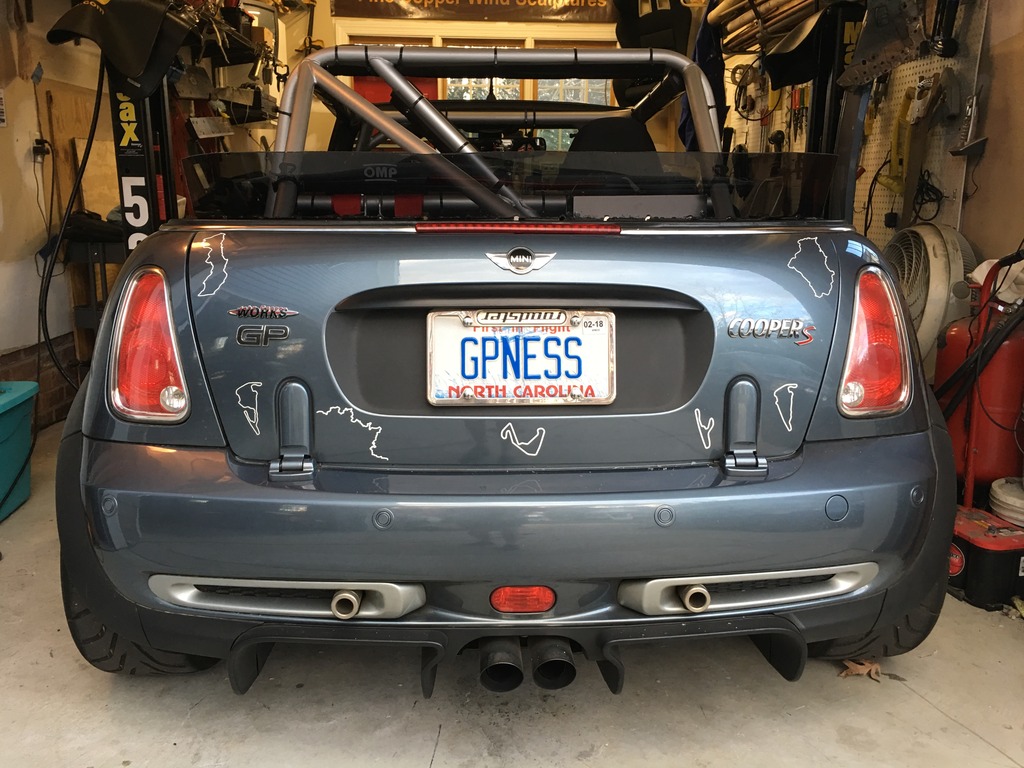
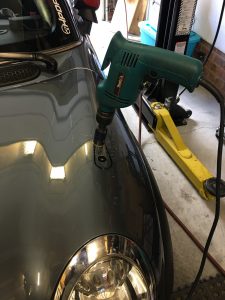
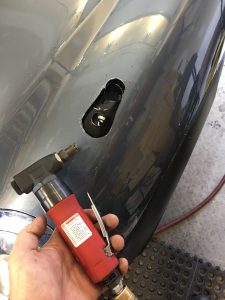
2″ hole saw to cut holes for the latches… install latches… and the moment of truth!

Click the image to open in full size.

Click the image to open in full size.

Click the image to open in full size.

OMG! It actually works!

I’m most excited about the tight fit against the factory convertible roof seal at the front. Should be leak-free!

Click the image to open in full size.

Click the image to open in full size.

Click the image to open in full size.

I’m actually a little surprised how well it came together. But the first real test… how secure it is when driving?

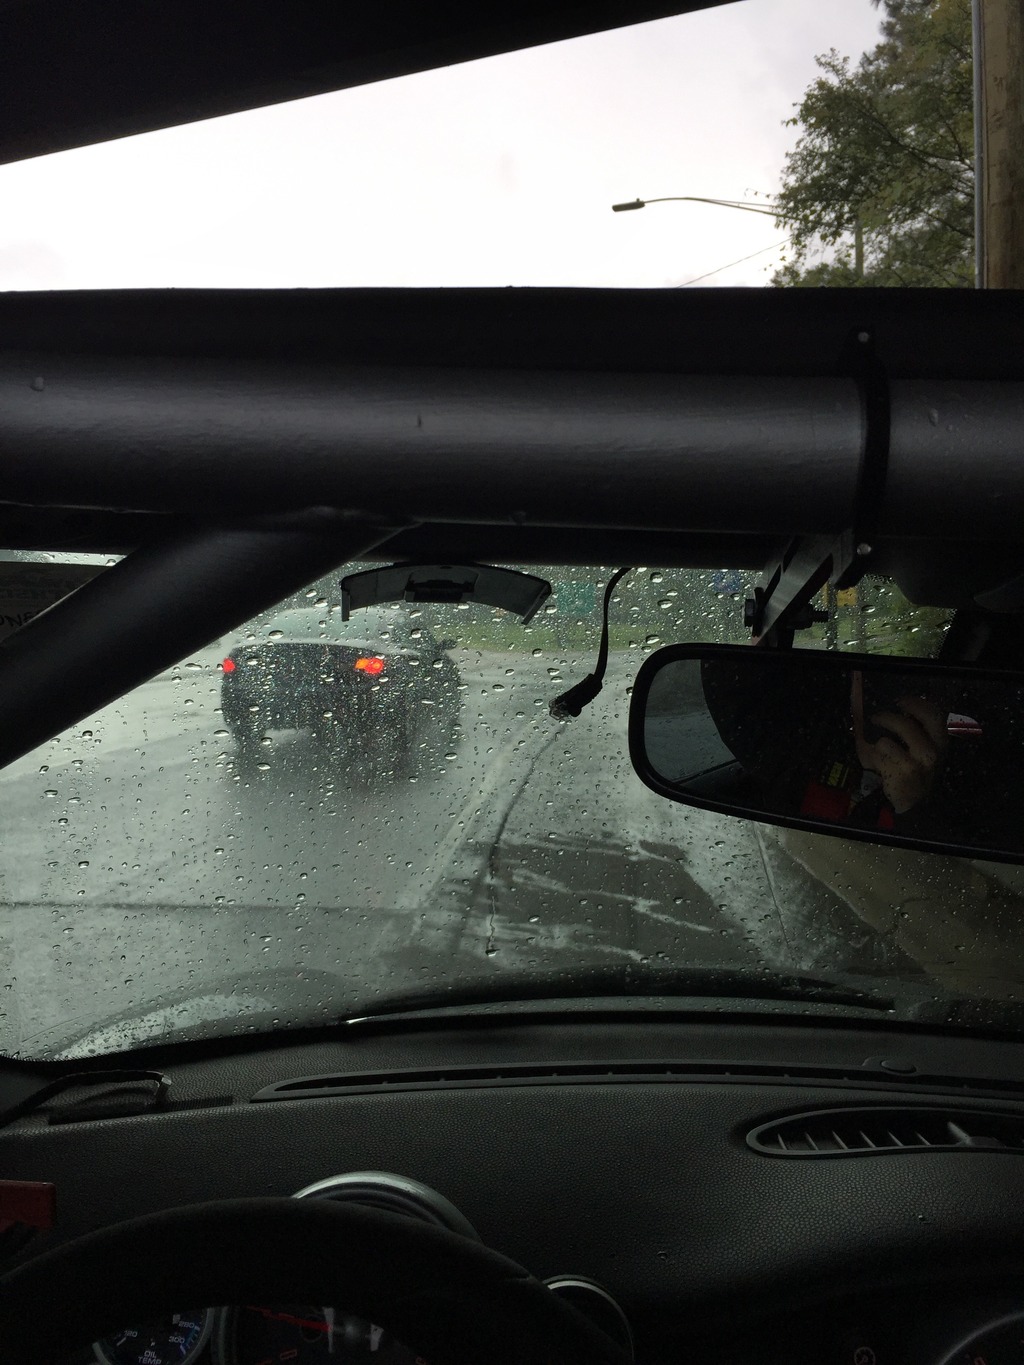
I did a total of two hours of spirited driving, over smooth and rough roads, at speeds up to 90mph. Zero wind noise, zero whistling, zero rattling. It’s just on there, solid. Relatively quiet, calm, and civilized in the cockpit. With the windows up, the heat actually works and makes the car quite livable for four-season use.

I can install and remove the roof in about a minute, maybe less. Stows in the boot; I need to work up a secure storage method so it’s protected and doesn’t shift around back there. That’s next.

I’ll be able to test it in the rain this coming week, to see if I’ll need to make any adjustments, or add any window seals, or add any “wings” in the rear to prevent blow-back. But judging by the airflow in the car today, I don’t think it’s going to be a problem. Very calm inside with the windows up.

I’ll refinish it to look nicer, once I get the storage solution done, so I can protect the finish. Stay tuned.

I get spoiled after a while

I’m trying to figure out how to make the backend just a bit more stable at speed. The front sticks well with the RMW splitter. The rear got a bit better (I think) with the GP2 diffuser. But I want a little less lift back there… I really want the car to sit down at speed. Since my car has more in common aerodynamically with NASCAR trucks than other MINIs, I decided to try a variation of the NASCAR type spoiler.

Ordered some 3/16″ smoked Lexan, and mocked up a spoiler in cardboard to get the shape and profile right. Originally I was going to mount this with stainless hinges and turnbuckles, but then had a brainstorm on bending tabs in the Lexan and trying that. Turns out that worked well, so it simplified the whole project.

Marked and cut Lexan using the cardboard mock-up as a template.

Started off 5″ high, plus 2″ for the tabs.

Marked the size/shape of the tabs. Drilled holes for stress relief. Cut the tabs with the jigsaw.

Bent the tabs, using a simple jig, flat pliers, and heat gun. You have to get this stuff HOT to bend it, about 300F. Took a few tries and test fitting to get the tab angles close enough.

Then drilled holes for hardware, removed the film, and screwed it into place.

I love it. It seems plenty stiff, I can add turnbuckles later if needed. Need to sand the edge a bit to smooth it out, but it’s pretty much done.

I hate the OEM hood latches…

The hood latches had been wonky since I helped my wife ripe the nose off the car a year ago… and remained wonky after the recent fix. I had them both latching (though with huge effort) for a couple of weeks. Then the passenger side latch wouldn’t line up properly no matter what I tried. Hours later, I punted and decided to do something I had been wanting for a year.

I replaced them with something better… Aerocatches. Kenn recently did these, and shared his pics and lessons learned. That helped A TON.

I ordered the “Extreme” version with the steel pins, I trust them more than the aluminum pins, and they accept adjustments with the hammer quite well.

It helps that I have about 1000 ways to drill and cut sheet metal in my shop.

A nibbler is the right tool for this job.

They work very well. I love them. The key to the install is to REALLY take your time. There’s only one spot that really seems to work well, with the pin 3/4″ forward of the plugged hole on the outer strut tower arm. Drill a hole there, insert a sharpie with the point up, and carefully lower the bonnet just until it touches. Use that as your starting mark, drill a small hole, cut 1.5″ off the threaded end of the hood pins, install the a pin to approximately the right height, lower the bonnet and see where you are. Drill another small hole in the “real” correct spot now that you can see what you’re doing. Place the templates, mark, measure and check about a dozen times (you get one shot at this) and carefully cut.

So there I was, just zooming along, and this happened…

Well, back in August, things were going swimmingly well. I had done several track days in 2016, car was well sorted (I thought), I was getting more confident and faster. That’s how one always feels, I hear, right before the bottom drops out.

Happened about 5 laps into the first session of the first day of a two-day track weekend at VIR. Oof. Car was feeling a little squirrelly and I was trying to figure it out. I felt like I was driving well off my normal pace, but back end of the car came around when I turned in on a high speed sweeper… and before I could correct or even go “two feet in,” the car had assumed a new trajectory and I was just along for the ride, into the Armco on the inside of “Hog Pen.”

Sadly, I my video recording didn’t start properly that session, so I didn’t have much to analyze. I KNOW I had the car set up VERY loose… but I had the same settings for two days at CMP a month earlier, with no issues. Months later, when I was rebuilding the car, I found that one of my inner CV joints had failed… either in the crash, or before. I’m thinking before, and that was what I was feeling with the car, prior to the crash. And that would explain why my usual car control skills didn’t do what they usually do…

So, broke my car. And I bought VIR $1200 worth of new guard rail. But I was able to spot my newly painted guardrail on the TV the next weekend when the pros raced at VIR. So that was cool, I guess.

It’s OK. It’s what I built the car for… going fast, and crashing into things. And it’s fixable. Never was built to be a show car.

Anyway, I let the car sit for about 5 months, because I just couldn’t get in the right frame of mind to work on it. Then, I finally did.

Left engine/bumper frame rail was mushed. So I replaced it.

Gave me an opportunity to learn some new skills, and improve my welding technique.

Got things pretty well patched up. Straightened out the mushed bonnet to “good enough” and re-used my spare partially screwed up bumper cover. I decided to switch to an Aero grille instead of spending $$$ on buying and painting a new slatted grille and related trim. I like the way it looks. Kept a little Armco Green paint for street cred.

I’ve been driving, and rebuilding my confidence in myself and the car. I had been testing much stiffer springs. While it would actually work on the track (and did at CMP last summer), it’s too stiff for bumpy roads. Every bump is a car control event waiting to happen. So I’ve backed way off on the sway rate, and I’m backing off a bit on the spring rate. I think the new setup will be about perfect.

Really happy to have the car back on the road for the spring.

Looks like a giant CPU cooler, but isn’t

Insane GP Roadster Project of the weekend:
Remote oil cooler.

There won’t be room up front for a typical cooler when my monstrous front-mount Intercooler is installed (with the new TVS supercharger). So had to improvise. Found a nice Derale packaged unit with twin puller fans (Model 15845), that I could mount on the rear deck. Some lucky hose routing, drilled a couple of holes, and it all just came together. RMW oil cooler adapter plate, -10 AN hose and fittings, 190F thermostat for the fans.

Stock cooler, hoses removed. Looped back one coolant hose and secured with a hose clamp.
Click the image to open in full size.

RMW adapter plate installed, with -10 AN fittings (-8 AN ORB into the plate) and longer M6 bolts. Be sure to use fresh seals behind the plate!
Click the image to open in full size.

-10 AN hose, cuts like buttah with large Harbor Freight cable / hose cutters ($20). Use the polyester sheath hose, NOT the hose with the stainless sheath. Because if that stainless hose touches anything, it acts like a cheese grater, very quickly.
Click the image to open in full size.

Installed 90deg ends and attached hoses. Since I’m going to the rear of the car, best routing for me was down the right side seam. Gets there between the tie rod boot and swaybar. Yes, there’s clearance… Barely.
Click the image to open in full size.

To the seam. There just happens to be an indentation in the floor pan there that is perfect for the hose to nest into.
Click the image to open in full size.

Took a while to decide on optimal routing into the rear compartment. Many times up and down on the lift, finally found a spot that would clear everything and be close to the corner. Held important stuff out of the way above and below, and carefully drilled holes.
Click the image to open in full size.

Use grommets so the body doesn’t cut the hose!
Click the image to open in full size.

Measure, mark and cut hole in plywood deck. Taped it first, to protect the vinyl.
Click the image to open in full size.

Pretty it up!
Click the image to open in full size.

Mount the cooler.
Click the image to open in full size.

Attach ends and hoses, and wire it up! Switched power to the thermostat, then to the fans, 7.5A.
Click the image to open in full size.

Tidy up all the wiring and hoses.
Click the image to open in full size.

Replace the underbody panel, working the hoses into their final position, on top of the edge of the panel and up against the body seam, out of harm’s way. Nothing exposed underneath.
Click the image to open in full size.

Worked in the garage test, fans cycle on and off as they should, no leaks. The fans exhaust an impressive amount of hot air when running. Will road test it today.

Moar Coolness

It gets kinda hot at the track, when it’s 100F in the shade.

So I bought a 13qt CoolShirt system. Installed it today.

Instead of the $220 Cool Shirt flow controller, I used a simple PWM speed controller from Amazon… $12. Yes, $12 instead of $220. Does EXACTLY the same thing. Simple wiring. Switched power (from an add-a-circuit in the footwell fusebox) and ground in, and two wires out to the CoolShirt pump.

Mounted it under the center stack, where I can reach it, while harnessed in. Clicks on/off, and one turn to full flow. Easy to trim the flow as desired once you’ve cooled down. Running it at less than full flow extends the runtime on one fill of ice packs and water. Should get a full day of track sessions (~2hrs on the track), plus some time in the paddock.

Click the image to open in full size.

Cooler goes in the rear, straps down using the cabrio tie-down points. Added quick connects on the wiring so it’s easy to pull out. All the hoses come with quick connects that don’t drain when unhooked. Just a few drips of water, no big deal.

Click the image to open in full size.

Filled it with some cold packs from the freezer, topped of with water, and sealed it up. Put on the shirt, hooked up the hoses, and switched it on.

I’m water cooled!

Click the image to open in full size.

I’m leaving the 12′ hoses and the shirt hoses at full length, for maximum flexibility. At the track, I can pull the system out of the car in 2 minutes and run it off a spare battery for cooling while sitting in the paddock! I’ll wire up a separate power harness for that.

I bought the system from Linda at Apex Performance. They’re fantastic folks, and if you call her she can hook you up with a great price.
Mine is the 12/13qt “Club” System.

Here’s the speed controller switch I used.

More fun with brakes

At CMP, still had some brake cooling issues. Boiled my Super Blue one session  and had some pad fade on the next one.

I think several things contributed:

  • I didn’t do a fluid bleed after my last track event… probably wasn’t as fresh as it should be.
  • I was trying to get all the use I could out of an old set of Carbotech XP10’s… ran them down to 3-4mm. Thin pads transfer MUCH more heat to the pistons and fluid
  • The duct config wasn’t as effective at delivering air to the rotor bowl as it could be
  • After boiling the fluid, I drove like a newb the next session and drug the brakes far too much because I didn’t trust them
  • And it was 100F in the shade that day, on the toughest track on brakes that I run, with lots of high speed heavy braking and little cool down time.

Anyway, I’ve made some changes, hopefully to ensure no more of this brake foolishness.

Reworked the brake ducts, for much better air delivery to the rotor bowl.

The key component of this was the 6″ long 2.5″ aluminum joiner tube, from Amazon https://amzn.com/B014GXQI16

I cut this in half, and flattened the open end of each half.
Click the image to open in full size.

Then cut a length of 1″ wide galvanized steel, ground it with a die grinder to fit around the wheel bearing assembly, and drilled to bolt it to the factory rotor shield holes. Bent to shape, drilled and bolted to the 2.5″ tube segment as shown.

Click the image to open in full size.

That should do it. Uses low-temp hose for most of the duct, only uses the high-temp silicone hose for the last 9″ or so near the rotors. You can “screw” together segments of this hose, then secure it with racer tape.

Also got a set of titanium brake pad shims from TCE (slip between the pads and pistons, and reduce heat transfer into the Pistons and fluid), and a liter of Castrol SRF fluid. Did a full brake and clutch flush with the SRF, including ABS bleed. We’ll see how the SRF holds up for the rest of this track season. Many folks report that they don’t need frequent bleeds when using SRF, since it has such a high wet boiling point.
Click the image to open in full size.

Completed GP2 Diffuser Install

I pulled of the diffuser and reinstalled it “better”. Reworked the slots in the bumper, so the diffuser snaps in place better.

Made a few more brackets to mount it more solidly. Now you could swing from it.

Also replaced the GP rear black bumper trim with stock trim, because it works better with the GP2 diffuser. Spent quite a while trimming it to fit perfectly. Now looks totally OEM.

Negasonic Teenage Warhead Update

I got kinda busy after MOTD, and am behind on updates. So…

I built a really crappy looking, but totally functional, bikini top prototype.

Click the image to open in full size.

The roof is surprisingly quiet and keeps the car surprisingly dry. Art and I drove for hours and hours in the rain around MOTD, and it was surprisingly civilized.

MOTD was fantastic, as always. The car performed spectacularly, no issues.

Click the image to open in full size.

When Colin drove the car, he thought it was pretty well sorted, but might benefit from even stiffer springs. So we agreed to test that, later.

I decided a couple of things at MOTD: I want a hard cover for the rear (to get rid of the flappy tonneau cover) and I want to create a removable hard top for the cabin.

Thought about doing a fiberglass top for the rear, kinda RedBull-Mini-like… but then thought of maybe doing a hybrid that looks kinda like the canvas/vinyl tonneau, but rigid. I decided to take that route, at least initially.

Made a template for the curved rear section…
Click the image to open in full size.

Transferred to 1/2″ plywood…
Click the image to open in full size.

Cut and fit…
Click the image to open in full size.

Wrapped it in marine-grade vinyl…
Click the image to open in full size.

Mounted brackets…
Click the image to open in full size.

Installed. Seals with the factory weather strip.
Click the image to open in full size.

Cut and fitted the other two pieces around the cage.
Click the image to open in full size.

Wrapped and installed…
Click the image to open in full size.

Makes an excellent bar top, while retaining the general look of the tonneau.
Click the image to open in full size.

Still opens to allow access. Used it on the street and at the track, and it works very well. I’m gonna add some aluminum angle underneath to stiffen them and prevent sagging. I’m happy with this.

Took a first shot at brake ducts. Cut the GP black grille piece behind the faux ducts, to accept 2.5″ hose. Liberal use of racer tape.
Click the image to open in full size.

Got some brackets from Coleman Racing and initially mounted on the front of the A-arms. I wanted to try this routing, because there’s so much stuff to work around on the back side of the A-arm (brake lines, sway bar end links, axle…)
Click the image to open in full size.

Flattened the hose just a bit to provide clearance at full steering lock with fat tires. This held up well at the track, but it’s not providing as much air to the inner rotor as it could from the other side of the hub where it’s more open. So I’m gonna make some different brackets and re-route them. I also got titanium brake pad shims to help with heat transfer to the brake pistons and fluid.

Stiffer springs arrived (10kg/mm front and rear). I installed and re-corner-balanced…
Click the image to open in full size.

They were fantastic at the track. Suspension feels “right”.

Installed a bigger top-mount intercooler.
Click the image to open in full size.

And installed a GreenePerformance coolant tank.
Click the image to open in full size.

I mentioned a few times that I went to the track, yes?
Click the image to open in full size.

Dirty little track beast, with the track wheels.
Click the image to open in full size.

While at MOTD, Colin mentioned that he knew someone selling a GP2 rear diffuser setup for a decent price. I crawled around under Mark Dissen’s GP2 looking at it, and thought I could probably make it work on my car with the Milltek rear section and the battery box in place. So I bought it.

While the diffuser clears the milltek and the battery box with no problem, extensive fitment is required: Must cut slots for the tabs in the bumper. Must trim the edge on the diffuser that fits into bumper (it’s too long to fit in the groove). Must notch that diffuser edge to go around protrusions in the groove. Must do major trimming to the tunnels to clear the control arms. Must do major modifications to the brackets to clear the exhaust. Must fab some other brackets to secure front of tunnels. Must do heat shield origami. Must cut rear trim to fit around diffuser.

So it’s not a trivial mod. But…
Click the image to open in full size.

It looks GOOD. And works well. I decided it will fit better with standard rear bumper trim, instead of the GP trim. So I bought a new set of that, and need to re-fit it. Also, the curvature of the R56 bumper is slightly different than the R52/R53 bumper, so the way the ends of the diffuser fascia fit is a little funky. I need to work on that a bit more to get it to stay put the way I want. Still, I love it. The car feels more stable at speed, and seems to have noticeably less wind noise, so I think this helped with some of the rear turbulence. We’ll see how it does at the track.

OK, we’re caught up. Today, I’m re-fitting the rear trim and diffuser fascia, and re-working the brake ducts.

Nose job

So you may recall, I did some stupid stuff and ripped the nose off my brand-new GPR.

redirect=http%3A%2F%2Fi1060.photobucket.com%2Falbums%2Ft446%2FNoncentsical%2FMini%2520Pix%2F2770F331-C53E-4244-87F7-CB7F4C2498A3_zps3jqbescm.jpg

I put it back together and drove around with a broken, scuffed up bumper and a little crinkle in my hood for 4 months, just as a reminder that I should NOT DO STUPID STUFF with my NICE CAR.

But I got a new bumper cover and some other bits, and had them painted a while back. Earlier this week I had a few paint blemishes fixed at the paint shop, then installed the new bumper, and yesterday took the car to the best wrapster in town, TVP Auto.

The dudes there have a VERY nice shop, and did a great job. Full coverage on bumper, bonnet, grille, scoop. Plus mirror caps and door cups. They did custom trimming around the matte black GP scoop vinyl, so it’s still matte.

Picked the car up this morning, and drove home, during gaps in my conference call schedule.

On the way… a downpour happened.

I hid under an overpass for a few minutes, then determined that this storm wasn’t going to let up in time to make my next call. But that the edge was only 3-4 miles away… so I made a run for it.

All that stuff about “if you drive a convertible fast enough in the rain, you won’t get wet” is MOSTLY true in LIGHT rain showers. I’ve proven it. However, when it’s raining BUCKETS…. not so much.

Got pretty soaked. But it’s just water. All good. I did get some interesting looks from other motorists, however.